My read is that a great grill area is mostly about counter space and clearances, not the grill itself. People obsess over burner counts and forget they have nowhere to set a tray, so they end up cooking on a wobbly side shelf and balancing plates on the lawn. Sort the layout first and the cooking gets easier overnight.
The short version: build a flat run of counter on at least one side of the grill, give yourself a clear path between the cook zone and the table, and keep the heat away from anything that melts or burns. Everything below is about doing that without turning the yard into a construction site.
Start with the cooking triangle, not the grill
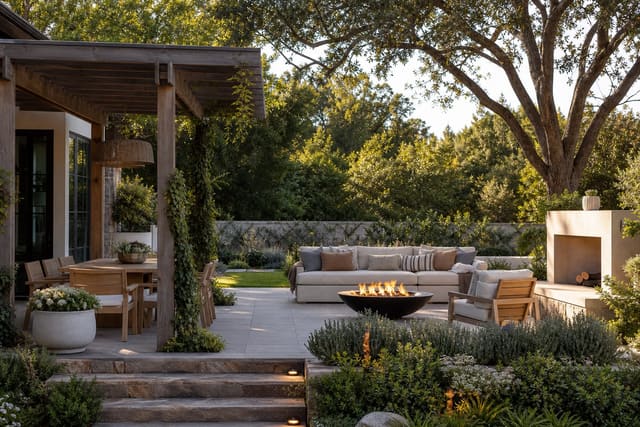
Indoor kitchens have the sink-stove-fridge triangle, and an outdoor cook zone wants its own version: grill, prep counter, and a cold spot for drinks or a small fridge. If those three sit within a few steps of each other you stop walking back and forth to the kitchen mid-cook. I usually anchor the grill against a wall or a low masonry surround, then wrap counter around it in an L so prep happens to one side and plating to the other.
Think about which way the cook faces too. Nobody wants to grill with their back to the party, so orient the grill so the cook looks out toward the seating, not into a fence. If your patio is tight, the same layout logic from patio design ideas applies here: define the cook zone as its own square of paving so it reads as a distinct room even when it shares the slab with the dining table.
Measure the walking lane before anything gets built. I keep a minimum of 36 inches of clear floor behind the cook so a second person can pass with a full plate, and 42 to 48 inches if the path doubles as the route to the back door. Smoke direction matters as well: note where the prevailing breeze comes from and set the grill so it carries smoke away from the table rather than straight across it. These are small calls, but they decide whether the space feels relaxed or constantly in the way once a crowd shows up.
Grill area ideas worth stealing
Here is a run of moves I come back to again and again when laying out a cook zone:
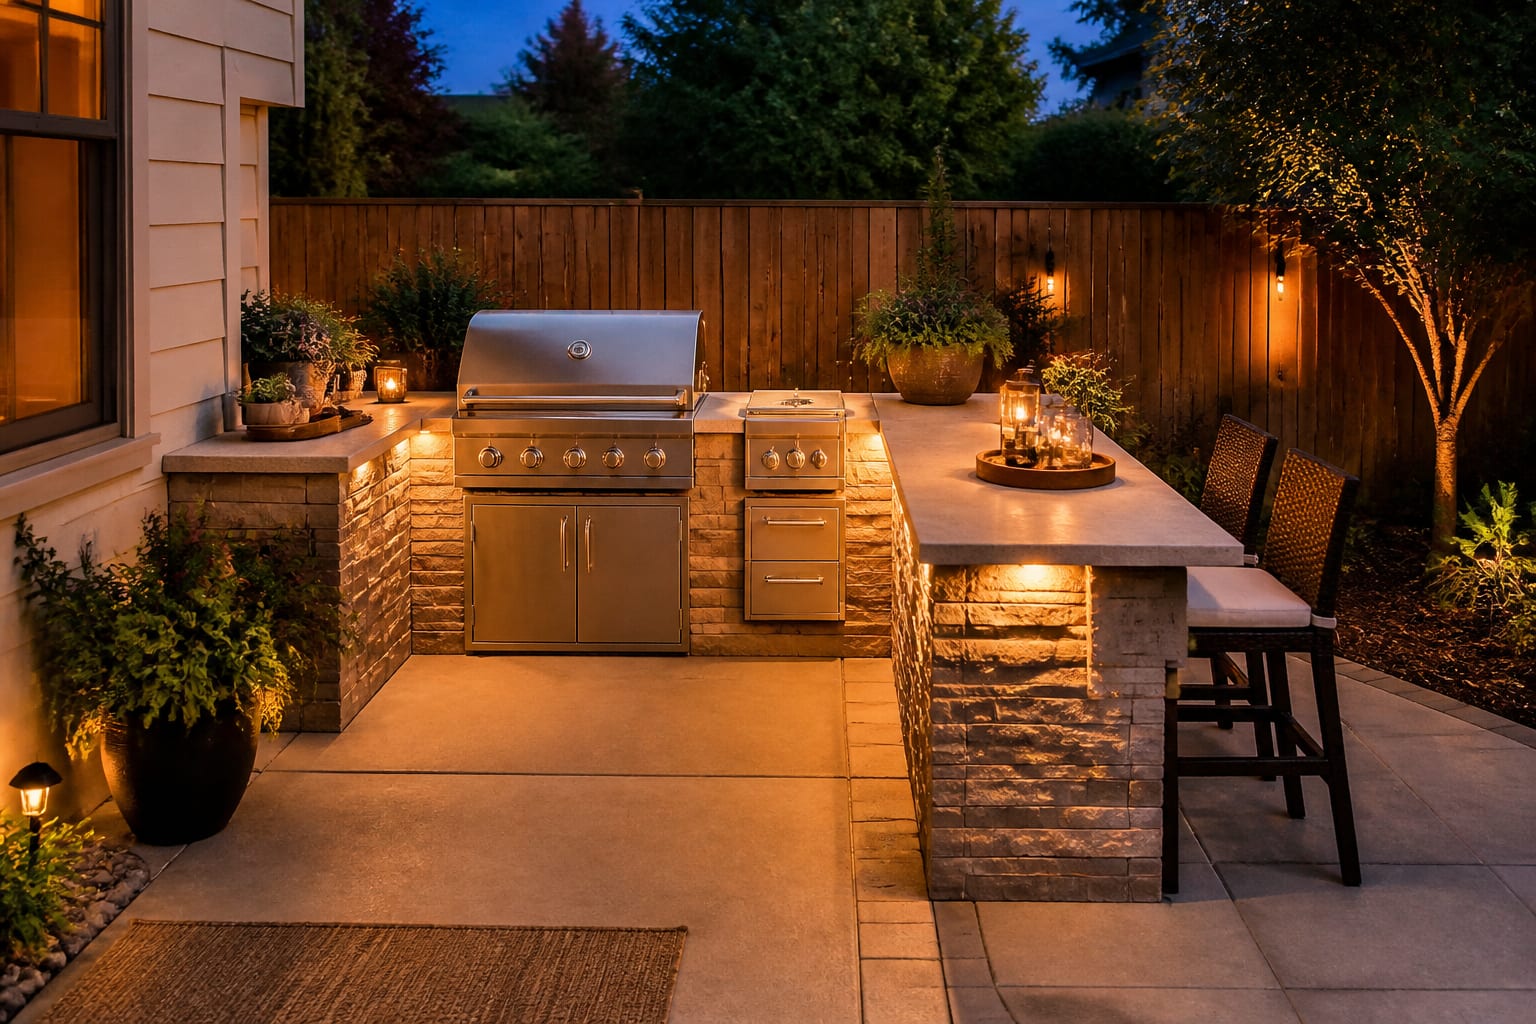
- Build a U-shaped masonry surround that hides a freestanding grill and gives you counter on three sides.
- Drop in a 24-inch stainless side burner for sauces and sides so the main grates stay free for protein.
- Run a narrow 12-inch tile or concrete ledge along a fence as a standing bar for guests who hover.
- Add a single deep drawer or a weatherproof cabinet under the counter for tongs, foil, and a fire extinguisher.
- Set a compact bar fridge or a galvanized ice tub within arm's reach so the cook never leaves the station.
- Mount a hook rail on the side of the surround for grill tools, mitts, and a brush.
- Pour a contrasting paver pad under the grill so grease drips read as part of the design, not a stain.
The point of a list like this is permission to mix and match. A renter with a kettle grill can pull off the bar ledge and the ice tub without pouring a single footing, while someone building a full outdoor kitchen can layer in the surround, the side burner, and the cabinetry.
Budget shapes how far you take it. A freestanding gas grill on a poured paver pad with a small steel cart for prep lands well under a few hundred dollars and takes a weekend. A masonry surround with stone counters, a side burner, and weatherproof cabinets climbs toward a real renovation number, so I tell people to start modular and only commit to masonry once they have cooked in the layout for a season and trust it. The cheapest mistake is pouring concrete around a plan you have never lived with.
Materials, shade, and keeping it usable
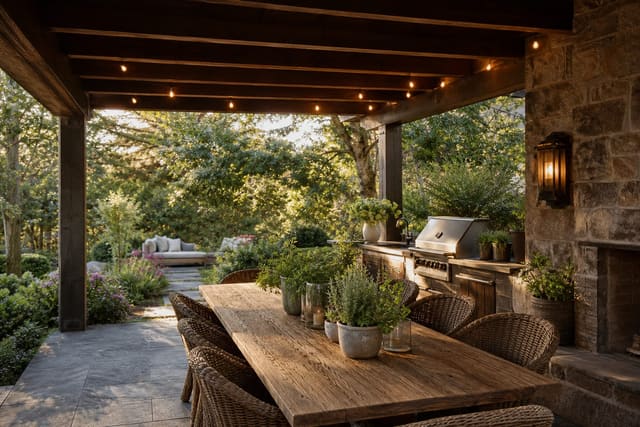
Heat and weather are brutal on the wrong surfaces. For counters next to the grill I lean on stone, porcelain tile, or sealed concrete because they shrug off grease and a stray flame; laminate and untreated wood do not belong within a couple feet of the firebox. Powder-coated steel or stainless cabinetry holds up far better outdoors than anything with a painted finish that chips.
Flooring under the cook zone deserves the same scrutiny. A textured paver or honed stone keeps its grip when grease and water hit it, while a polished tile turns slick the moment something spills. I also like a slight fall of about a quarter inch per foot away from the grill so washdown water and rain run off rather than pooling at the cook's feet. Where the surround meets a wood fence or siding, a sheet of cement board or a stone veneer buys cheap peace of mind against radiant heat over years of use.
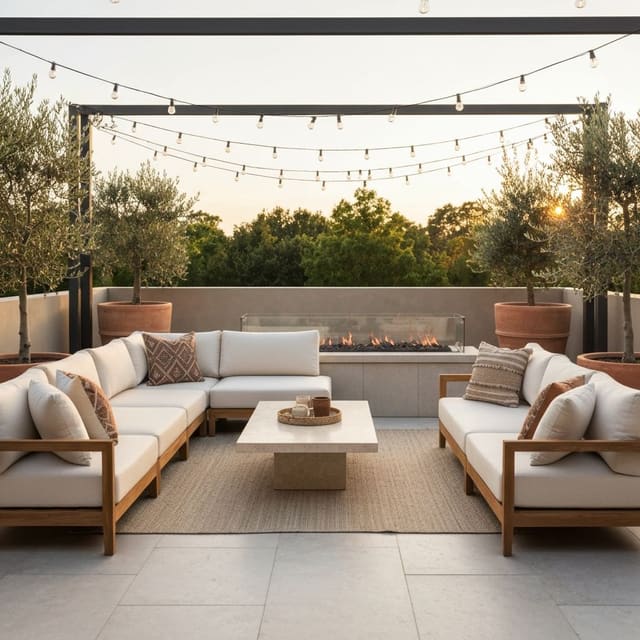
Shade is the quiet upgrade. Cooking in full afternoon sun gets miserable fast, but you cannot just throw a fabric umbrella directly over open flame. Keep a solid 36 inches of vertical clearance between the grill lid and anything combustible, and push the umbrella or pergola so it shades the prep and seating rather than the burners. Tucking the dining setup beside the cook zone, the way I describe in outdoor dining area ideas, means guests stay cool while the heat vents safely. If you want the cook zone to feel like a true lounge extension rather than a utility corner, borrow the soft seating and rug tricks from outdoor living room ideas and place them just outside the heat radius.
Lighting and surface care round out a usable zone. A cook needs to see the grates after sunset, so I run a warm 2700K fixture or a string of bulbs above the prep area, never directly over the flame where grease can coat the glass. Plan a power source while you are at it; even a single weatherproof outlet within a few feet lets you run a light, a rotisserie motor, or a phone timer without trailing a cord across the patio. For the counters, a yearly reseal on concrete and a quick scrub of stainless keeps the station looking deliberate instead of grimy, and a covered firebox survives winter far better than a bare one left to the weather.
Use AI design to preview your backyard grill zone before you build
Layouts that look obvious on paper can feel cramped in real life, and a grill surround is expensive to redo. This is where Re-Design earns its keep: upload a photo of your actual patio or yard corner and the AI re-renders it as a finished cook zone, so you can judge whether that L-shaped counter really leaves room to walk or whether the surround eats half the seating area.
Try a few versions before committing. Upload the same shot and ask for a compact freestanding grill on a paver pad, then a full masonry outdoor kitchen, then a budget bar-ledge setup against the fence. Seeing your own fence line, slab, and sightlines in each option makes the trade-offs concrete in a way a showroom display never will, and it costs nothing but a photo to test.