Good kitchen lighting is never one fixture doing everything; it is three layers each handling a different job. Most kitchens fail because a single ceiling light throws your own shadow straight onto the cutting board, leaving you slicing in the dark. The fix is to separate ambient light that fills the room, task light aimed at the work surfaces, and accent light that adds depth and mood. Get the color temperature consistent, hang the island pendants at the right height, and put nearly everything on dimmers, and a kitchen flips effortlessly from bright morning prep to a soft evening glow without ever feeling like an operating theater.
Why does kitchen lighting need three separate layers?
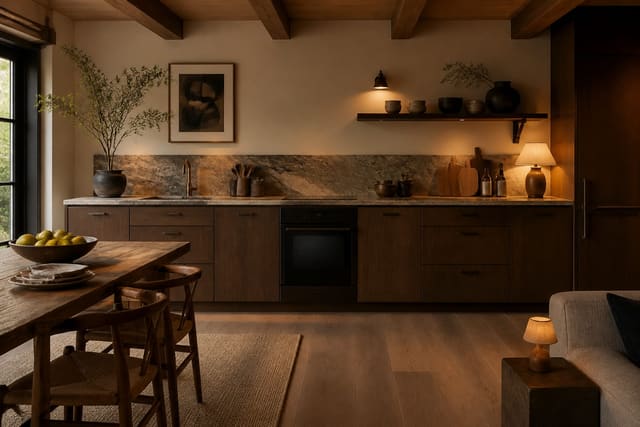
A kitchen does two opposite jobs in the same room: precise knife and reading work, and relaxed eating and gathering. No single fixture covers both, which is why layering is the foundation of every good plan. Ambient lighting, usually recessed cans or a central fixture, washes the whole room so you never enter a dark space. Task lighting targets the surfaces where accuracy matters, the counters and the cooktop. Accent lighting, such as pendants or in-cabinet glass-front lights, adds the depth and warmth that keep a kitchen from feeling flat.
The single most common shadow problem comes from relying on ceiling light alone. When the only source is overhead and behind you, your body blocks it and your hands work in shade. Task layers solve that by lighting the surface directly from the front. Plan each layer for the zone it serves, then wire them separately so you can run the bright ambient layer for cleaning and drop to just the accent layer for a quiet dinner. The layers cost more upfront but turn a flat, shadowed room into one that adjusts to whatever you are doing.
See also our guide to Open Shelving Kitchen Ideas for more on kitchen lighting ideas.
How do you place under-cabinet and task lighting correctly?
Under-cabinet lighting is the highest-value task layer in a kitchen because it lights exactly where you chop, measure, and read recipes. Mount the strip or puck toward the front edge of the cabinet bottom, not the back, so the beam falls across the counter rather than scrubbing up the backsplash. A continuous LED strip gives smoother coverage than spaced pucks, which can leave bright pools and dim gaps along the run.
Aim for roughly 200 to 300 lumens per linear foot of counter so the surface is genuinely bright for prep. Over the cooktop, the range hood usually carries its own light, but if it is weak, add dedicated task lighting rated for that zone. For the sink, a recessed can or a small pendant centered above it keeps washing-up out of shadow. Keep every task source at the same 2700K to 3000K warmth as the rest of the kitchen, because a single cool strip among warm bulbs reads as a mistake and makes food look gray rather than appetizing.
For a related angle on kitchen lighting ideas, read One Wall Kitchen Ideas.
How high should you hang pendants over a kitchen island?
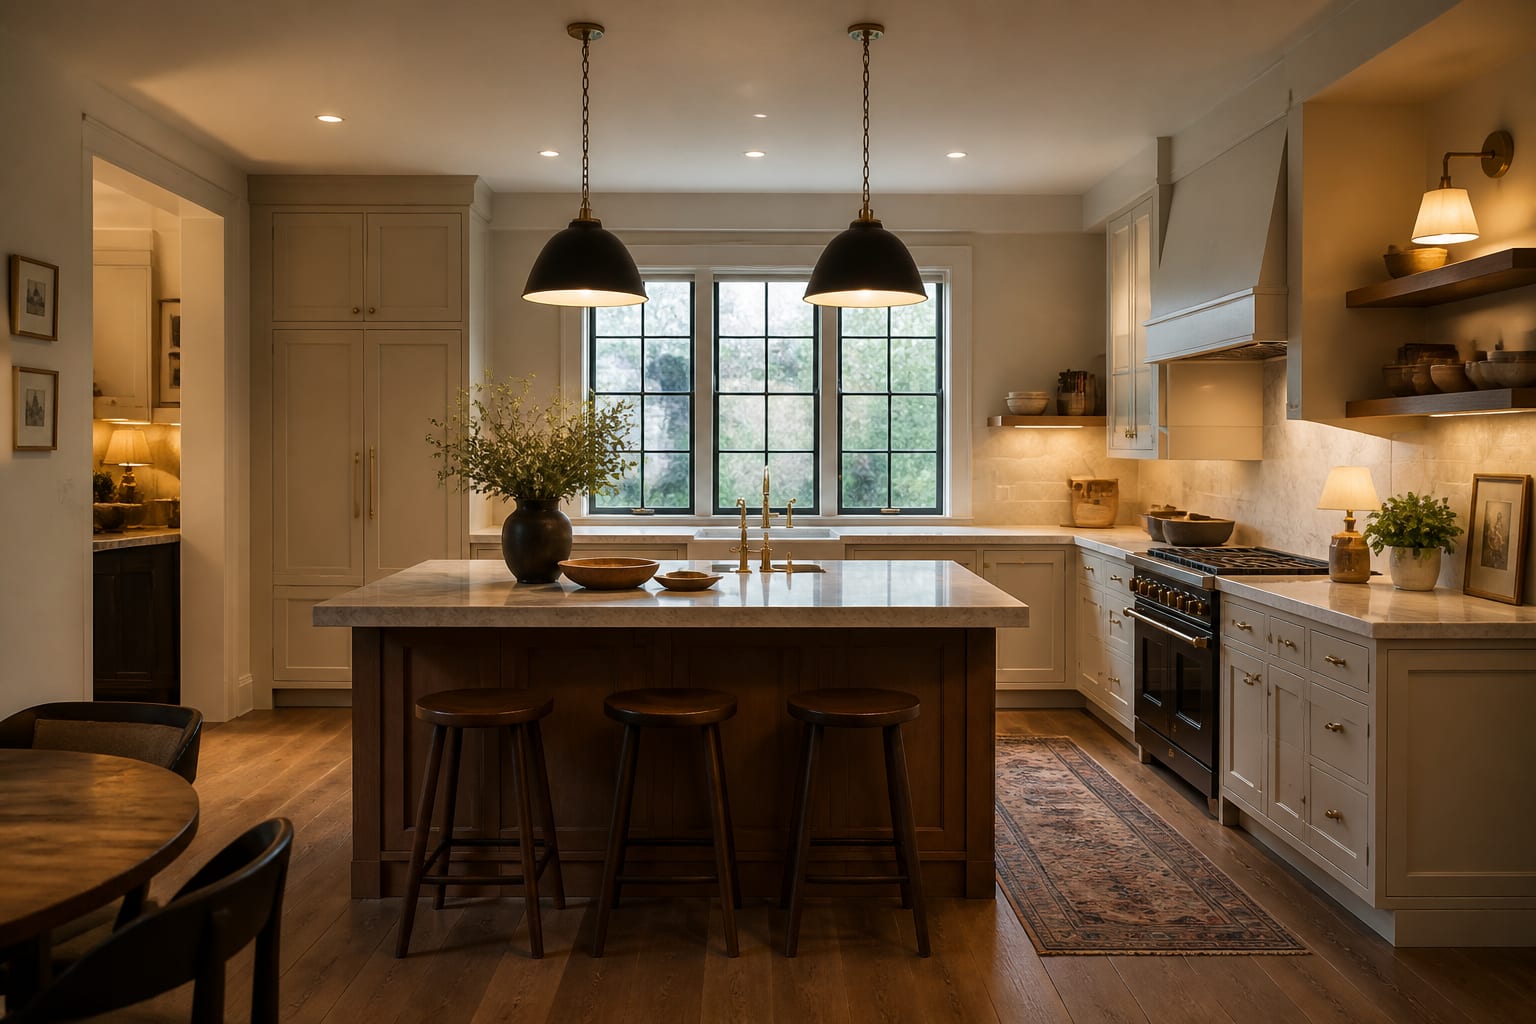
Island pendants are part task light and part accent, and their height decides whether they help or hover awkwardly. Hang the bottom of each pendant 30 to 36 inches above the countertop, which lights the surface for prep while keeping the fixtures above eye level so people across the island can see each other. Lower than 30 inches and the pendants glare and block sightlines; higher than 36 and they stop doing useful task work.
Spacing matters as much as height. For a standard island, two or three pendants spaced evenly along its length usually balance best, with the outer fixtures set in from the ends rather than hung at the very edges. Keep at least 24 to 30 inches between pendant centers so they read as a deliberate group, not a crowded cluster. If the island carries a single large linear fixture instead of separate pendants, the same 30 to 36 inch clearance applies. Match the pendant bulbs to the kitchen's warm-white temperature so the island does not glow a different color than the counters around it.
What color temperature and brightness should a kitchen use?
Color temperature sets the entire mood of a kitchen, and the reliable choice is warm-white in the 2700K to 3000K range. That band keeps the room inviting and makes food look fresh, where cooler 4000K-plus light tips toward a clinical, bluish cast that flatters neither the cabinets nor the cooking. The cardinal rule is consistency: pick one temperature and use it across every layer so the kitchen never looks patchy.
Brightness should rise with the work. Plan the ambient layer for roughly 30 to 40 lumens per square foot of floor as a base, then stack task lighting on top at the counters and cooktop where you need closer to 70 to 80 lumens per square foot of work surface. The piece that ties it together is dimming. Put each layer on its own dimmer so you can run everything at full output for a deep clean, then pull the ambient and task layers down and leave a soft accent glow for an evening meal. Dimmers turn a fixed installation into a kitchen that changes with the time of day.
Here are the common mistakes to avoid: - Relying on one central ceiling light so your own body shadows the cutting board below. - Mounting under-cabinet strips at the back so the beam washes the backsplash instead of the counter. - Mixing cool 4000K bulbs with warm 2700K ones until the kitchen reads patchy and food looks gray. - Hanging island pendants too low so they glare and block the view across the counter. - Wiring every fixture to a single switch with no dimmers for shifting from prep to dinner. - Forgetting task light at the sink and leaving the busiest wet zone in shadow after dark.
Bring the look home with Re-Design
Lighting is the hardest layout choice to picture in advance, which is where a preview earns its keep. With Re-design you upload a photo of your kitchen and test warm 2700K against cooler light, then add under-cabinet glow or a row of island pendants and see how each layer changes the room. Raise or lower the pendants in the preview to judge that 30 to 36 inch clearance against your own ceiling height. Trying several lighting schemes from one upload lets you settle the color temperature and pendant placement before you call an electrician or buy a single fixture.
Frequently Asked Questions
What is the best color temperature for kitchen lighting?
Warm-white between 2700K and 3000K is the safest choice because it keeps the kitchen inviting and makes food look fresh. Cooler 4000K and above reads clinical and bluish. Most important is consistency, so use a single temperature across the ceiling, under-cabinet, and pendant layers rather than mixing tones in one room.
How many lumens does a kitchen need?
Plan the ambient layer at roughly 30 to 40 lumens per square foot of floor, then add task light at the counters reaching 70 to 80 lumens per square foot of work surface. Under-cabinet strips should deliver around 200 to 300 lumens per linear foot so prep areas stay genuinely bright and shadow-free.
Are dimmers worth it in a kitchen?
Absolutely, dimmers are what let one kitchen serve both bright morning prep and soft evening dining. Put each layer, ambient, task, and accent, on its own dimmer so you can run full output for cleaning, then pull the levels down and keep only a warm accent glow for a relaxed meal after dark.