Cover the popcorn ceiling with 1/4 in. drywall, install tongue-and-groove planking, or skim-coat over it — each avoids the asbestos exposure risk of scraping a pre-1980 textured ceiling. The best popcorn ceiling alternatives sit on a tradeoff curve between cost, lost headroom, and how much dust you are willing to live in. Skim coating gives the cleanest modern look for $2 to $4 per sq ft but takes 3 to 5 days. Plank covers add architectural warmth for $4 to $9 per sq ft and lose 5/8 in. of ceiling height. Drywall overlay is the most permanent answer at $3 to $7 per sq ft and a 1/2 in. height loss.
How do you deal with a popcorn ceiling without removing it?
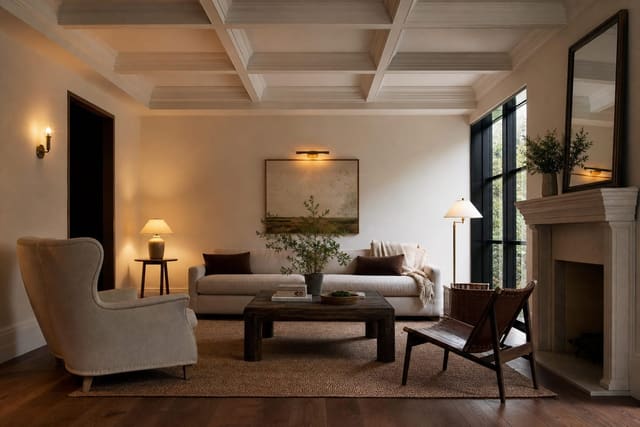
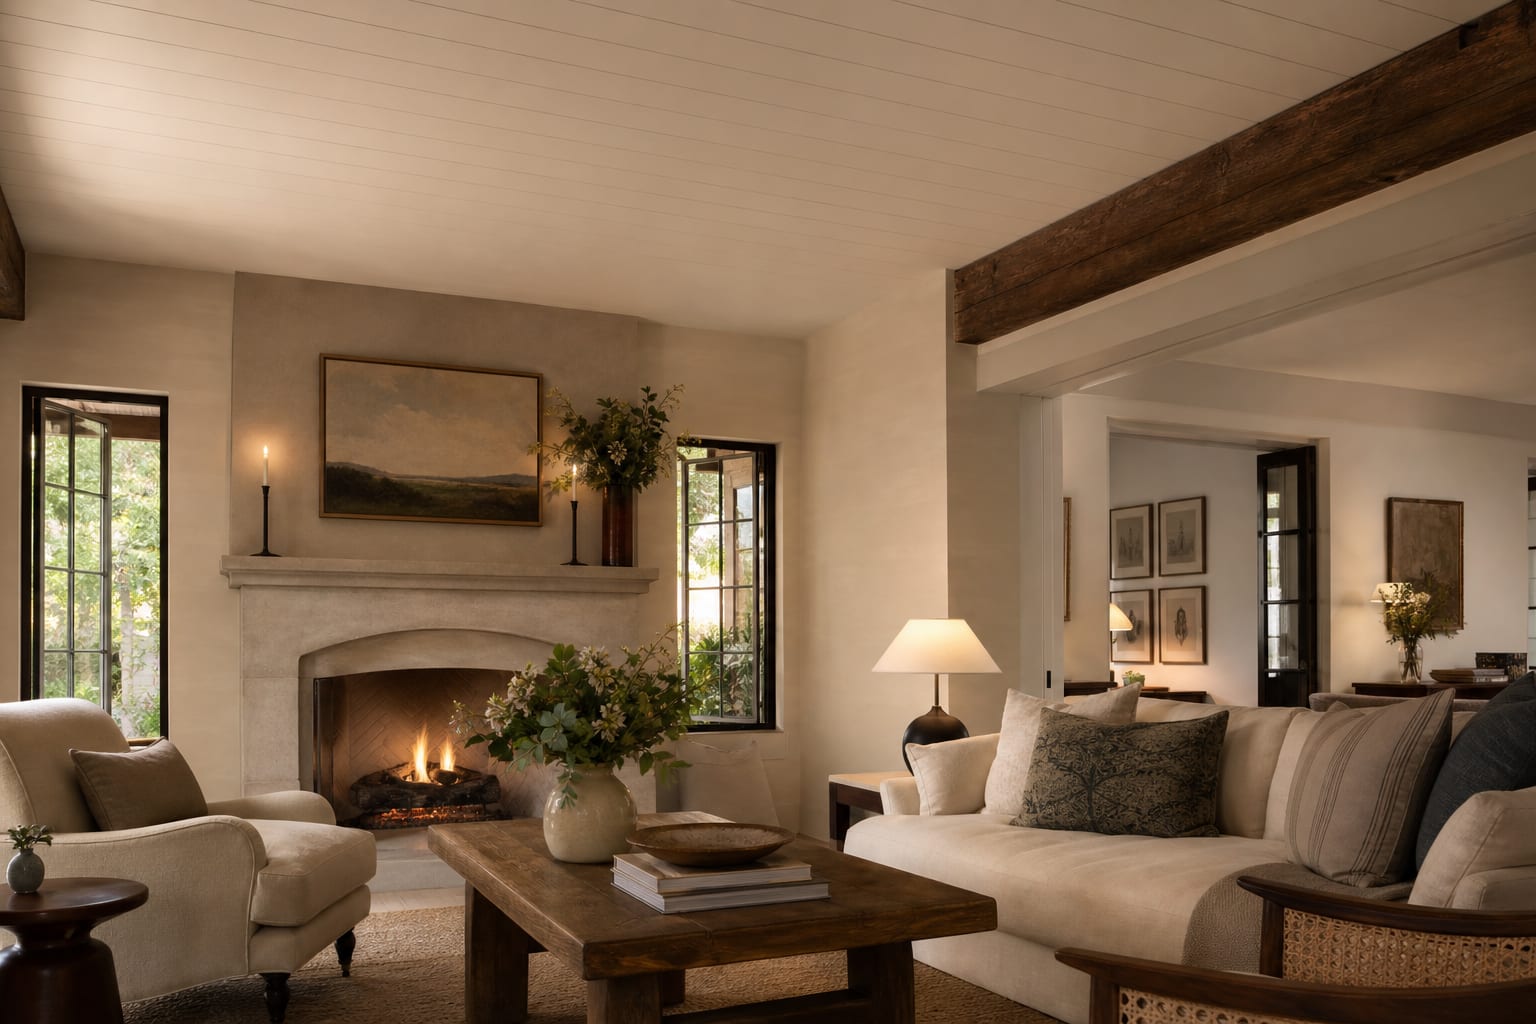
The right answer depends on three things: ceiling height, asbestos status, and whether the existing texture is sound. Measure floor to ceiling first. Anything under 8 ft cannot lose much height, which pushes you toward skim coat or beadboard panels. At 8 ft to 9 ft, drywall overlay and tongue-and-groove planks both work. Above 9 ft, tin tile and beam-and-plank become real options because the room can absorb the visual weight.
Next, test the texture if the house was built before 1980. A DIY mail-in asbestos kit runs $30 to $50 and takes 5 business days. If positive, all cover methods are still safe — you just cannot scrape, sand aggressively, or screw through the texture without dust containment. For asbestos-positive ceilings, planks installed through the texture into the joists with a sealed underlayment are the contractor-preferred path; for skim coating, a sprayed-on bonder seals the texture before the skim goes over it.
Finally, check whether the existing popcorn is shedding. Run a soft brush across a corner: if loose chunks fall, the texture is not a sound substrate for any cover, and you have to either knock it down (asbestos-test first) or laminate a stable underlayment over it before the finish layer. A low ceiling room design tricks audit is worth doing in parallel — every inch of lost headroom adds up, and pairing the cover method with paint, lighting, and trim moves that visually raise the ceiling pays off more than the cover itself.
Compare popcorn ceiling alternatives on cost, headroom, and disruption
The table below is how I cost-sort options on a job walk. Numbers reflect 2025 mid-market US averages including labor for a 200 sq ft room; DIY drops labor by roughly 60% but adds the rental and learning curve.
| Alternative | Cost per sq ft | Height lost | DIY friendly | Best room | |---|---|---|---|---| | Skim coat | $2 to $4 | 0 in. | No (3-day skill) | Living, bedroom | | 1/4 in. drywall overlay | $3 to $7 | 1/2 in. | Yes (2 people) | Any | | Tongue-and-groove planks | $4 to $9 | 5/8 to 3/4 in. | Yes | Living, dining | | Beadboard panels (4x8) | $3 to $6 | 1/4 in. | Yes | Bath, kitchen, porch | | Tin tile (drop-in or nail-up) | $8 to $15 | 1/4 to 1 in. | Yes if nail-up | Kitchen, dining, foyer | | Acoustic spray (commercial) | $1 to $2 | 0 in. | No | Basements, garages | | Scrape and re-texture | $1 to $3 | 0 in. | Yes if no asbestos | Any (post-1980) |
Three decision shortcuts that work on real projects:
- If the room is under 8 ft and the budget is under $1,000, skim coat. Headroom matters more than the visual upgrade of planks or tin.
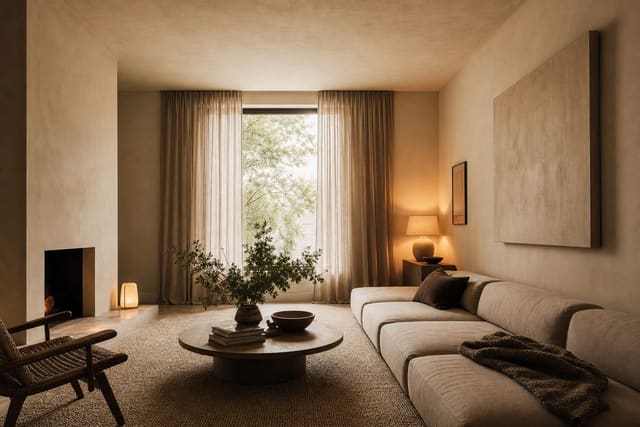
- If the homeowner wants character and the ceiling is 8 ft 6 in. or taller, tongue-and-groove white planks. They cost $4 to $9 per sq ft installed and the coffered ceiling diy cost breakdown shows how to extend the same logic to coffered panels later if budget allows.
- If the existing texture is asbestos-positive and you want a permanent answer, 1/4 in. drywall overlay screwed through to joists with sealed seams. It encapsulates the asbestos forever and is invisible once mudded and painted.
Preview a planked or smooth ceiling on your own living room photo before you commit to a cover method. Seeing a tin tile next to a plank against your actual wall color settles the decision faster than any showroom sample.
Common popcorn ceiling mistakes to avoid
The most expensive mistake is scraping an untested pre-1980 ceiling. The EPA bans removal of asbestos-containing material without proper containment, and a single uncontained scrape contaminates the entire HVAC system. The $30 to $50 test is cheap insurance.
The second mistake is installing planks or drywall over joists you have not located. Stud finders read wood joists through popcorn texture about 70% reliably; tap-test and confirm with a 1/8 in. pilot hole before driving cabinet screws. Hitting a wire or a pipe through a ceiling is the #1 cause of mid-project contractor calls on this kind of job.
The third mistake is skim coating without sealing first. Joint compound applied directly to popcorn texture will pull the texture off as it dries, creating a worse surface than you started with. Use a sprayed bonder primer or a roll-on adhesion sealer before the first skim coat, then plan on 2 to 3 coats with a wide knife.
The fourth mistake is forgetting trim. A 1/4 in. drywall overlay or a plank cover creates a new ceiling plane that sits below the old crown molding, so the trim either gets re-installed lower or replaced. Budget $4 to $8 per linear ft for crown reinstallation; a typical 200 sq ft room has 60 ft of perimeter.
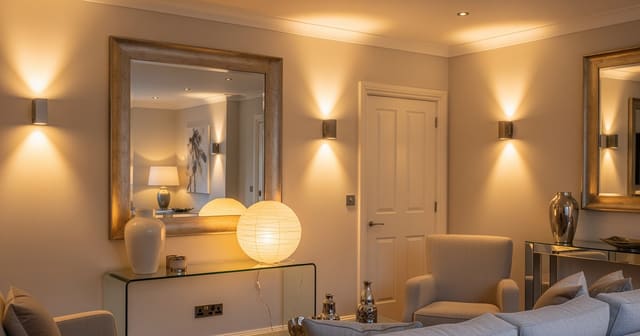
The last mistake is ignoring lighting. Recessed cans in the old ceiling no longer sit flush after a 1/2 in. overlay; you need cans with an adjustable trim ring or a re-mount through the new surface. If the room felt dim before the cover, this is the moment to add 2 to 3 more cans or move to a fake natural light any room strategy with wall washers and warm 2700K sources to compensate for the visually lower plane.
Use AI design to preview popcorn ceiling alternatives before you commit
The hardest part of the popcorn cover decision is imagining how the room reads without the texture, especially with a new material plane overhead. A skim coat looks dramatically different from a white plank ceiling in the same room with the same furniture. Upload a straight-on photo of the room from one corner, include the full ceiling plane and at least one wall down to the floor, and render a smooth skim, a white tongue-and-groove plank, and a pressed tin tile on the same camera angle.
Be specific in the prompt. Ask for a smooth matte white skim coat at the existing ceiling height, a 6 in. wide white tongue-and-groove plank with a 5/8 in. drop, or a 12 in. pressed tin tile in antique copper. If the planks make the room feel cave-like, that is a real signal — the ceiling is probably too low for them and a skim coat is the right call. If the tin tile makes the dining table read as a defined zone, you have a defensible case for the bigger budget.
Frequently Asked Questions
Do all popcorn ceilings have asbestos?
No, but any popcorn ceiling installed before the 1978 US ban on asbestos in spray-applied texture can contain it, and many continued to be installed from existing inventory through the early 1980s. A $30 to $50 mail-in test kit confirms in 5 business days. Post-1985 popcorn ceilings are essentially asbestos-free, but a test is still worth running on anything older than 1985 if you do not have original construction records.
Can I install planks over popcorn?
Yes, tongue-and-groove planks install directly over popcorn texture using furring strips or screws through to the joists. Skip the furring strips on textures less than 1/4 in. thick and screw the planks directly. The texture stays sealed and undisturbed, which is what you want on any pre-1980 ceiling. Budget 5/8 in. to 3/4 in. of headroom loss including the plank thickness.
How much ceiling height will I lose?
It depends on the method: 0 in. for skim coat, 1/4 in. for beadboard panels, 1/2 in. for 1/4 in. drywall overlay, 5/8 to 3/4 in. for tongue-and-groove planks, and up to 1 in. for nail-up tin tile on furring strips. In rooms already at 8 ft, anything over 1/2 in. starts to feel low. Below 7 ft 6 in. finished, only skim coat or beadboard make sense.
What is the cheapest popcorn cover-up?
A scrape-and-re-texture or a skim coat is cheapest at $1 to $4 per sq ft if the ceiling is not asbestos-positive. For DIY, a 1/4 in. drywall overlay runs $1 to $2 per sq ft in materials and a weekend of labor with 2 people. Avoid the very cheapest spray-on textures sold as DIY refresh — they look temporary and have to be redone within 5 years.
What is the best look for a rental?
For a rental, skim coat to a smooth flat ceiling. It is the most neutral, lasts longest under tenant turnover, and never reads as dated. Avoid trendy tin tile or stained planks in a rental — they limit the next tenant pool. Budget $400 to $800 for a 200 sq ft room professionally skim coated; the lift in photo quality and listing speed pays back inside 6 months on most markets.