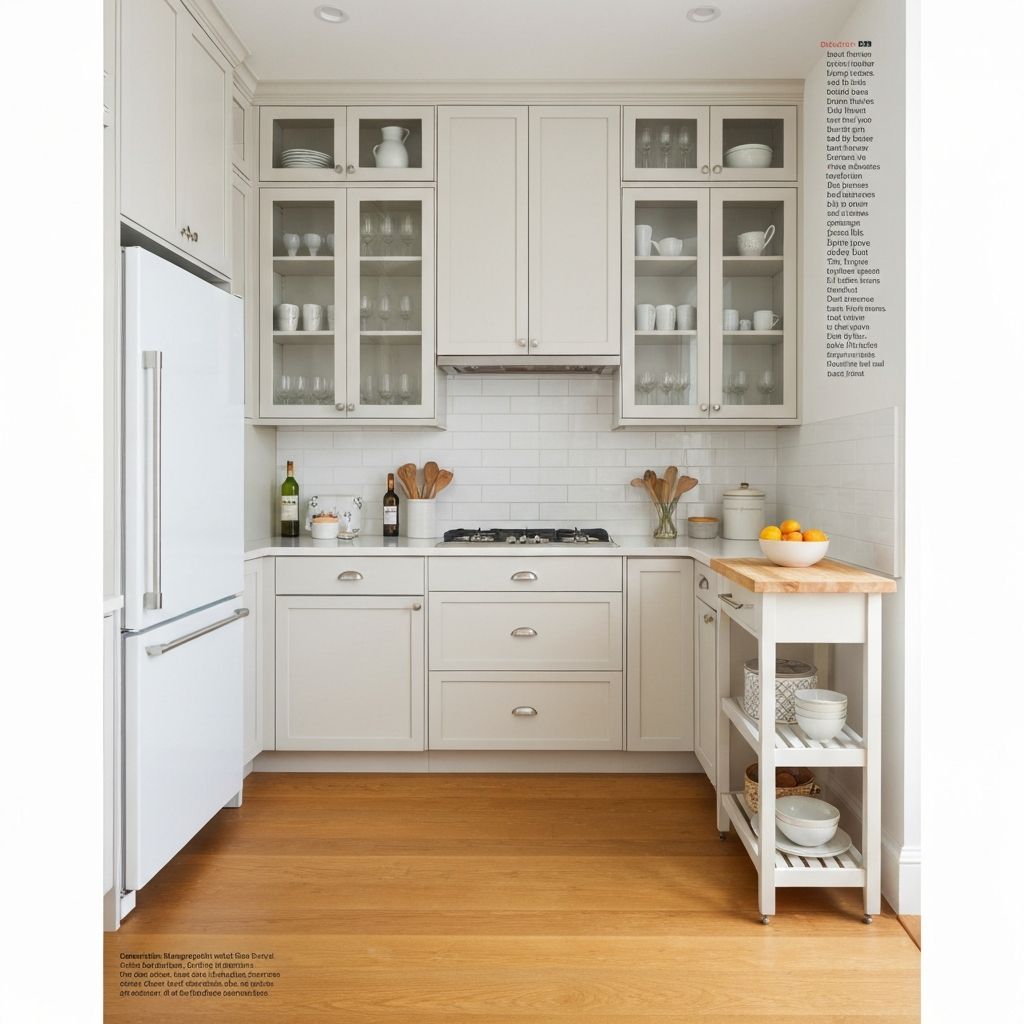
A small pantry organizes when every shelf zone gets a single category (baking, breakfast, snacks, canned, grains), all bulk goods move into clear airtight containers labeled in one font, the door back becomes the wraps and foils zone, and the highest shelf is reserved for items used twice a year so daily reach is at eye-to-mid level. A disorganized pantry is one of the most expensive small problems in a kitchen — it doesn't just look chaotic, it actually changes what you cook, how much food you waste, and how often you reach for delivery instead of making dinner. Owners assume the answer is more shelving or a bigger pantry; almost always the answer is a system that respects how you actually use the space. A 3-foot-wide pantry organized well outperforms a 6-foot-wide pantry organized poorly every single time.
How do you organize a small kitchen pantry?
Decant the dry goods you use weekly into clear matched containers, group items by use-case rather than category, put the most-reached-for items at eye level, store backstock above and below, and add lighting if the space has none. The four principles — decant, group by use, prime real estate at eye level, light the space — fix almost any small pantry in an afternoon.
Decant: the single most consequential move
Stripping the original packaging off dry goods and storing them in clear matched containers is the move that does more visual and functional work than anything else.
- Use OXO Pop containers, glass jars, or Cambro polycarbonate. Whatever you pick, commit to one system. A pantry with mixed container shapes reads chaotic; matched containers read calm.
- Label everything. Use a P-touch label maker or write on the lid with a fine-point oil paint pen. Skip cute hand-lettered tags — they peel and look fussy.
- Date everything. Especially flour, baking powder, and spices, which go stale faster than people realize. Write the open-date on the bottom of the container.
- Don't decant what you won't use. Quarterly spices, holiday-only baking supplies, and seasonal items stay in original packaging in the back.
The reason this works: when you can see what you have, you cook with it. When products hide behind their boxes, you forget you have them and re-buy. The financial return on a $200 container investment over a year is often $500+ in reduced food waste.
Group by use-case, not by category
Most pantry advice says "group by category" (all snacks together, all baking together). That's the wrong frame. Group by when you actually reach for things together.
- Weekday breakfast zone. Coffee, tea, oatmeal, granola, whatever you make at 7 a.m. — all in one reach.
- Lunch-packing zone. Crackers, nut butter, snack bars, dried fruit — what you pack for the kids or yourself.
- Weeknight dinner zone. Pasta, rice, canned tomatoes, oils, the spices you actually use weekly.
- Baking zone. Flour, sugar, leaveners, baking spices. Often in the lowest priority spot since most people bake on weekends.
- Snack zone. Chips, sweets, treats. Place high if you're trying to limit access for kids; place low if it doesn't matter.
The result: you reach for one zone at a time and never hunt across the pantry. Cooking gets dramatically faster.
Test this on your own room photo with ReDesign before you choose the final direction; keep the doorway, walls, windows, main furniture, lighting, and awkward fixed features visible so the preview solves the room you actually have.
For a useful room-planning comparison, keep Kitchen Counter Clutter Solutions: Permanent Fixes Not Just Tips, Coat Closet Organization for a Family of Four, and AI Interior Design: The Complete Guide to What It Does, What It Cannot Do, and When to Use It nearby so this retrofit stays connected to the adjacent lighting, storage, scale, and layout decisions in the same photo-led workflow.
Prime real estate at eye level
Eye level (typically 48"–60" off the floor) is the most valuable shelf in any pantry. Use it for what you reach for daily.
- Daily-use dry goods, oils, and vinegars at eye level.
- Weekly-use items one shelf up or down.
- Backstock (extra pasta, bulk flour, canned goods in quantity) on the lowest or highest shelf.
- Holiday and quarterly items in the very back of the top shelf where you don't see them daily.
If you're storing your everyday pasta on the top shelf because that's where it landed, you're losing time and visual calm every single day. Re-sort by frequency of use and the whole pantry feels bigger.
Specific small-pantry systems that work
- A two-tier turntable on the bottom shelf for canned goods. Doubles the usable depth — back cans become reachable without unpacking.
- Door-mounted spice racks. Spice clutter eats more pantry real estate than people realize. Move spices to the inside of the pantry door on a slim metal rack.
- Tall narrow bins for boxed pasta and bagged items that don't decant easily. Group all boxes vertically in a single tall bin instead of laying them sideways across a shelf.
- A small wire basket dedicated to "open and using" items — the open bag of flour, the chip bag with a clip, the half-finished pasta. Saves these from getting buried.
- Under-shelf bins for produce that can't be in a fridge — onions, garlic, potatoes. Mesh or wire bins prevent rot.
- A pull-out trash bin under the bottom shelf for compost or weekly grocery overflow.
Lighting the pantry
Most pantries have either zero lighting or a single harsh overhead. The fix:
- Add a battery-powered or plug-in puck light to the inside of the pantry. Adhesive or magnetic mount. ~$15. Motion-activated versions are even better.
- For deep pantries add a second light on the back wall pointing forward.
- Inside cabinet-style pantries add a small magnetic strip light to the inside of the door so it lights the contents as soon as you open it.
A lit pantry is a used pantry. A dark pantry is the place leftovers go to die.
Common small-pantry mistakes
- Keeping original packaging for everything. Reads chaotic, hides what you have, wastes space because boxes are bigger than the contents.
- Grouping by category instead of use-case. Saves you nothing daily — and most pantries are about daily use, not pantry-organization aesthetics.
- Tall items in front, short items in back. Hides everything behind one cereal box.
- No lighting. Doubles the time it takes to find anything.
- Mixed container shapes and sizes. Visual chaos, even if the food is well-organized.
- Storing rarely-used appliances on pantry shelves. Move them to a cabinet; pantry shelves are for food.
- Putting back-stock on the eye-level shelf. You see it dozens of times a day, eat through it, and then realize you have nothing for dinner.
Use AI design to preview your pantry layout
Pantries are expensive to remodel and time-consuming to reorganize. AI design lets you photograph your existing pantry and preview a fully organized version with matched containers, zone labels, and lighting — before you commit a Saturday and a Container Store run. You'll know whether the system fits, whether you need a custom shelf, and whether to invest in turntables or pull-outs before spending a dollar.
Frequently Asked Questions
How do I organize a small pantry by zone?
Group every shelf by category: baking ingredients on one shelf, breakfast on another, snacks on another, canned goods on another; zoning beats container choice for daily usability. Use the room photo to compare the visible layout and fixed constraints before committing, because door swings, windows, outlets, storage reach, circulation, and existing furniture decide whether the idea survives daily use.
Should pantry items go into matching containers?
For bulk dry goods yes — clear airtight square containers in one or two sizes use 30 percent less shelf space than bags and boxes and read more designed; original packaging belongs only on items used weekly. Keep the preview honest by leaving the problem area visible in the frame, then compare one conservative version against one bolder version before you buy lighting, paint, furniture, or storage.
What height should the most-used pantry items live at?
Eye level and one shelf below — daily items (breakfast, snacks, coffee) sit between waist and eye height; above shoulder is rare-use storage; below knee is bulk overflow and pet food. Check the result against ordinary movement first: drawer clearance, chair pullout, walkway width, glare, switch access, and sightlines matter more than a perfect catalog angle.
How do I store wraps, foils, and bags in a small pantry?
Mount a wall pocket or magnetic strip on the back of the pantry door — plastic wrap, foil, parchment, and zip bags all go vertical and out of the shelf zone. Use the image to narrow priorities and measurements before ordering anything custom; final purchases still need real dimensions, outlet locations, installation limits, and product clearances.
What pantry tool gives the biggest organization upgrade?
Pull-out drawers retrofitted to existing shelves (or full-extension wire baskets) — every can, jar, and bag becomes reachable, and the back of the shelf stops being a graveyard for expired goods. If the preview invents architecture or hides the awkward feature you need solved, rerun it with stricter instructions so the result remains tied to your actual room.
> Try this: Ready to see this on your own room? Open ReDesign and run the preview.
Three transformations to try
1. Five-zone pantry with airtight containers in one font 2. Door-mounted wrap and foil organizer 3. Retrofitted pull-out drawers on existing shelves