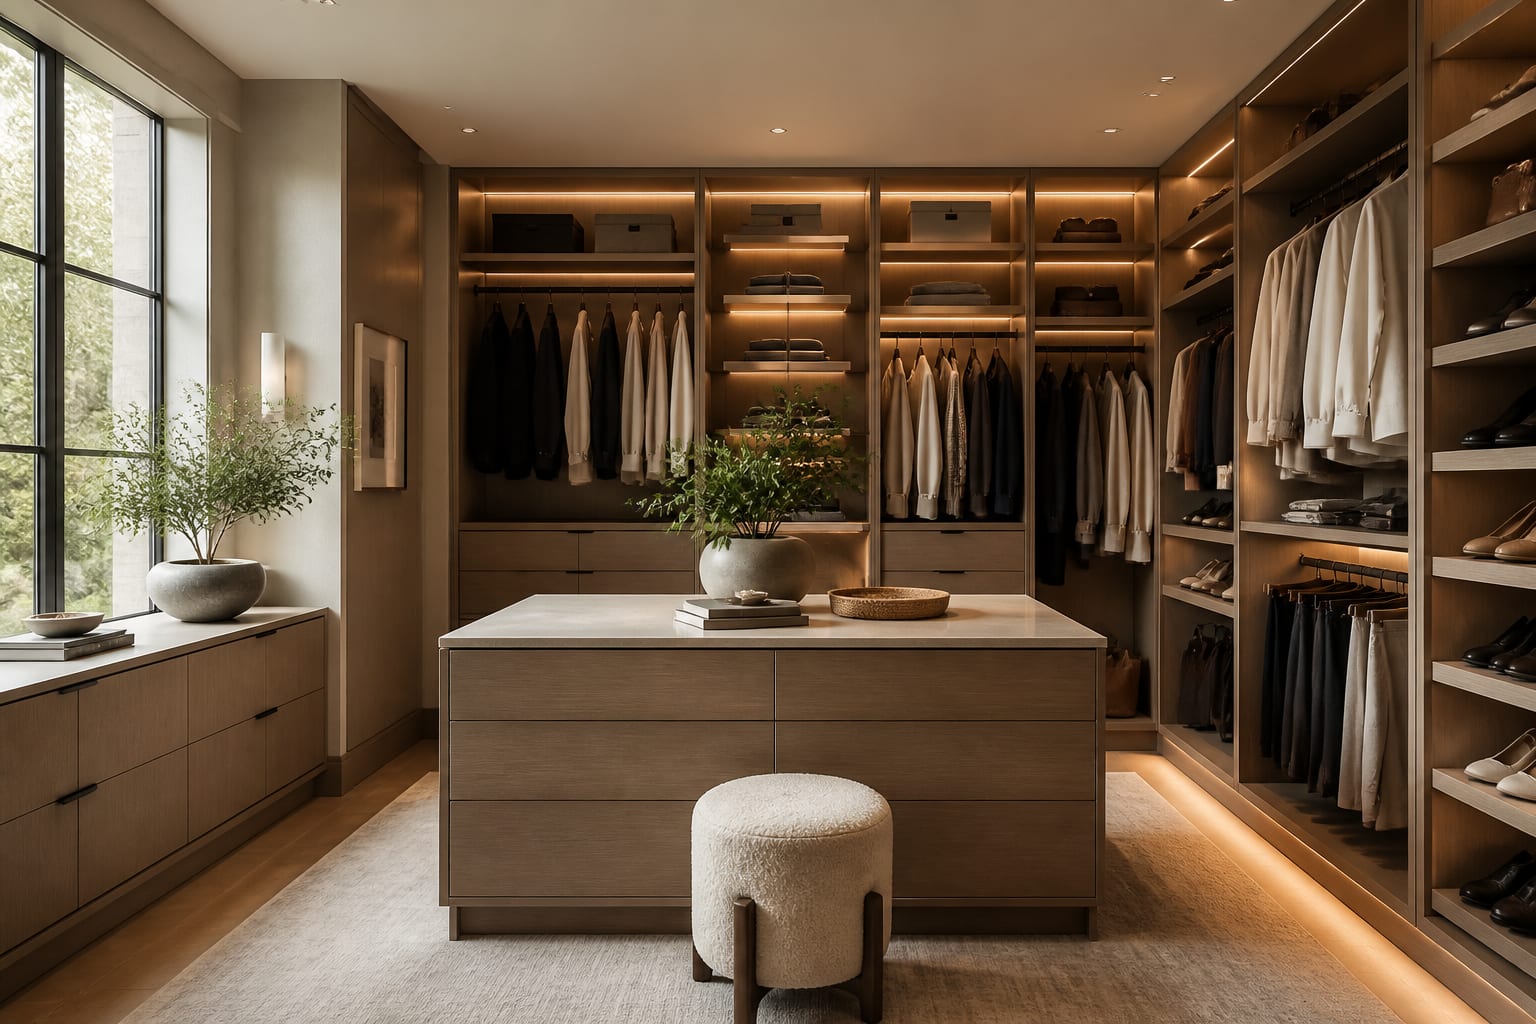
A good walk-in wardrobe is decided by clearances and hanging math long before you pick a finish. To design one that works, lay out the walkway first, then fit hanging, shelving, and drawers around a clear 36-inch path you can stand and turn in. My read is that most walk-ins fail because the owner crammed in storage until the aisle shrank to a squeeze, and a closet you have to shuffle through sideways never feels like the luxury it cost.
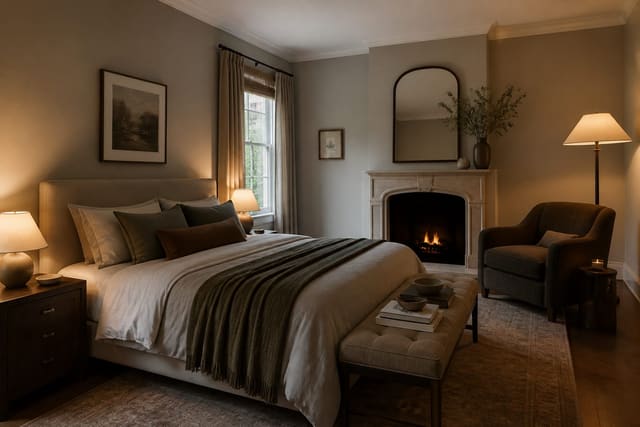
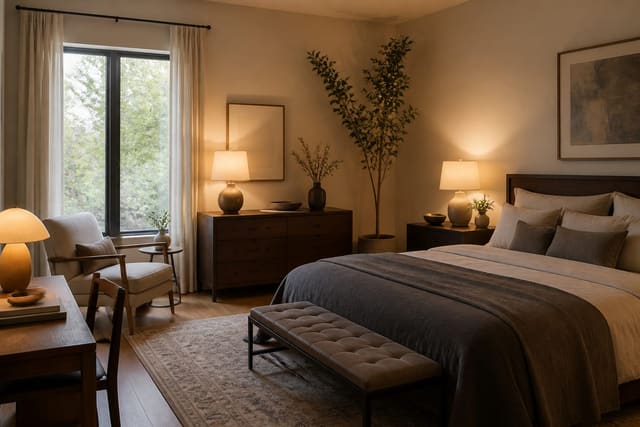
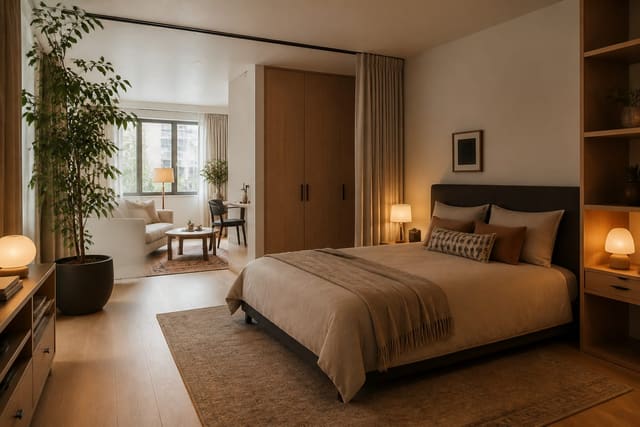
I think the smartest move is to treat the empty floor in the middle as a non-negotiable, not as leftover space. Protect the walkway, get your rod heights right, and a small room can hold a surprising amount without ever feeling cramped.
Start with the walkway, then build inward
The walkway is the spine of the whole room, so I draw it first and let storage claim whatever is left. A single-sided walk-in (storage on one wall) needs only about 36 inches of clear floor in front of the rods. A galley layout with storage on two facing walls needs 48 to 60 inches between them, because two people, or one person plus an open drawer, eat that space fast. Skimp here and the room reads as a hallway with clothes, not a dressing space.
Measure the actual swing of things that move. A drawer pulls out 18 to 24 inches, a hinged door swings about the same, and you need room to crouch and reach a bottom shelf without backing into the opposite wall. If your plan puts a deep drawer directly across from another deep drawer in a tight galley, you have designed a daily traffic jam. The same square-footage discipline I lean on for bedroom layout ideas applies here: protect the circulation path before you fill the perimeter.
For a U-shaped walk-in, keep the corners honest. Corner hanging is awkward because two rods meet at a right angle and the clothes bunch, so I either run a lazy-Susan corner unit or simply put shelving in one corner and hang only on the straight runs. A corner you can actually reach into is worth more than a corner that technically holds garments you never see again.
Get your hanging and shelving math right
Hanging is where capacity is won or lost, and the single biggest upgrade is double-hanging. Most shirts, blouses, jackets, and folded trousers need only about 40 inches of vertical drop, so stacking two rods, one near 42 inches off the floor and a second around 84 inches, fits two layers where most people waste the wall on one. That one change can nearly double the linear feet of hanging in a given wall.
Reserve a single long-hang section for the things that actually need the height. Dresses, coats, and jumpsuits want roughly 70 inches of clear drop, and gowns can need more. Give them one dedicated run rather than letting them dictate the height of the whole room. Here is the rod hierarchy I plan to almost every time:
- Double-hang zone: rods at 42 and 84 inches for shirts, folded pants, and short jackets.
- Long-hang zone: one section with about 70 inches of clear drop for dresses and coats.
- Shelves: 12 to 16 inches deep, spaced 12 to 14 inches apart for folded knits and bags.
- Shoe shelves: angled or flat at 7 to 8 inches of vertical spacing, 12 inches deep.
- Drawers: 24 to 36 inches of width per person for underwear, socks, and small items.
Shelf depth deserves real attention. Stacks of folded sweaters live happily at 14 inches deep, but push shelves to 20 inches and the back third becomes a void where socks go to disappear. If you have a deep wall, use it for hanging or for a pull-out rather than one cavernous shelf. The goal is that everything you own sits in the front 14 inches where your eye and hand land naturally.
Light it so you can actually see color
Closets are routinely under-lit, and it shows the first time you pull a navy sock out of a black drawer at dawn. A single warm bulb overhead casts shadows straight down into every cubby, which is exactly where you need to see. I plan for layered light: an ambient ceiling source plus dedicated fixtures aimed at the rods and shelves, targeting at least 300 lux where the clothes hang.
Color temperature matters more here than in almost any other room because you are matching fabrics. I use 3500K to 4000K, which is neutral enough to show true color without the orange cast a 2700K bulb throws over everything. If you have done warm-light work elsewhere in the bedroom, this is the one spot I deliberately go cooler; the reasoning behind those choices is laid out in my bedroom lighting guide. LED strips tucked under each shelf lip wash the shelf below and kill the shadow-cave effect that ceiling-only lighting creates.
If the room has a door, add a motion sensor or a door-jamb switch so the light comes on as you enter with an armful of laundry. It is a small spec that you appreciate every single day.
Common mistakes to avoid
The most common mistake is filling every wall with storage until the walkway drops below 36 inches, which turns a dressing room into a closet you back out of. Protect the aisle first, always. A close second is single-hanging everything: one rod at 60 inches wastes nearly half the wall height that double-hanging would put to work.
Another frequent error is over-deep shelving. A 24-inch shelf seems generous until the back foot becomes a graveyard of forgotten clothes; keep folded-goods shelves at 12 to 16 inches. People also under-light the space and then wonder why outfits look wrong in daylight, so plan real fixtures, not one bulb. Finally, do not forget drawers. Hanging everything that could be folded wastes rod space and leaves socks and underwear homeless, so build in 24 to 36 inches of drawer width per person from the start. If you are working a tight footprint, the space-saving thinking in my studio apartment bedroom ideas translates directly to a compact walk-in.
Use AI design to test your wardrobe layout before you build
The hard part of a walk-in is that you cannot feel a 36-inch aisle from a floor plan; it either works when you stand in it or it does not, and by then the cabinetry is installed. This is where Re-Design earns its keep. Upload a photo of the empty room or spare bedroom you want to convert, and the AI design tool re-renders it as a finished walk-in so you can judge whether the walkway reads as comfortable or cramped before a single panel is ordered.
Because you upload your real space, the previews respect your actual wall lengths, window placement, and ceiling height. Test a galley layout against a single-wall layout, swap double-hang sections for shelving, and see which arrangement leaves the aisle you want, all before you commit to a built-in quote you cannot easily undo.