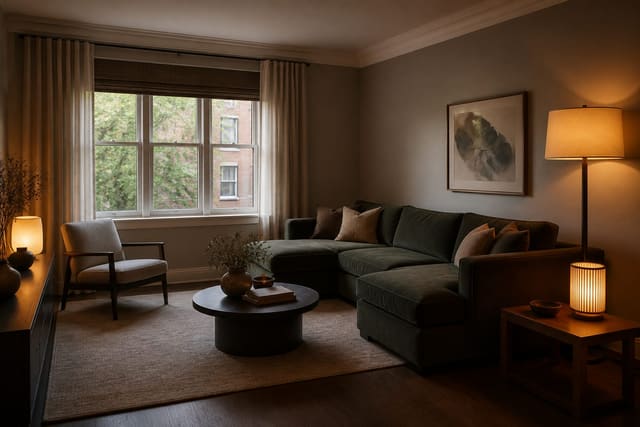
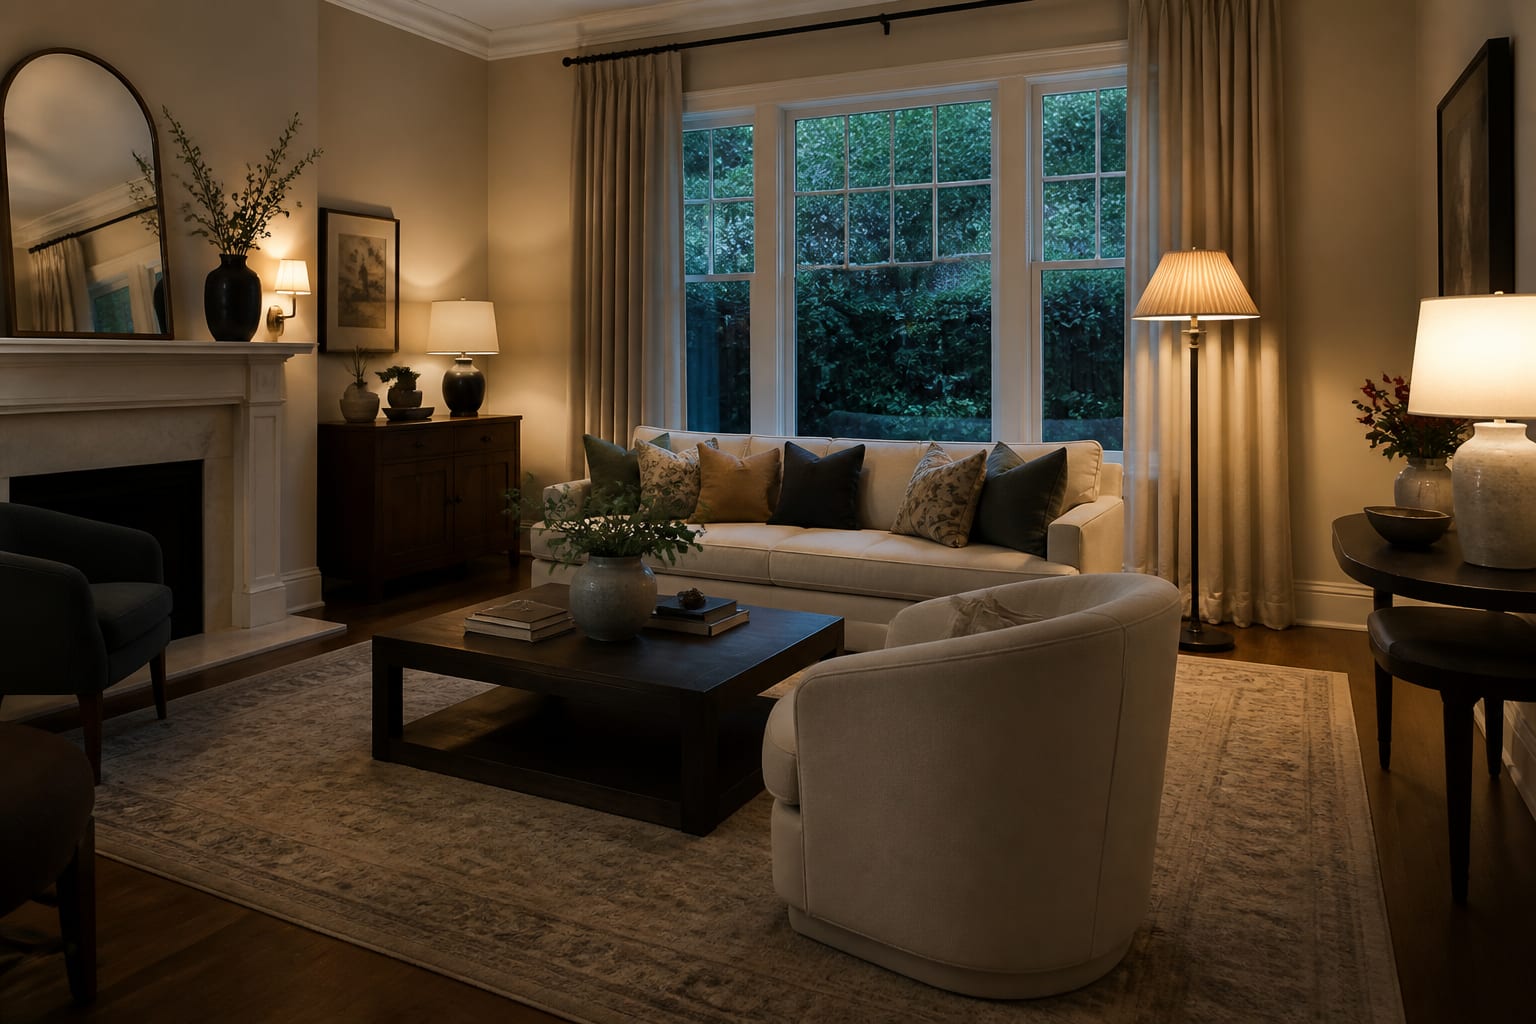
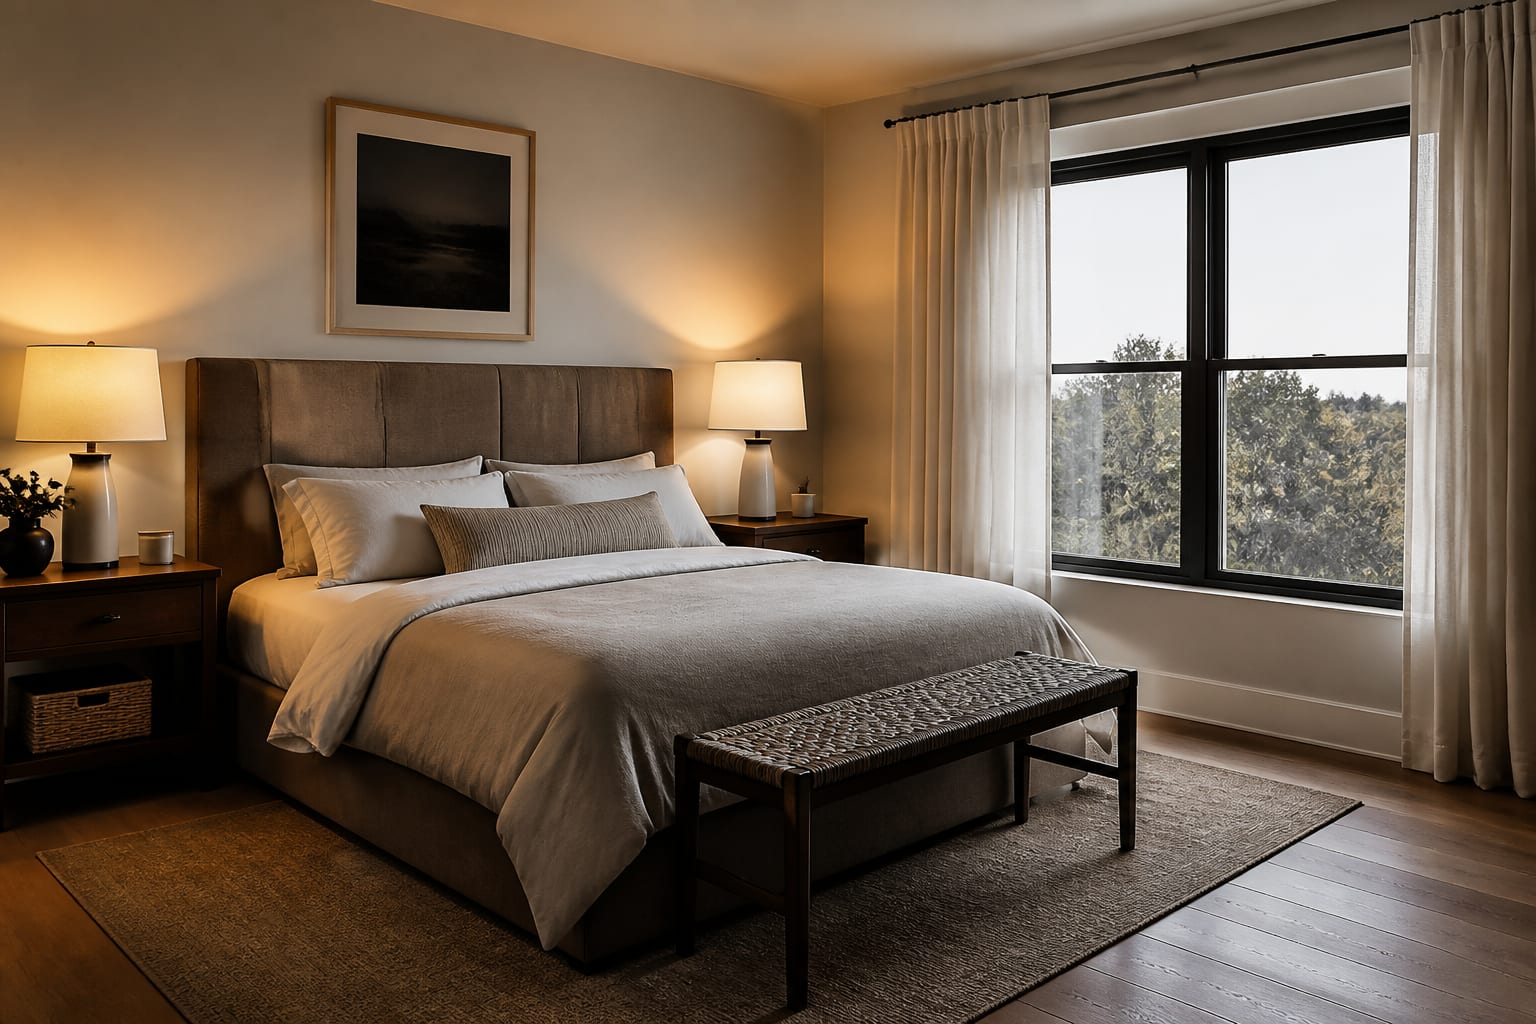
Dark rooms are where AI room design gets blamed for problems the photo created. My firm take: if the image is muddy, the result will be decorative guesswork, not design evidence. A dim living room, bedroom, hallway, rental kitchen, or basement can still be redesigned well, but the upload has to show enough structure for the tool to read the space. This guide explains how to improve the photo, what to ask for, and when to distrust a beautiful low-light preview.
Does AI room design work well for dark or dimly lit rooms?
Yes, AI room design can work well for dark or dimly lit rooms when the photo still shows the walls, floor, furniture edges, windows, doorways, and fixed finishes clearly enough for the tool to interpret. It works poorly when the image is so underexposed that a black sofa, dark wood floor, shadowed corner, and navy wall all collapse into one flat shape.
The issue is not that AI dislikes dark rooms. The issue is that darkness removes evidence. Color accuracy gets weaker, depth gets flatter, and the tool may invent cleaner corners, lighter floors, or window placement that the original photo did not prove. If your room is also crowded, the problem compounds; a dark cluttered room AI design needs better staging before the algorithm can separate furniture from shadows.
Treat the first preview as a diagnostic. If the AI keeps changing the floor tone, losing a doorway, or replacing your dark cabinet with a generic light one, the photo is not ready for design decisions yet.
Why dark photos make AI redesigns worse
A dark photo hides the exact things an interior designer would inspect first. The baseboard line tells you where the wall meets the floor. The window trim tells you whether the room has natural contrast. The floor finish tells you if the palette should go warmer, cooler, lighter, or deeper. When those details vanish, AI has to fill in the blanks with common room assumptions.
The most common failure is color drift. A brown floor may become charcoal, a cream wall may turn gray, and a deep green sofa may read as black. That matters because a room with bossy fixed undertones needs coordination, not fantasy. If every preview looks slightly sour, use the same logic as a clashing undertones room fix: identify the fixed surface that cannot change, then make the new palette support it.
Depth is the second failure. Low light flattens corners, especially in basements, north-facing rooms, hallways, and windowless bathrooms. The AI may make a narrow room look wider or remove the oppressive feeling that actually needs lighting, mirrors, pale surfaces, and better contrast. A preview that erases the hard part is not useful; it is an attractive lie.
How should you photograph a dim room so the preview has evidence?
The goal is not to create a magazine photo. The goal is to give the AI enough honest information to redesign the actual room. A slightly plain, evenly lit photo is more useful than a dramatic shadowy one.
- Photograph from the main doorway or the opposite corner at about 48 to 60 inches high, because that angle usually captures the floor line, ceiling line, window placement, and largest furniture in one frame. Avoid standing on a chair or crouching near the floor; those angles distort scale and can make a normal sofa, bed, or table look like the wrong size.
- Turn on every consistent light source and avoid mixing wildly different bulbs, because warm lamps beside a cool overhead fixture can confuse wall color and wood tone. For most living rooms and bedrooms, 2700K feels residential; 3000K can work in kitchens, baths, and work zones that need a cleaner read.
- Open curtains, blinds, and doors before shooting, because hidden window edges and blocked door swings lead to previews that ignore the room’s real limits. If the room has a tiny window, show it; the design solution may involve brighter surfaces, layered lamps, or ideas similar to a windowless bathroom brightening plan, not a fake wall of daylight.
- Take one wide photo and one detail photo of the fixed finishes, because dark rooms often depend on subtle undertones in flooring, tile, brick, cabinets, or trim. The wide photo helps the AI understand layout, while the detail photo helps you judge whether the preview palette respects the surfaces that must stay.
- Clear the floor enough to reveal the room shape, because shoes, toys, laundry, bags, and loose cords read as visual noise in a low-light image. You do not need to style the room perfectly, but the AI should be able to see the base of furniture, the main walkway, and whether a door or drawer can open.
How AI design helps you see the fix
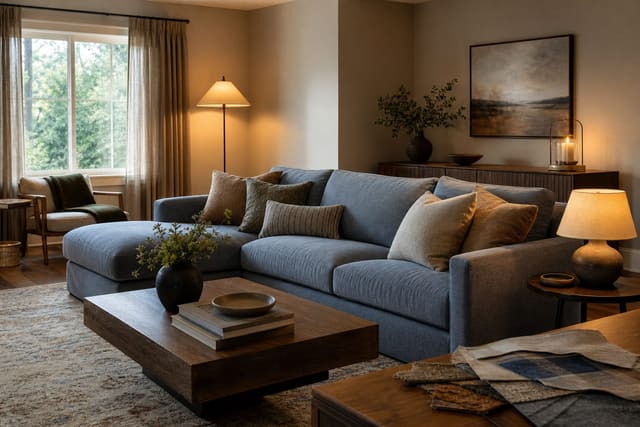
AI design is useful in a dark room because it lets you test whether the problem is layout, lighting, palette, or sheer lack of contrast. Those are different fixes. A north-facing bedroom may need warmer whites and layered lamps. A basement family room may need lighter textiles, a larger rug, and vertical lighting. A dark rental kitchen may need under-cabinet stick lights, paler counter stools, and a washable runner instead of a fantasy renovation.
Write the prompt with constraints that protect reality. Try: design this dim 11 by 13 foot living room with the existing dark wood floor, no wall removal, an 84 inch sofa, a 8 by 10 rug, warm 2700K lamps, lighter curtains, closed storage, and no change to the window size. That prompt tells the tool what must stay, what can change, and what kind of light the room should have.
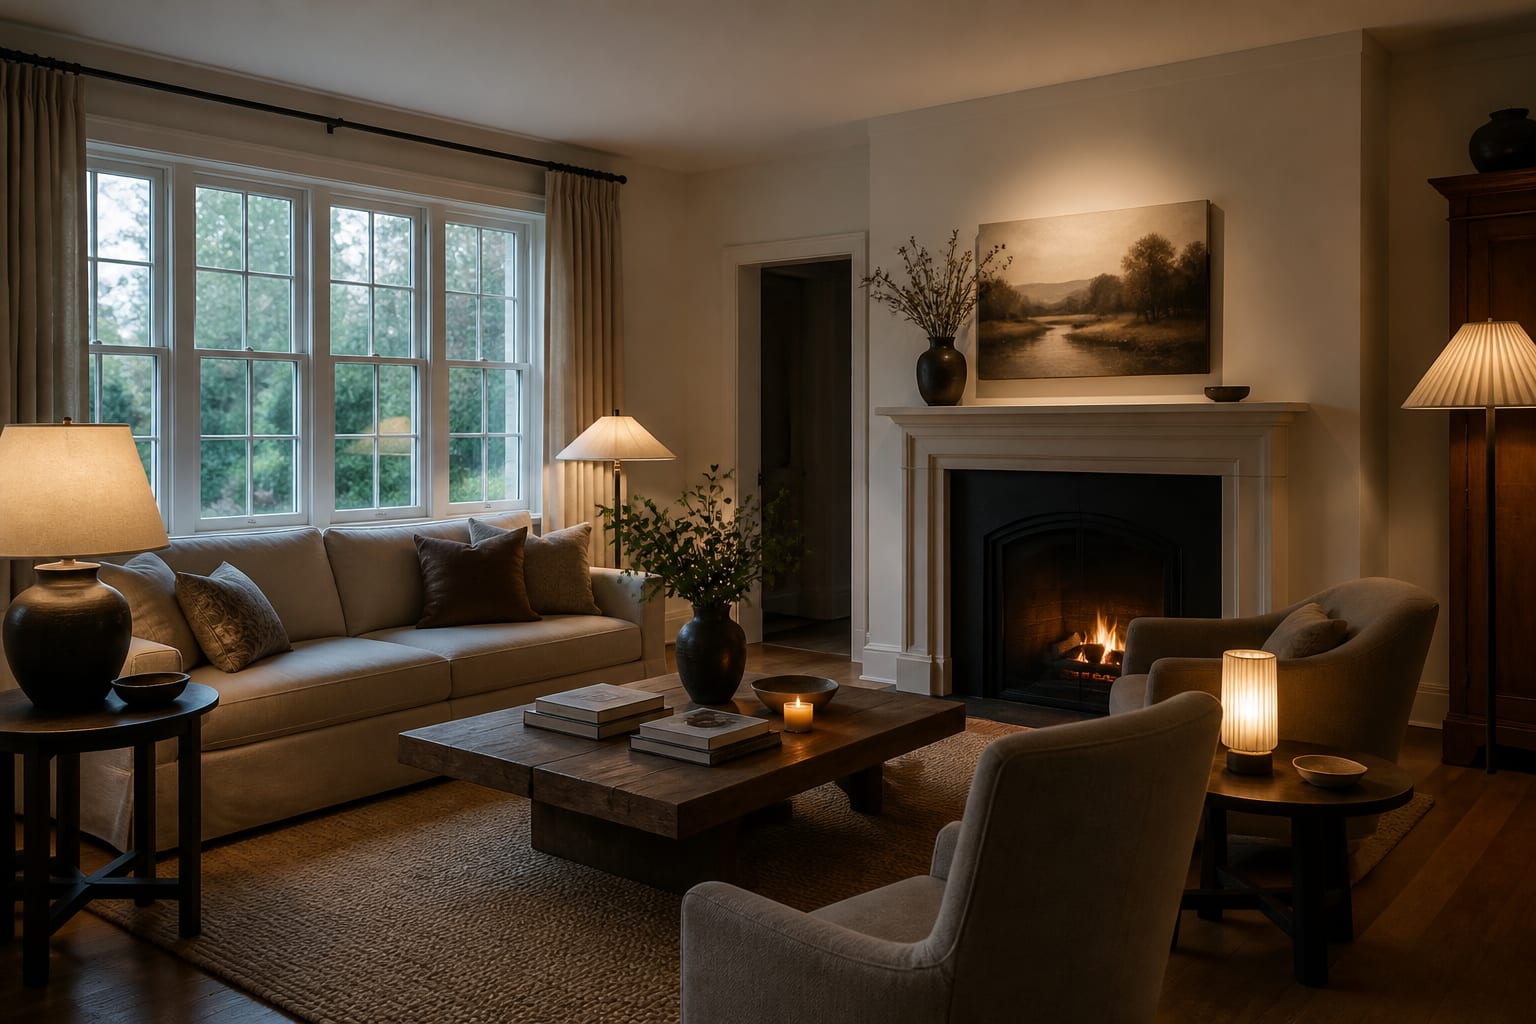
Run at least two versions. One should keep the dark mood and improve it with lamps, contrast, and texture. The other should test a brighter direction with lighter textiles, reflective surfaces, and cleaner storage. If both versions only work by making the room unrealistically sunny, the design is not ready. Ask again with stricter instructions: keep the same daylight level, same floor, same window, same ceiling height, and same fixed fixtures.
The best AI result for a dark room is not the brightest image. It is the one that makes the shadows feel intentional and still gives you a room you can actually build.
Common mistakes to avoid with low-light AI room photos
The first mistake is uploading a night photo with one overhead bulb and expecting color accuracy. A ceiling light can create bright spots on the floor and dead shadows in the corners, which makes the room look harsher than it feels. Add table lamps, open shades, and shoot during the brightest usable part of the day before judging the preview.
The second mistake is asking for a style before fixing visibility. “Make this dark room modern organic” is too vague if the tool cannot read the sofa edge, floor finish, or cabinet tone. Ask first for a realistic brighter version that preserves the fixed materials, then ask for style once the room geometry survives.
The third mistake is trusting invented windows, sconces, and pale floors. AI may add daylight where no daylight exists because the image looks better that way. If you rent or cannot renovate, specify no new windows, no recessed lights, no hardwired sconces, no new flooring, and no structural changes.
The fourth mistake is choosing paint from the preview alone. Dark rooms change color brutally. Sample paint on at least two walls, check it in morning and evening light, and view it next to the floor, trim, and largest upholstery. A color that looks creamy in an AI image may turn yellow beside old oak or lifeless beside gray vinyl plank.
The fifth mistake is ignoring lamp placement. A dark room often needs light at three heights: overhead or ceiling wash, eye-level lamps around 60 to 66 inches high, and lower accent light near shelves or corners. One floor lamp in the far corner cannot carry an entire room.
When should you trust the dark-room preview enough to act?
Trust the preview when it preserves the room’s hard facts. The window should remain the same size, the floor should look like your floor, the awkward corner should still exist, and the furniture should fit the actual wall lengths. If the AI makes the space larger, cleaner, or brighter by deleting constraints, keep the mood and reject the plan.
Before buying, compare the preview to a measured room. Confirm sofa length, rug size, cabinet depth, bed clearance, curtain height, outlet locations, and door swing. In a living room, keep about 18 inches between sofa and coffee table and protect 30 to 36 inches on the main walking path when the room allows it. In a bedroom, make sure a queen bed, which is 60 inches wide, still leaves usable nightstand space and a route to the closet.
Buy in the order that fixes the darkness without gambling: lighting first, then rug or major textile, then storage, then wall color or art, then smaller accents. A low-light AI preview is strongest when it helps you reject bad directions early. It should make the real room easier to see, not persuade you to buy for a room that only exists on screen.