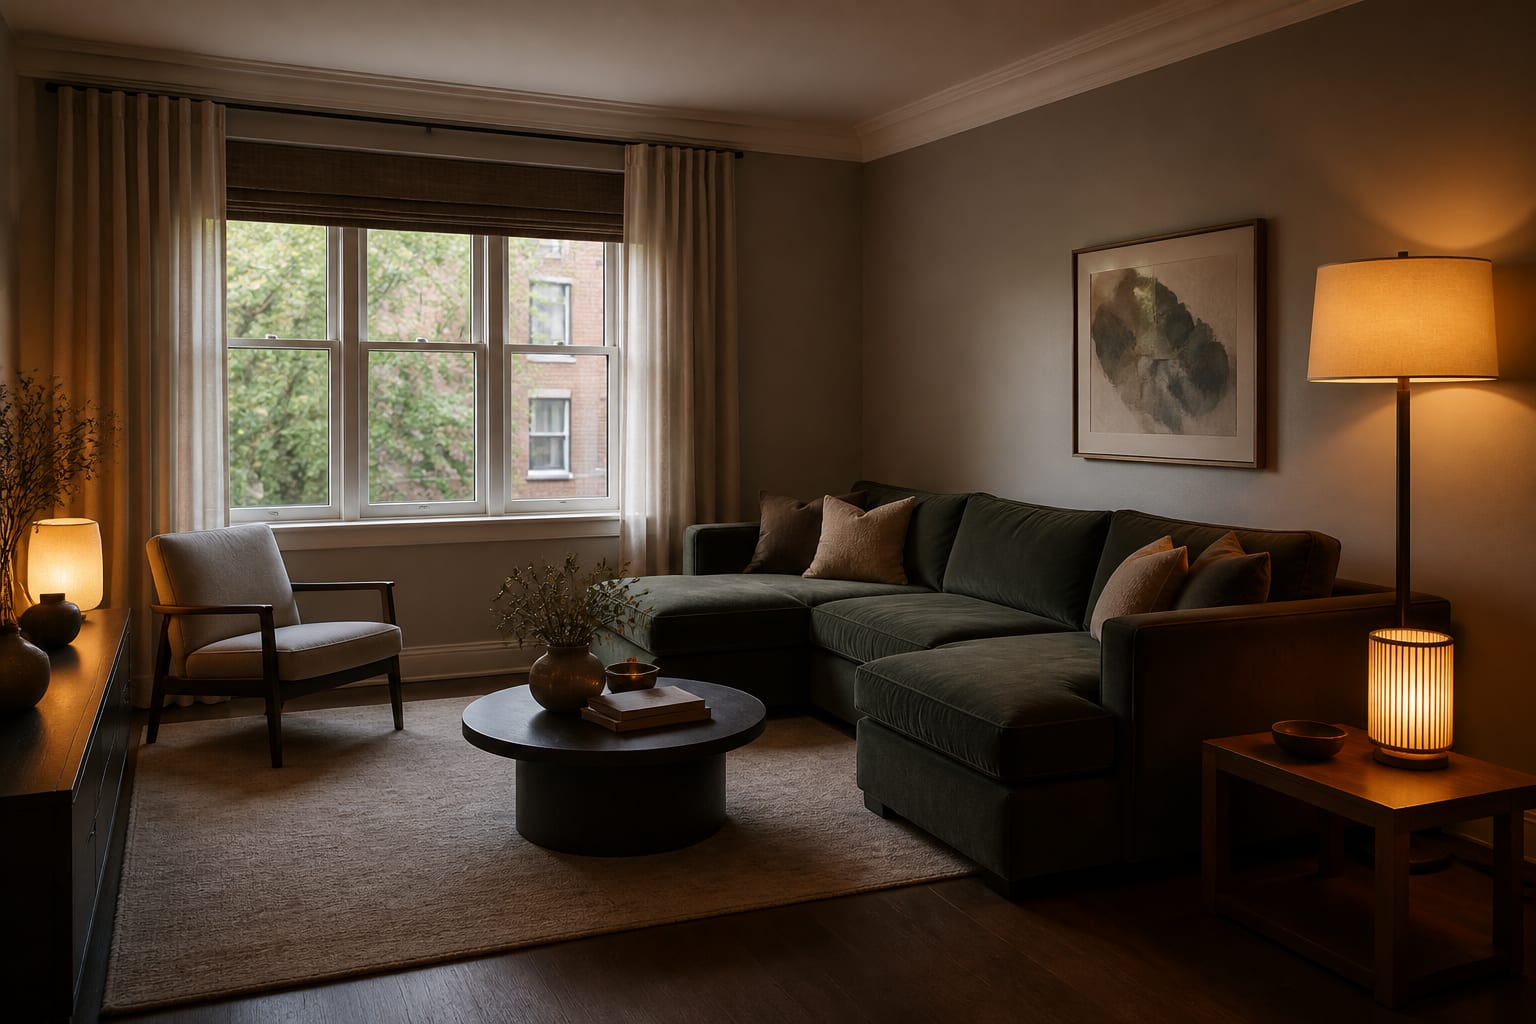
A dark, messy room photo is not automatically useless, but it is the fastest way to make an AI redesign lie to you. My opinion is blunt: clear the room enough for the tool to see the architecture, then let the AI judge style. If you ask it to redesign laundry piles, shadows, tangled cords, and half-hidden windows, the preview will solve the mess instead of the room. The good news is that a weak photo can usually be rescued with a 10-minute reset and a stricter prompt.
Can AI room design apps work on dark or cluttered photos?
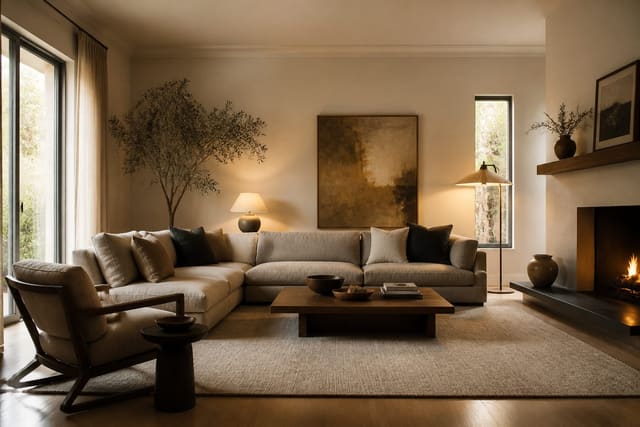
AI room design apps can work on photos of dark or cluttered rooms, but the result is only useful when the photo still shows the room shell, fixed finishes, and scale. The app needs evidence: walls, floor, ceiling line, windows, doors, large furniture, and the finishes that are staying. If those cues disappear behind shadows or clutter, the preview starts guessing.
A bad photo usually creates three problems. The tool may brighten the room unrealistically, replace clutter with fake décor, or misread scale because the floor plane is hidden. That does not mean the technology failed; it means the input did not give the design enough physical information. If realism matters, pair this workflow with the deeper guide to getting photorealistic AI room results, because lighting, perspective, and material texture all matter more when the room starts out difficult.
Key Takeaways
What should you fix before taking the photo?
Fix the photograph before you fix the room. A clean AI input is not a magazine-ready room; it is a readable room. Leave the big pieces in place, remove the temporary noise, and make the camera describe the space honestly.
- Clear the floor enough to reveal circulation, because hidden walkways make furniture placement unreliable. Move laundry, toys, shoes, bags, pet bowls, and loose cords out of the frame, then keep the sofa, bed, table, rug, fireplace, and storage pieces that control the layout; the AI needs to see whether a 30–36 inch walking path is possible.
- Open the window treatments before turning on every lamp, because daylight helps the tool read wall color and fixed finishes. If the room is still dim, use warm white lamps around 2700K–3000K and say in the prompt that the room has weak natural light, rather than letting the preview invent a sunny window that does not exist.
- Shoot from standing height, because extreme angles distort furniture scale. Hold the phone roughly 48–60 inches above the floor, keep door frames vertical, and avoid the ultra-wide setting if it bends the corners into a fake bigger room.
- Use a crop that protects the room envelope, because pretty close-ups are poor design inputs. A 4:3 image that shows two walls, the floor, the ceiling line, and the main window is usually more useful than a dramatic shot of one styled chair.
- Leave scale anchors visible, because AI reads size through familiar objects. Keep the queen bed, 30-inch nightstand, 84-inch media console, dining table, or existing sofa in view if those pieces affect what can fit.
How do you prompt AI when the room is dark or messy?
A dark or messy room needs a prompt that separates permanent facts from temporary problems. Tell the tool what it should ignore, what it must keep, and what kind of correction you want. Do not write only “make this brighter” or “clean up this room.” Those instructions invite the app to whiten the walls, delete storage, and pretend the room has no daily life.
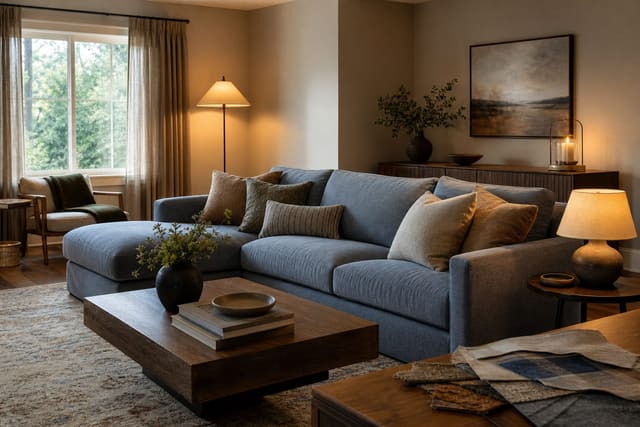
A stronger prompt sounds like this: “Redesign this 11 by 14 foot living room with an 8-foot ceiling. Keep the oak floor, gray 88-inch sofa, white trim, black TV, balcony door, and existing window location. Ignore temporary clutter on the side table. Make the room feel brighter with warm white walls, closed storage, two shaded table lamps, one floor lamp, cream curtains, and a larger rug, while keeping 32 inches clear from the entry to the hall.”
That prompt gives the AI three things a messy photo does not give by itself: measurement, permission, and intent. Measurement protects scale. Permission tells it what can change. Intent explains whether the goal is brightness, calmer storage, better furniture placement, or a cleaner palette.
If the first result looks attractive but strangely wrong, audit it before moving on. Did it erase the oak floor? Did it turn a dark window into French doors? Did it replace your existing sofa with a smaller one? The broader issue is AI room design accuracy: a preview can be persuasive while still cheating the room’s most important facts.
Common mistakes to avoid with bad room photos
The most common mistake is expecting AI to interpret clutter the way a person does. A person can understand that the Amazon boxes are temporary and the sofa is permanent. A model may treat both as visual material unless the photo and prompt make the distinction obvious.
- Mistaking darkness for mood fails because the preview may double down on the gloom. If the room is underlit, ask for specific fixes: two table lamps, one floor lamp, lighter window treatments, pale reflective surfaces, and 2700K–3000K bulbs instead of a vague brighter design.
- Cropping out the ugly corner fails because the ugly corner may be the real design problem. If the radiator, off-center window, dog crate, toy shelf, or awkward doorway drives the layout, keep it visible and ask for a solution that works around it.
- Clearing everything out fails because an empty-looking photo removes scale. Do not strip the room down to bare walls unless the room will actually be empty; keep large pieces that are staying so the AI does not size the next sofa like it lives in a showroom.
- Trusting a cleaned-up render fails when storage is the problem. If clutter returns every night, ask for closed cabinets, baskets sized for the shelf depth, a 15- to 18-inch deep console, or a dedicated landing zone rather than another decorative chair.
- Ignoring undertones fails when dark photos hide color conflict. If beige tile, orange oak, cherry cabinets, or cool gray flooring are part of the room, keep them visible and compare the preview with the guide to fixing clashing undertones in a room before choosing wall color from the screen.
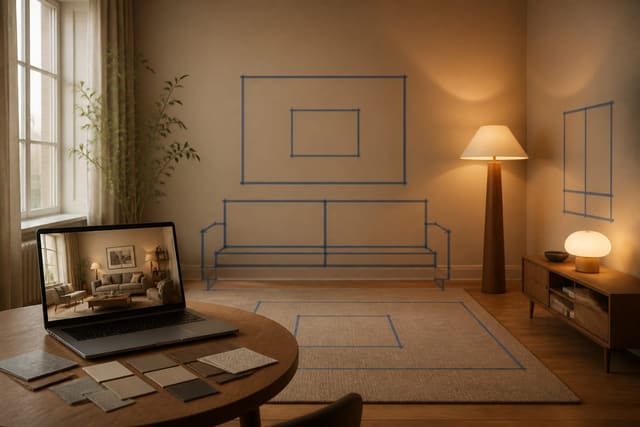
How AI design helps you see the fix
AI design is useful here because it turns a room that feels hopelessly messy or dark into a set of visible options. Upload the cleaned-up photo, generate two or three focused versions, and compare what each one solves. One version can test brighter walls and lamps. Another can test closed storage. A third can keep the layout but change the rug, curtains, and material warmth.
The upload-and-preview loop works best when the room’s flaw is named plainly. Try “make this north-facing bedroom feel warmer without changing the carpet,” “create storage for visible toys without blocking the window,” or “brighten this rental living room with no paint and no hardwired lighting.” Those prompts keep the AI from turning a real constraint into a fantasy renovation.
After the preview, return to the physical room. Tape the rug footprint, test whether a 16–18 inch gap still works between sofa and coffee table, check if curtains can mount 4–8 inches above the casing, and sample paint on a large sheet near the fixed floor. The screen should make the next move clearer, not remove the need to verify it.
A dark, cluttered room photo can absolutely produce a useful AI redesign. It just needs a designer’s discipline before the upload: better light, less noise, visible architecture, and a prompt that refuses to let the tool escape the actual room.
- Brighten and crop the photo first.
- Clear clutter so the shell reads.
- Treat the preview as a test.
- Brighten and crop the photo first.
- Clear clutter so the shell reads.
- Treat the preview as a test.
- Brighten and crop the photo first.
- Clear clutter so the shell reads.
- Treat the preview as a test.
- Brighten and crop the photo first.
- Clear clutter so the shell reads.
- Treat the preview as a test.