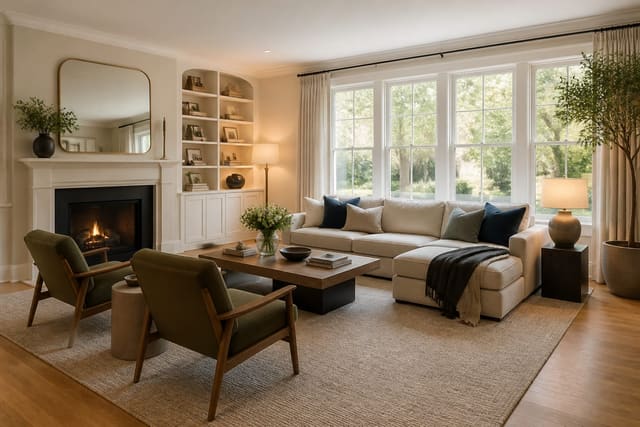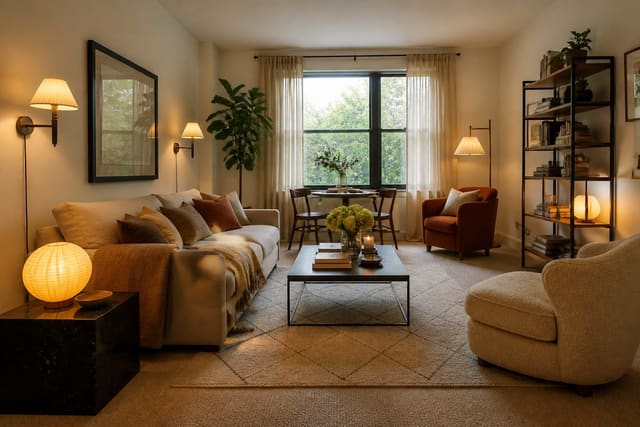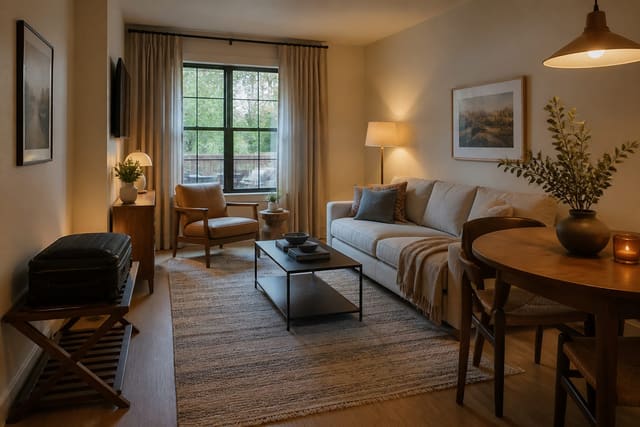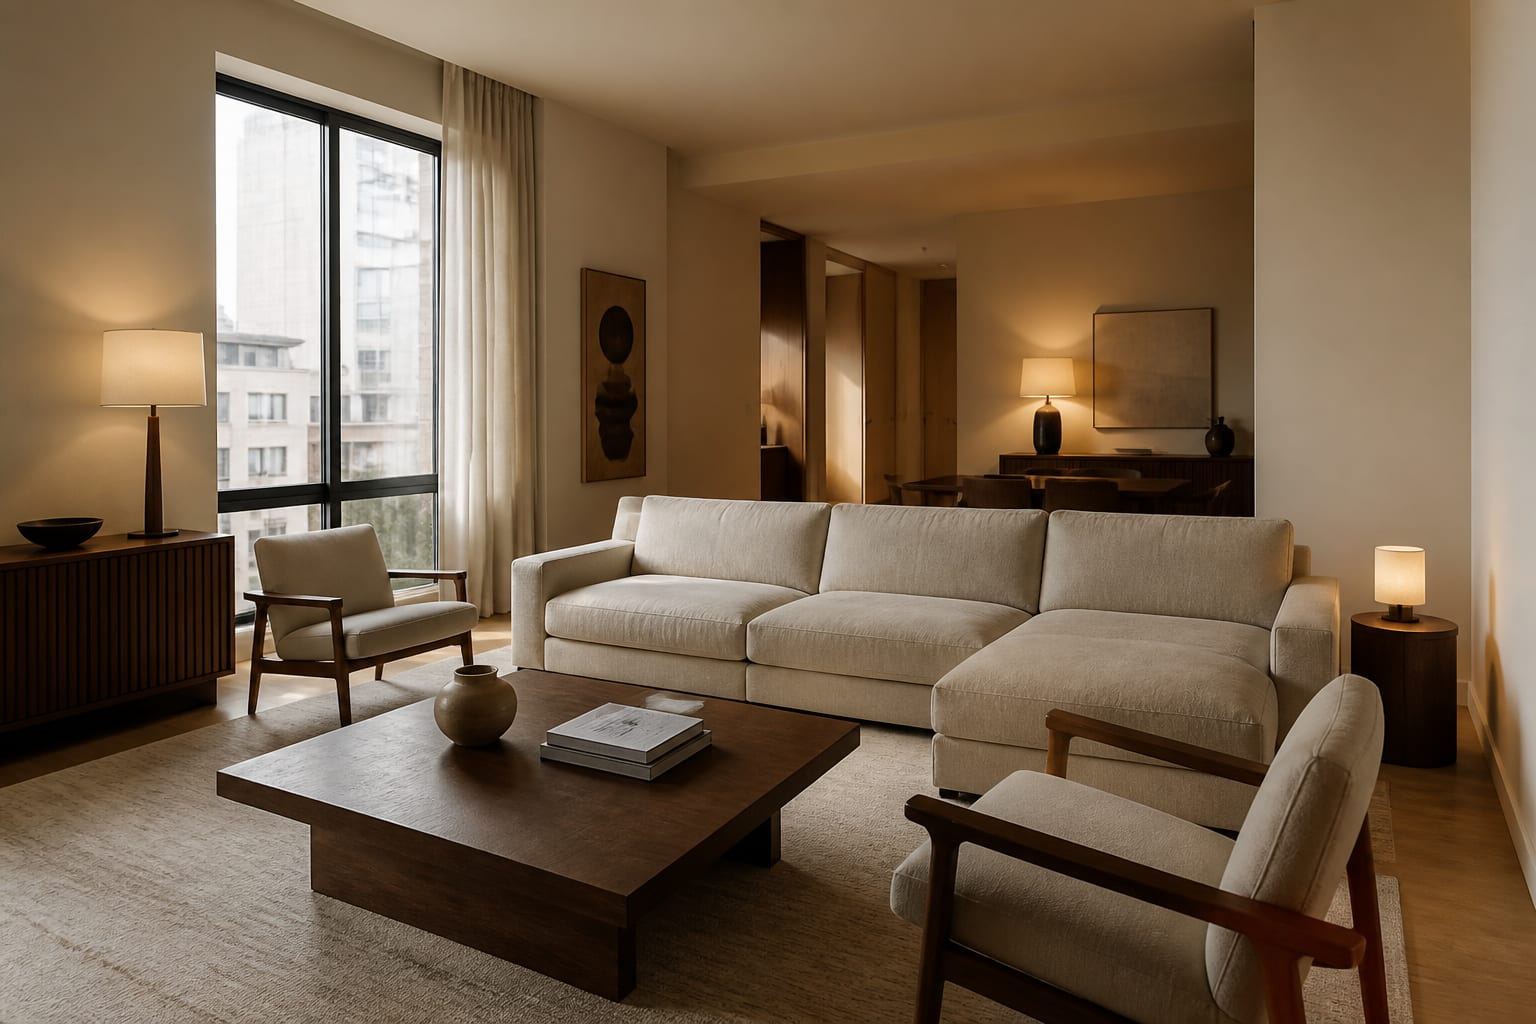
You can get AI room design without uploading real photos by using text prompts, sample-room images, or cropped shots that hide identifying details. These no-upload options work well for style decisions like color and furniture direction, but layout-dependent choices need a photo—crop out personal details to keep the room private while still improving accuracy.
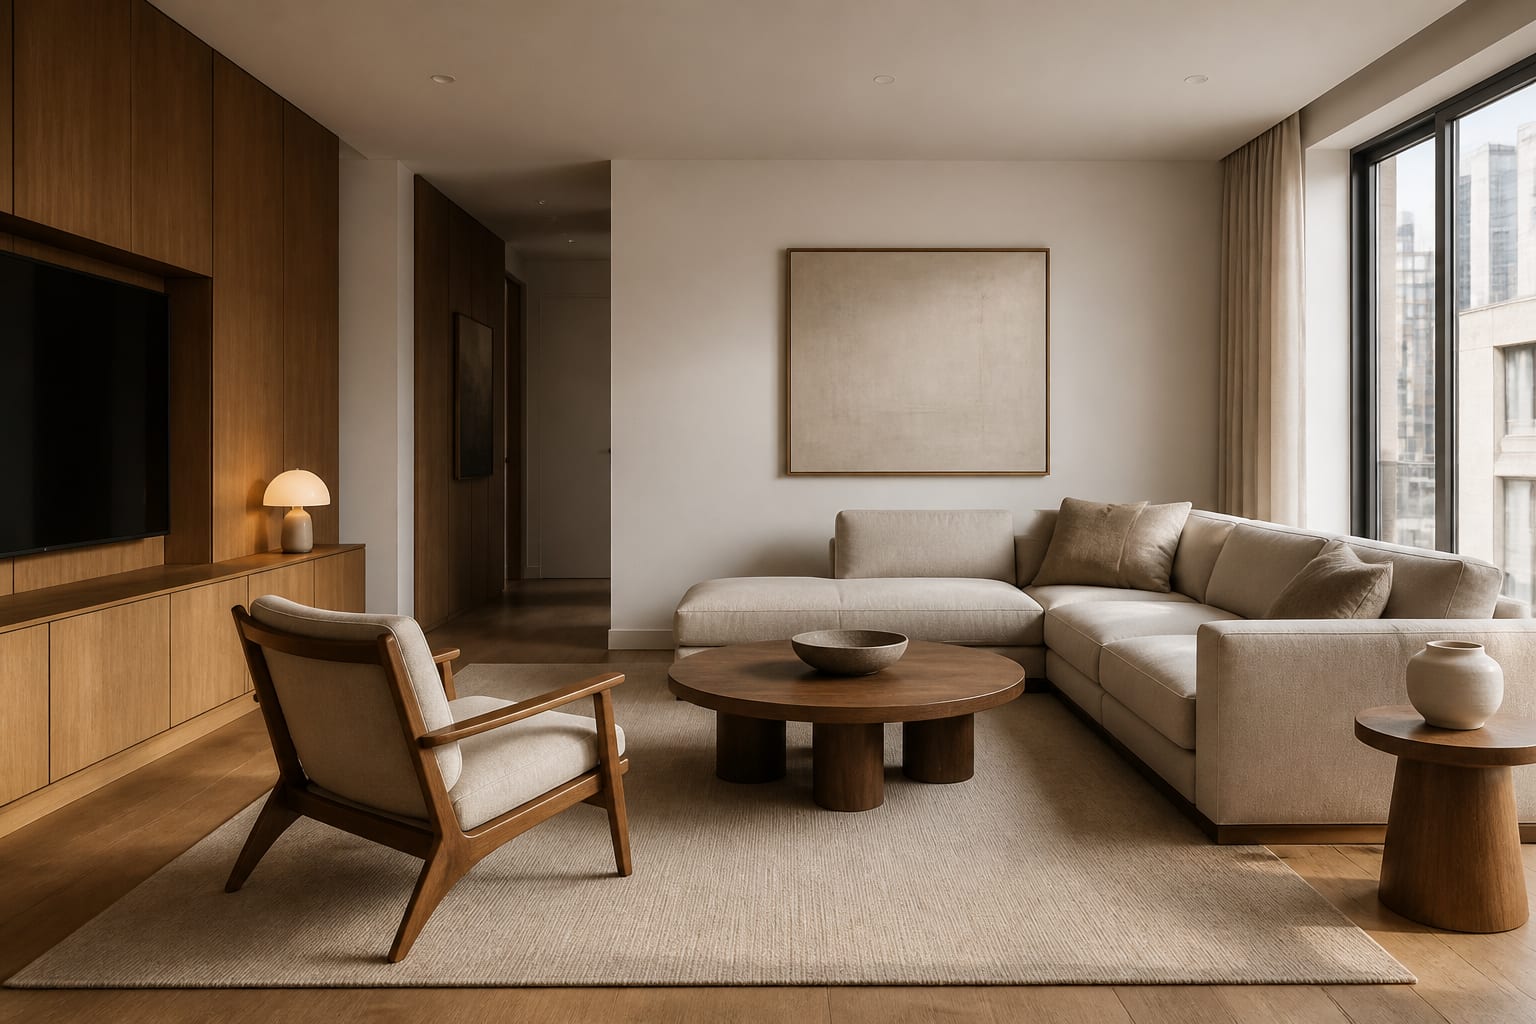
Which Private Workflow Fits Your Design Decision?
Choose your workflow by risk, not novelty. A paint-color test doesn't need the same data as a full furniture plan, and a vacation rental refresh carries different stakes than a primary bedroom.
| Workflow | Privacy Level | Best For |
|---|---|---|
| Prompt-only | Highest | Testing style direction: colors, materials, mood |
| Sample-room photo | High | Testing mood in a similar room shape without exposing yours |
| Cropped personal photo | Moderate | Layout decisions where doors, windows, and outlets matter |
| Full-room upload | Lowest | Scale-dependent calls: furniture fit, large rugs, built-ins |
The full-room path suits resale staging and other scale-heavy projects; see how to redesign a room for resale value for that specific case. Most people jump straight to a full upload because the button is obvious, but describing, then substituting, then cropping usually gets you a better answer first.
How Do You Prepare a Room Photo Before Uploading?
- Remove personal information: mail, name signs, family photos, open screens, and anything visible in mirrors or glossy appliances.
- Shoot from standing height, roughly 48–60 inches, to avoid the distortion an ultra-wide lens creates.
- In a living room, shoot from a corner to capture windows, seating, and circulation together rather than a flat sofa portrait.
- Use daylight with overhead lights off for the truest color; if shooting at night, stick to warm white bulbs near 2700K.
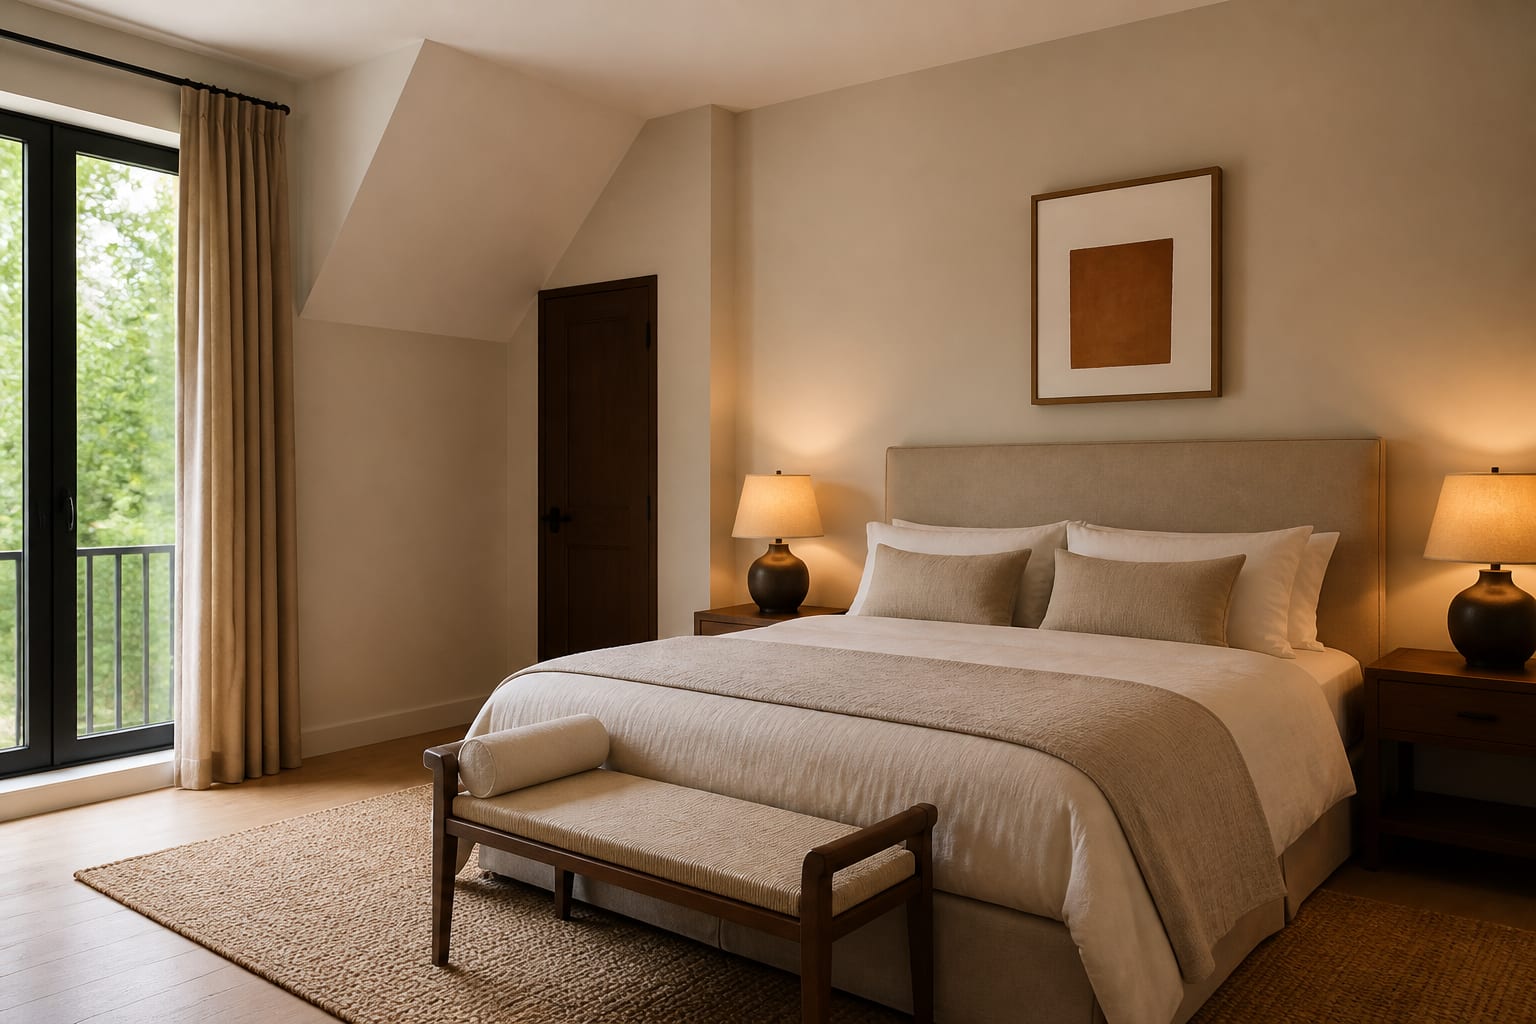
What Privacy Mistakes Should You Avoid?
- Uploading a lifestyle photo instead of a design photo, which reveals more about your household than the room itself.
- Cropping so tightly that windows, door swings, or wall lengths disappear, leaving the AI without enough architecture to solve the space.
- Trusting a generic stand-in image for measured decisions like sofa or rug size; verify real dimensions with tape on the floor before buying.
- Letting the AI suggest permanent changes when you rent or share walls. State restrictions in the prompt and stick to removable moves like curtains, plug-in sconces, and freestanding storage, the same approach covered in AI design ideas for renters.
- Saving every generated version instead of the two or three that answer a real question; delete the rest if the app lets you.
How Can You Preview a Room Without Oversharing?
Use AI as a comparison tool, not a confession booth. Start with a no-photo prompt to set the palette, such as warm white walls with low oak furniture and matte black accents, then test that direction against a sample-room image. If the result answers the style question, stop there; move to a cropped upload only when a new fit question appears. Name your limits directly in the prompt: "keep the existing oak floor, no family photos, no visible address, landlord-approved changes only."
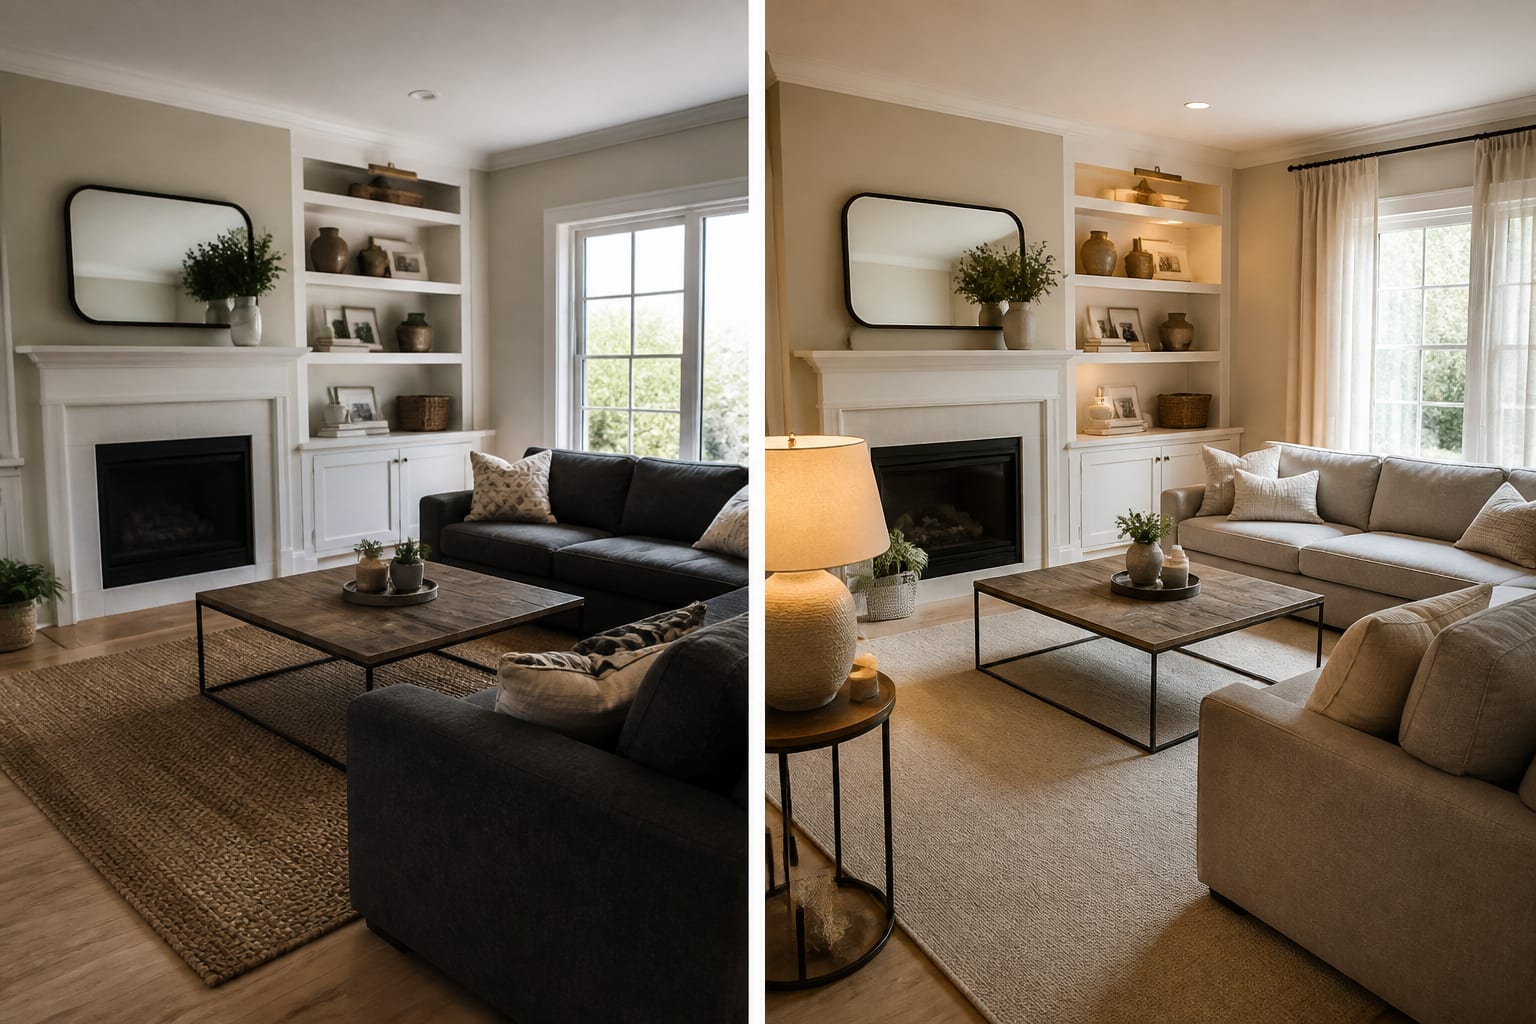
When Is a Personal Photo Upload Worth It?
Move to a personal photo once the problem is spatial, not just stylistic. Awkward circulation, mismatched window heights, or a fireplace fighting the TV can't be solved from a generic inspiration image. Use it for clearance decisions, such as leaving 16–18 inches between a coffee table and sofa and 30–36 inches for main walkways, and for fixed, expensive finishes like existing floors or cabinet stain that shape every palette choice.
For income properties, weigh owner privacy against the need for guest-ready photos, a balance covered in AI design ideas for a vacation rental. Stay no-upload for reversible, emotional decisions, like testing whether you prefer coastal or minimalist style, and reserve the camera for questions the room's actual geometry has to answer.
Frequently Asked Questions
Can AI design a room without seeing a photo of it?
Yes. Prompt-only generation and sample-room images let you test color, material, and style direction without uploading your own space. These options work well for taste decisions but can't account for your room's actual window sizes, doorways, or furniture clearances, so pair them with a cropped photo once fit becomes the question.
Is it safe to upload a photo of my room to an AI design app?
It can be, if you prepare the photo first. Remove mail, screens, family photos, and mirror reflections, then crop out anything identifying while keeping windows, doors, and wall lengths visible so the AI still has the architecture it needs to work with.
What should I remove from a photo before uploading it for AI design?
Remove mail, name signs, family portraits, open laptops or phone screens, medications, and anything reflected in mirrors, glossy appliances, or dark television screens. Keep the room's fixed features, such as windows, flooring, and door swings, since those drive the design more than personal items do.
Do I need a real photo to test paint colors or furniture styles?
No. A prompt describing your room type, light direction, and fixed finishes, or a sample-room image with similar proportions, is usually enough to test a color or style direction. Save your own photo for decisions where exact layout, scale, or clearance is the deciding factor.
How do I get accurate furniture sizing without a full-room upload?
Use a cropped personal photo that shows two walls, the windows, and the doorways, then confirm real-world fit by taping the furniture's footprint on the floor. This combines enough visual accuracy for the AI with the personal privacy a cropped image protects.