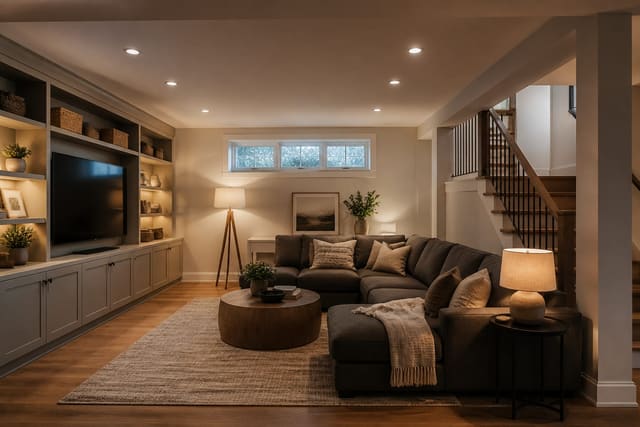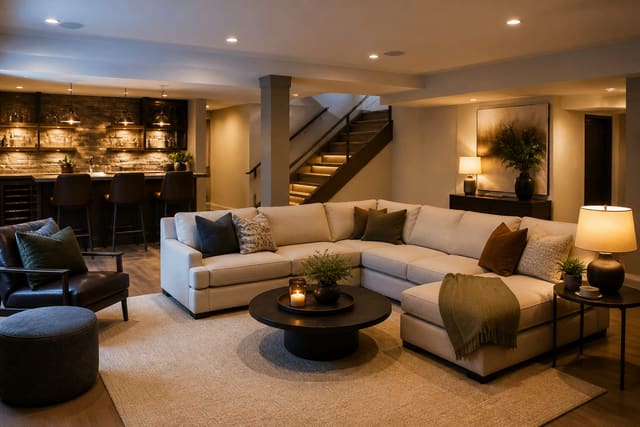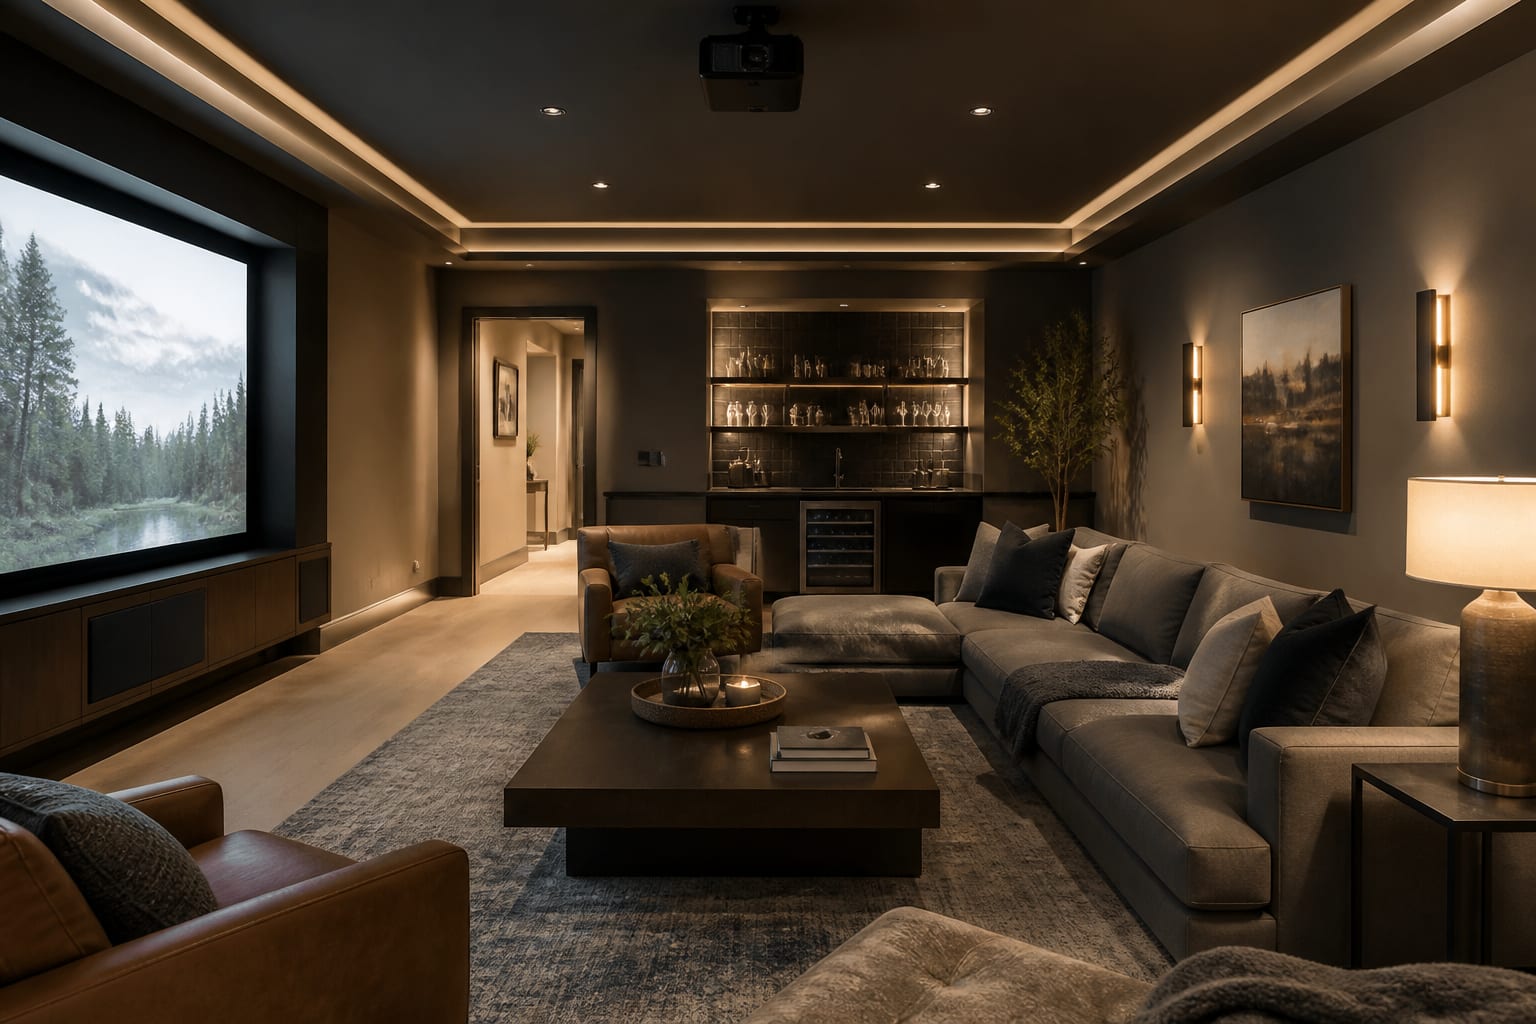
A basement makes an excellent home theater because its windowless dark and concrete mass already deliver light control and sound isolation. Get the geometry right, seating distance, screen size, riser height, and speaker angles, before spending on gear, and even mid-range equipment feels genuinely cinematic.
Why Does Light Control Matter So Much in a Basement Theater?
Darkness is a basement's biggest advantage over any upstairs room, so protect it first. Stray light from a hopper window, stairwell, or glowing equipment rack lowers contrast and turns black scenes gray, especially with a projector. Cover below-grade windows with blackout shades and weatherstrip the stairway door so light from above doesn't leak in.
Paint walls, ceiling, and trim a deep matte tone like charcoal or espresso; a white ceiling bounces projector light back onto the screen and flattens the image, and gloss finishes create hot spots. For ambient light, add dimmable bias lighting behind the screen and low step lights on the riser, and skip recessed cans near the screen wall. Dark, non-reflective seating fabric and a dark rug complete the black-box effect, and a modest 100-inch screen in a fully controlled room beats a larger screen fighting reflections.
See also AI Basement Design Ideas for more on planning a basement theater.
How Do You Size the Screen and Seating Distance?
Screen size depends entirely on viewing distance. Set the front row at about 1.5 times the screen's diagonal: a 100-inch screen wants roughly 10 to 12 feet, a 120-inch screen needs 13 to 15 feet. Measure your longest usable wall first, then size the screen to that distance rather than buying the biggest panel available.
For projectors, match the throw ratio to the wall length and mount the lens center at the top of the screen to avoid keystoning. Center the screen with its bottom edge 24 to 36 inches off the floor, and leave about 12 inches of dark wall around it to frame the image and absorb spill. A 4K TV wins in a room you can't fully darken; a projector rewards the blackout treatment a basement makes easy.
For more layout ideas, see Basement Finishing Ideas.
How High Should a Seating Riser Be?
A second row on a platform makes a basement theater feel real. Build it 8 to 12 inches high so back-row viewers see over front headrests instead of through them, adjusting for your seat-back height and row spacing. Leave 18 to 24 inches of walking clearance behind fully reclined front seats, since theater recliners can extend a foot or more.
- Make the riser a few inches wider than the seating and add LED strip lighting along its front edge.
- Run conduit or a recessed channel into the riser during construction for power and seat-shaker wiring.
- Allow 32 to 36 inches per seat and confirm the raised back row still clears a 7-foot ceiling.
- Angle outer seats slightly toward the screen for better sightlines.
Two rows of two seats often beat one crowded row of four, giving everyone a center-weighted view and easy aisle access.
How Should You Handle Acoustics and Soundproofing?
Sound splits into two jobs: shaping it inside the room and keeping it from escaping. Bare drywall and concrete floors create harsh echo, so add absorptive panels at the first reflection points on each side wall, the spot where a mirror held flat would show a seated viewer the front speakers. Treat the wall behind the seats and add a thick rug to tame slap echo.
Set left and right speakers at seated ear height, roughly 38 to 42 inches, angled inward with the center speaker for a 22 to 30 degree spread; place surrounds slightly above ear level beside and behind the seating. Test a few subwoofer spots since corners boost bass unevenly. To contain sound, build walls with two layers of drywall separated by a damping compound, seal gaps with acoustic caulk, use a solid-core weatherstripped door, and insulate ceiling joists with resilient channel to decouple drywall from framing. The surrounding concrete already blocks much of the bass transfer.
Common Mistakes to Avoid
- Buying the largest screen that fits instead of sizing it to seating distance.
- Painting the ceiling white, which bounces projector light back and washes out contrast.
- Skipping the riser, leaving the back row staring into front headrests.
- Leaving drywall and concrete untreated, causing echoey, muddy dialogue.
- Placing surrounds at random heights instead of at seated ear level.
- Forgetting to run wiring inside the riser before building it.
Bring the Look Home with Re-Design
Upload a photo of your unfinished basement to Re-Design and preview a finished home theater before framing or buying gear. See how charcoal walls read against your ceiling height, how a 100-inch screen fits the long wall, and where a tiered riser and recliners land in your footprint. Testing paint, screen size, and seating layout virtually helps you lock the geometry that matters most before spending on the build.
Frequently Asked Questions
How far should seating be from the screen in a basement theater?
Use roughly 1.5 times the screen's diagonal as a starting point. A 100-inch screen wants the front row 10 to 12 feet back, and a 120-inch screen needs 13 to 15 feet. Measure your usable wall length first, then size the screen to that distance rather than the reverse.
How tall should a theater riser be?
Most second-row risers are 8 to 12 inches high, enough to lift sightlines over the front headrests. The exact height depends on seat-back height and row spacing. Confirm the raised back row still clears your ceiling, and add LED lighting along the riser's front edge for safety.
Do I need to soundproof a basement home theater?
Yes, if you want to watch loudly without disturbing the rest of the house. Use two layers of drywall with a damping compound between them, seal gaps with acoustic caulk, and install a solid-core door. Basement concrete already blocks much of the bass, so it needs less work than an upstairs room.
What screen type works best if I can't fully darken the room?
A bright 4K TV outperforms a projector in a room with residual light, since projected images lose contrast to any ambient glow. A projector only rewards a basement that gets the full blackout treatment, including covered windows and matte dark paint.