The trap most first-time studio builders fall into is treating a room as either a sound problem or a design problem. Hang foam everywhere and you get a space that sounds dead and looks like a padded cell. Decorate it nicely and you get a beautiful room with slap echo on every take. The truth is that good acoustic treatment and good design pull in the same direction more often than people think. Thick fabric panels, bookshelves, and a rug are both acoustic tools and decor. Plan for both from the start and you get a room that sounds clean and feels worth spending hours in.
Get the room and layout right first
The room you choose matters more than any gear you buy. Square rooms are the enemy because parallel walls of equal length stack up resonances at the same frequencies, muddying the low end. If you have a choice, pick a rectangular room; a 12 by 14 foot space distributes those resonances more evenly than a 12 by 12 one. Ceiling height helps too, with 8 feet or more giving the sound room to breathe. Set up so you face the short wall, sitting about 38 percent of the room's length back from the front wall, which is a reliable starting point for the mix position.
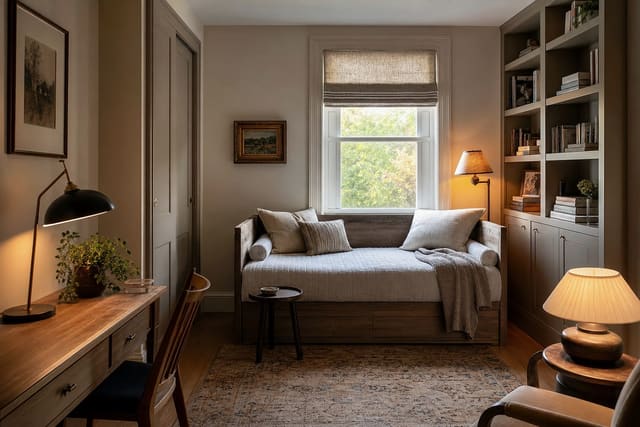
Keep the desk and monitors away from the exact center and off the side walls by at least a couple of feet. Position studio monitors in an equilateral triangle with your head, each speaker 3 to 4 feet apart at ear height, angled in toward the listening spot. A spare bedroom or a finished basement corner both work; if you are reworking a flex space, our bonus room ideas guide covers how to carve a dedicated zone out of a multi-use room without losing the rest of its function.
Acoustic treatment that earns its place
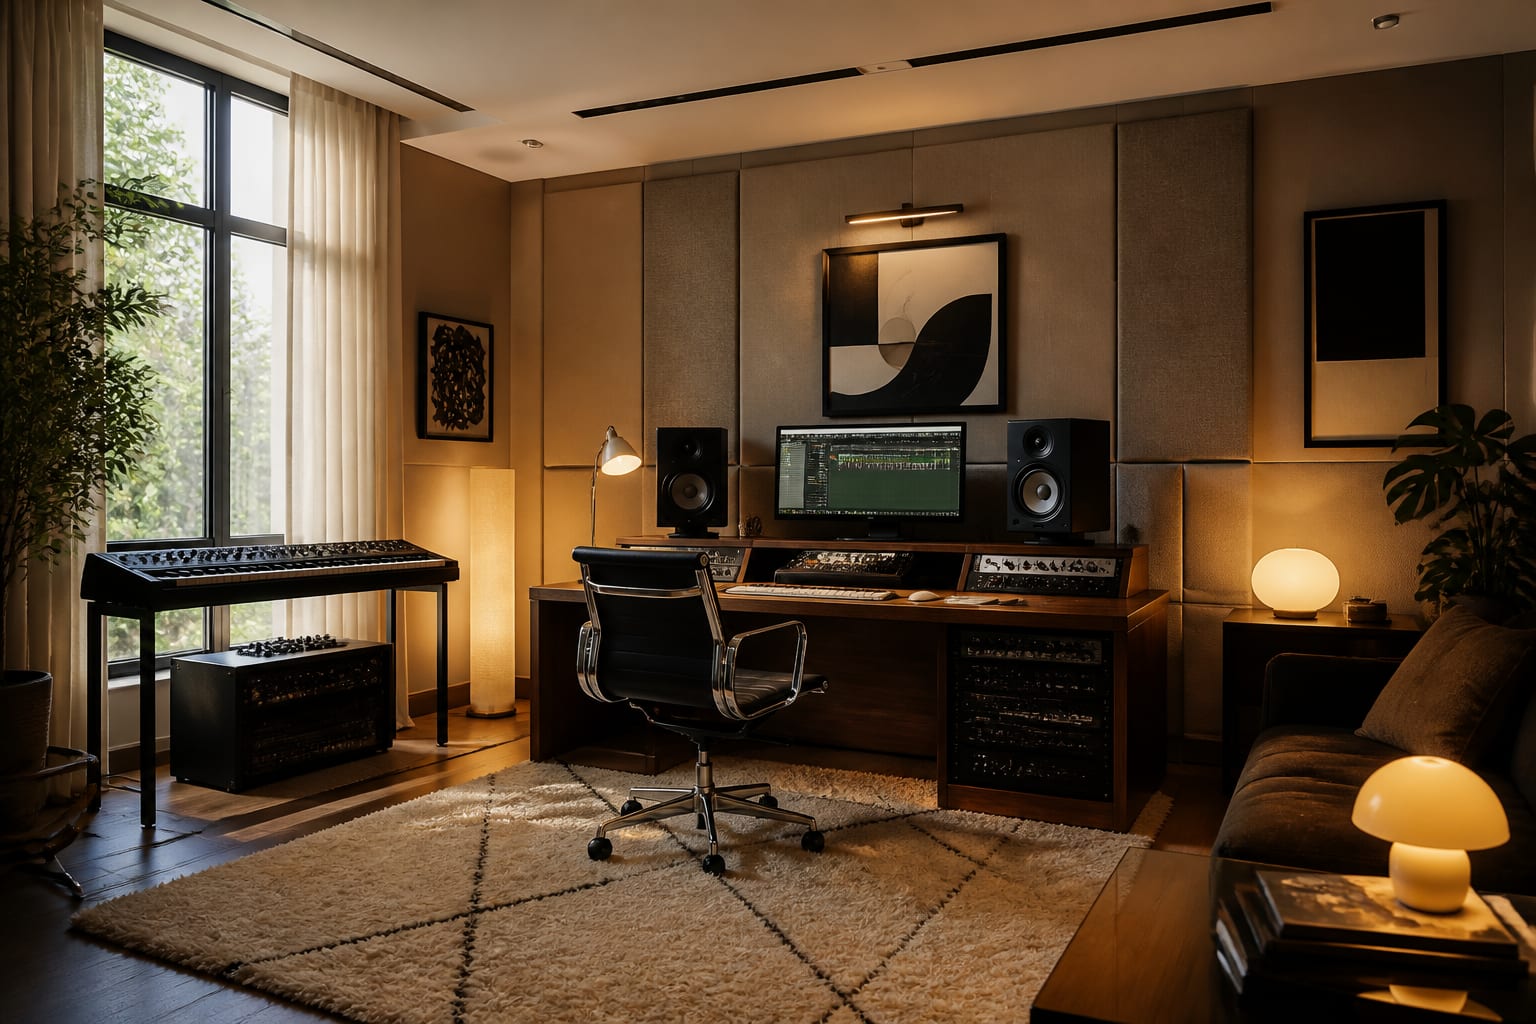
Treatment beats soundproofing for most home setups, because the goal is usually to make the room sound good on a recording, not to silence it for the neighbors. Start with first reflection points: the spots on the side walls and ceiling where sound bounces from the monitors to your ears. A simple mirror trick locates them, and a 2-inch to 4-inch thick fabric-wrapped panel at each point kills the slap echo that smears a mix. Four to six panels handle a typical bedroom.
Bass is the stubborn part. Low frequencies pile up in corners, so corner bass traps, 4 inches to 12 inches deep, in at least two corners do more for clarity than any number of thin foam squares. Avoid the common mistake of covering every wall; an over-treated room sounds unnaturally dead and tiring. Leave some reflective surface so the room keeps a little life. Here is a sensible treatment order for a spare-bedroom studio:
- First reflection points on both side walls with 2-inch to 4-inch panels.
- A ceiling cloud above the mix position, same thickness, to catch the overhead bounce.
- Corner bass traps, 4 inches to 12 inches deep, in two or more corners.
- A thick rug on the floor between you and the monitors to cut floor reflection.
- A bookshelf or filled cabinet on the rear wall, which scatters sound naturally.
Make the treatment look intentional
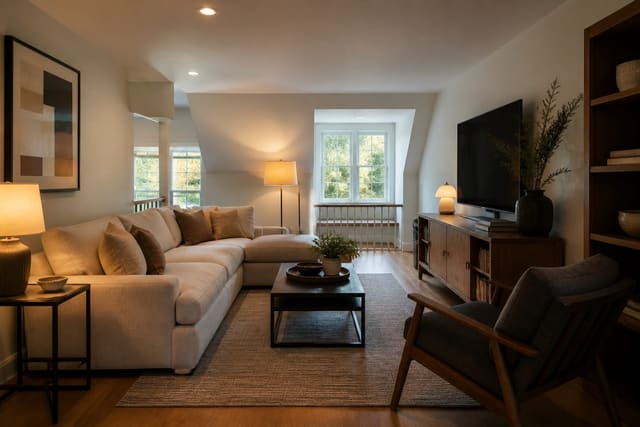
This is where sound and style stop fighting. A bare acoustic panel looks like equipment; the same panel wrapped in a quality fabric in the room's color reads as a framed textile. Choose a breathable fabric like burlap or a loose-weave linen so it does not block the sound, and pick a tone that ties into the rest of the room. Arranged in a deliberate grid or a balanced asymmetric cluster, panels become the visual anchor of the wall rather than an apology for the gear.
Lean on furniture that does double duty. A wall of filled bookshelves is a genuine diffuser that scatters high frequencies while looking like a library. A thick wool rug, heavy curtains over a window, and an upholstered sofa all absorb sound and warm up the look. Lighting sets the mood without touching acoustics: skip the harsh overhead and run 2700K to 3000K warm lamps and LED strips behind the desk for a focused, calm feel. Budget realistically, with a solid DIY treatment package for a bedroom running $300 to $800 in materials, far less than pre-made panels at $40 to $120 each. For more on dressing a working room so it feels finished, our bonus room design breakdown applies directly.
Common mistakes to avoid
Most home studios stumble on the same handful of issues. Avoid these and you save money and frustration:
- Buying thin 1-inch foam tiles that do nothing for bass and little for mids, instead of proper 2-inch to 4-inch panels.
- Over-treating until the room sounds lifeless and dead, with no reflective surface left at all.
- Setting up in a perfectly square room and fighting low-end resonance you could have avoided.
- Placing monitors flat against the front wall, which exaggerates bass and blurs the stereo image.
- Confusing soundproofing with treatment and spending on isolation when the real problem is reflections.
- Ignoring the door, when a hollow door and a 1-inch gap at the bottom leak far more sound than any wall.
The door mistake is the cheapest to fix and the most overlooked. A solid-core door and a $20 door sweep cut leakage dramatically before you consider serious isolation. The same attention to detail that makes a craft or hobby space functional, covered in our craft room design guide, applies to laying out a studio you will actually enjoy working in.
See it first in Re-Design
It is hard to picture how fabric-wrapped panels and a treated wall will read before you build them. Upload a photo of your spare room to Re-Design and preview different panel layouts, fabric colors, and furniture arrangements so the treatment looks like part of the room rather than bolted-on gear. You can test a warm-lit corner against a brighter scheme, see how a bookshelf diffuser balances a wall of panels, and judge whether the desk and monitor placement leaves the room feeling open before you cut a single panel or drive a screw into the drywall.
Frequently Asked Questions
What is the most important thing to treat in a home studio?
Start with first reflection points on the side walls and ceiling, using 2-inch to 4-inch fabric panels, then add corner bass traps 4 to 12 inches deep. Reflections smear the sound you hear at the mix position, and bass buildup in corners muddies the low end. Those two fixes do more than any amount of thin foam.
Do I need to soundproof or just treat the room?
Most home setups need treatment, not soundproofing. Treatment makes the room sound good on recordings; soundproofing stops sound from leaving, which is expensive and rarely necessary at home. If leakage is the issue, a solid-core door and a door sweep handle most of it for around $20 to $150 before any wall work.
What room shape works best for recording?
A rectangular, non-square room. Square rooms stack resonances at the same frequencies and muddy the bass. A 12 by 14 foot room with 8-foot or higher ceilings spreads those resonances out. Face the short wall and sit about 38 percent of the room's length back from the front wall for a solid starting mix position.
Can acoustic panels look good in a room?
Yes, and they should. Wrap panels in a breathable fabric like burlap or loose linen in a color that suits the room and they read as framed textiles, not gear. Arrange them in a balanced grid, add a bookshelf diffuser and a thick rug, and the acoustic tools become the room's design rather than clutter.