IKEA gets a bad reputation it does not fully deserve. The pieces look generic because most people assemble them straight from the box and stop there, leaving the stock legs, the bare particleboard, and the gap between the cabinet and the ceiling that screams flat-pack. Spend a little more and the same units pass for custom millwork. Swapping the legs, painting the fronts, and trimming a bookcase into the wall costs a fraction of real cabinetry while reading as built-in. The strategy is to treat IKEA as a frame, not a finished product, and to add the details the factory left off.
Why IKEA looks flat-pack, and the fix
The tell-tale flat-pack look comes down to three things: identical stock legs, exposed melamine edges, and furniture that floats away from walls and ceilings instead of meeting them. Every one of those is fixable. The factory ships a neutral piece because it has to suit millions of rooms, which means the personality is the part you are meant to add. Once you see IKEA as a chassis, the upgrade path is obvious.
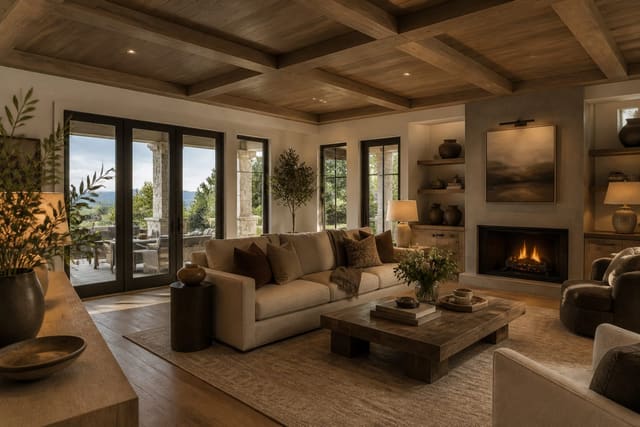
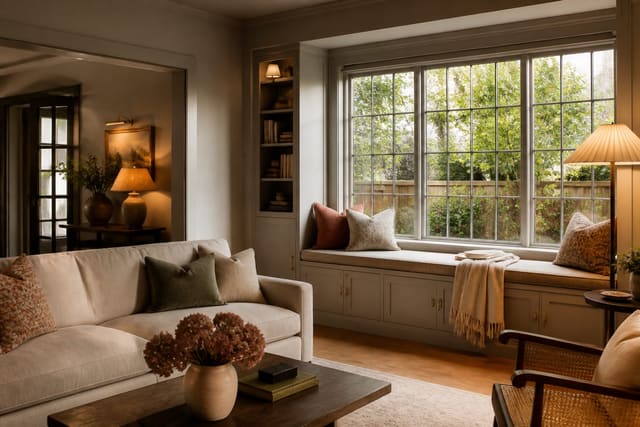
The fastest change is contact points: legs, handles, knobs, and tops. These are the spots the eye and hand register first, and a brass pull on a white cabinet does more for the look than the cabinet itself. The second change is integration. A bookcase pushed against a wall reads as furniture; the same bookcase scribed to the wall and capped with crown molding reads as joinery. The most convincing built-ins often wrap a window, and the layouts in our window seat ideas show how to flank a window with IKEA cabinets and a padded bench so the whole wall reads as architecture rather than a row of boxes.
There is a real cost case here, not just a style one. A custom cabinet maker charges $500 to $1,500 per linear foot for built-in millwork, while a hacked wall of IKEA units lands closer to $80 to $150 per foot once you add the trim and hardware. You are buying 80 to 90 percent of the look for a tenth of the price, and the gap is mostly the labor of an afternoon. Knowing which upgrades carry that visual weight, and which are wasted effort, is the entire skill, so the order you tackle them in matters as much as the budget.
IKEA upgrades that read as custom
These are the moves that hide the flat-pack origin for the least money. Each targets a specific giveaway, and you can stack several on one piece. Start at the top of the list and add as your budget allows:
- Replace stock legs with tapered wood or hairpin legs from a third-party maker for $40 to $80 a set.
- Swap factory knobs and pulls for solid brass or leather hardware, which costs $5 to $15 per piece and changes the whole tone.
- Paint or spray the fronts in a custom color, using a bonding primer so paint grips the laminate surface.
- Add a solid wood or stone top to a base cabinet so the most-touched surface stops looking like melamine.
- Trim BILLY or BESTA units to the ceiling with filler panels and crown molding for a true built-in look.
- Apply peel-and-stick fluting or cane webbing to flat door fronts to add the texture catalog pieces lack.
The built-in trick deserves the most attention because it delivers the biggest transformation. A wall of BILLY bookcases costs $300 to $600, and once you fill the side gaps with painted filler strips and cap the top with molding, it passes for joinery that a carpenter would charge $3,000 to build. Paint the whole assembly one color, walls included, and the eye reads architecture rather than furniture.
Mixing IKEA with vintage and pricier pieces
The surest way to kill the catalog look is to refuse to buy a whole room from one place. An all-IKEA bedroom looks like a showroom; an IKEA bed frame paired with a thrifted nightstand, a vintage rug, and a real ceramic lamp looks like a home that grew over time. Use IKEA for the large, neutral anchors where its value is unbeatable, such as the sofa frame, the wardrobe, or the dining table, and spend your character budget on a few standout secondhand or artisan pieces.
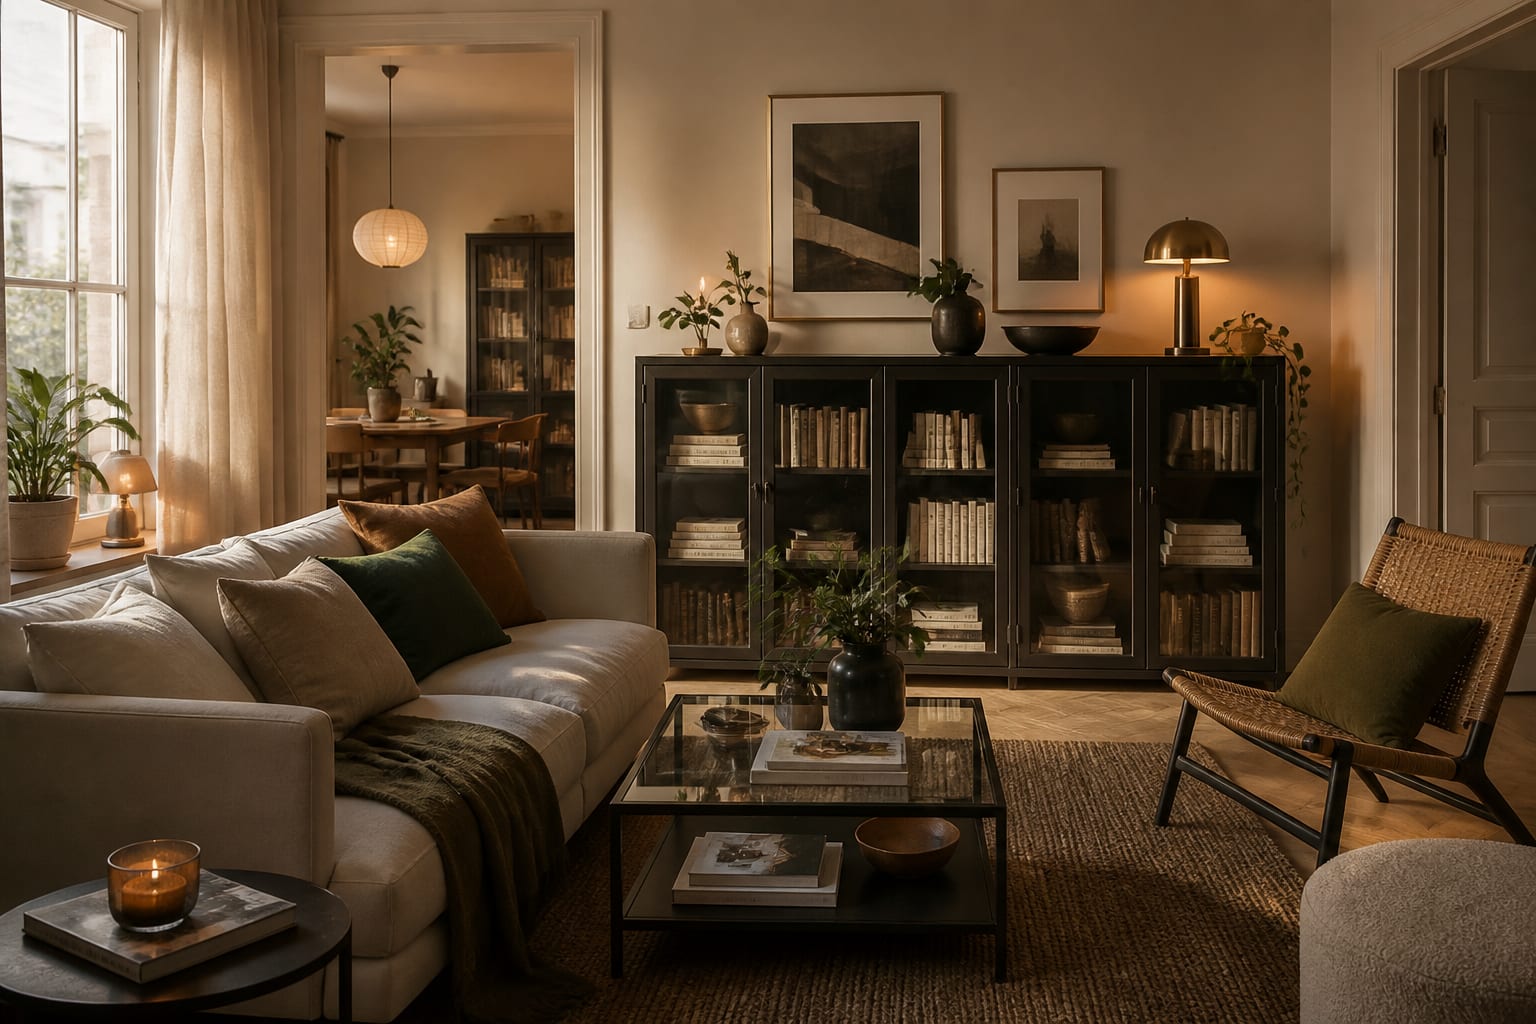
Proportion sells the mix. Keep the IKEA pieces simple and let the vintage finds carry the personality, rather than the other way around. A plain MALM dresser topped with an antique mirror and a brass lamp reads designed; a busy IKEA piece next to a busy antique fights. Texture helps too, so layer a linen throw, a wool rug, and a wood top over the smooth factory surfaces. A quiet corner is the easiest place to prove the mix works, and the setups in our reading nook ideas pair an IKEA POANG or a hacked bookcase with a vintage lamp and a real wool throw so the spot feels collected rather than catalog. Roughly one statement piece for every three or four neutral ones keeps the room balanced and the budget intact.
Don't forget to look up while you plan the mix. A wall of upgraded BILLY units competes for attention, so the fifth wall can either calm the room or compound the busyness. A painted ceiling or a simple beam treatment, like the options in our statement ceiling ideas, draws the eye upward and gives a hacked IKEA built-in the architectural frame it needs to read as joinery rather than furniture. Match the ceiling tone to the bookcase color and the whole wall reads as one designed unit instead of a stack of boxes against a blank white field.
Preview your IKEA hacks in Re-Design
Frequently Asked Questions
How do I make IKEA furniture look more expensive?
Change the contact points first: swap stock legs for tapered wood, replace knobs with solid brass, and add a real wood top where hands land. These three upgrades run $40 to $120 and hide the most obvious factory tells. Painting the fronts in a custom color with a bonding primer breaks the recognizable look further, so the piece stops reading as a catalog item.
Can you paint IKEA laminate furniture?
Yes, but the prep matters. Clean the surface, sand it lightly, and apply a bonding primer made for slick laminate before two thin topcoats. Skipping the primer is why painted IKEA chips, since standard paint will not grip melamine on its own. Done right, a custom color is the single biggest change you can make to a flat-pack piece.
Which IKEA pieces work best for a built-in look?
BILLY bookcases and BESTA cabinets are the go-to choices because they come in modular widths that line up wall to wall. Trim the side gaps with painted filler panels, cap the top with crown molding to close the ceiling gap, and paint the whole run one color. The result reads as built-in joinery for a few hundred dollars instead of a few thousand.