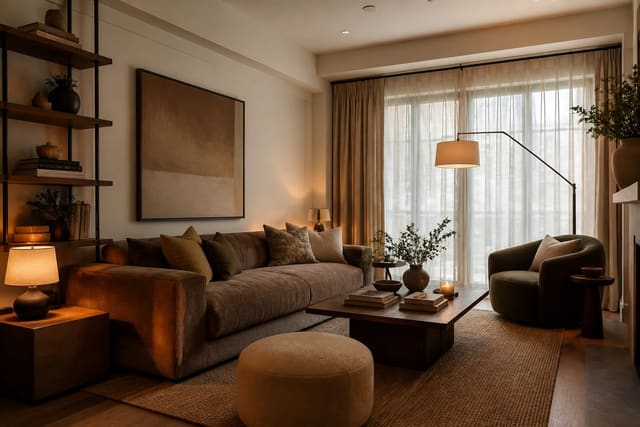
The first AI room design result is often annoyingly close: better color, nicer furniture, maybe even a believable rug, but still not your room. My firm opinion: the second and third prompts matter more than the first one. A strong iteration process turns a pretty accident into a design you can measure, price, and live with. The trick is to revise like a designer, not like someone pulling a slot machine handle.
How do you keep improving an AI room design through multiple iterations?
You keep improving an AI room design through multiple iterations by changing one variable at a time, comparing each preview against the same room constraints, and using every mistake to sharpen the next prompt. If the first version gets the mood right but ignores the window, the next prompt should protect the window before asking for a new sofa. If the layout works but the colors feel cold, keep the layout and revise only the palette.
That discipline matters because AI previews are persuasive even when they are wrong. A rendered living room can make a 96 inch sofa look harmless on a 10 foot wall, or place a floor lamp where an outlet does not exist. Iteration is not about generating more images; it is about making each new image answer a narrower question.
What should change between the first and second preview?
The first preview should reveal what the AI misunderstood. Do not reward it immediately with ten new style words. Look at the image like a skeptical homeowner: what did it replace, exaggerate, shrink, or invent?
Start by naming the error in plain language. “The room looks calmer, but it removed the oak floor.” “The sofa wall is better, but the walkway to the kitchen is gone.” “The lamps help, but the room now looks like a hotel lobby.” That sentence becomes the spine of the next prompt.
A useful second prompt often sounds less glamorous than the first. It might say: keep the existing oak floor, keep the 84 inch media console, keep the balcony door clear, reduce the coffee table to 32 inches round, and make the palette warmer with cream, walnut, and muted clay. That is not poetry; it is a boundary.
If your first prompt was vague, rebuild it with the structure from AI room design prompt writing: room type, dimensions, fixed features, what stays, style direction, material palette, and forbidden changes. Iteration goes faster when the prompt carries the room’s facts instead of asking the image to guess them.
A tight iteration loop for real rooms
Use a repeatable loop so the process does not turn into a folder of 40 pretty maybes. The strongest AI room design iterations move from broad to narrow, then from screen to room.
- Lock the non-negotiables before generating again, because the AI may improve the image by escaping the problem. Repeat the floor, trim, window size, ceiling height, door swings, landlord rules, and pieces that stay; a rental bedroom with an 8 foot ceiling and a queen bed needs different answers than a fantasy suite with new wiring and custom storage.
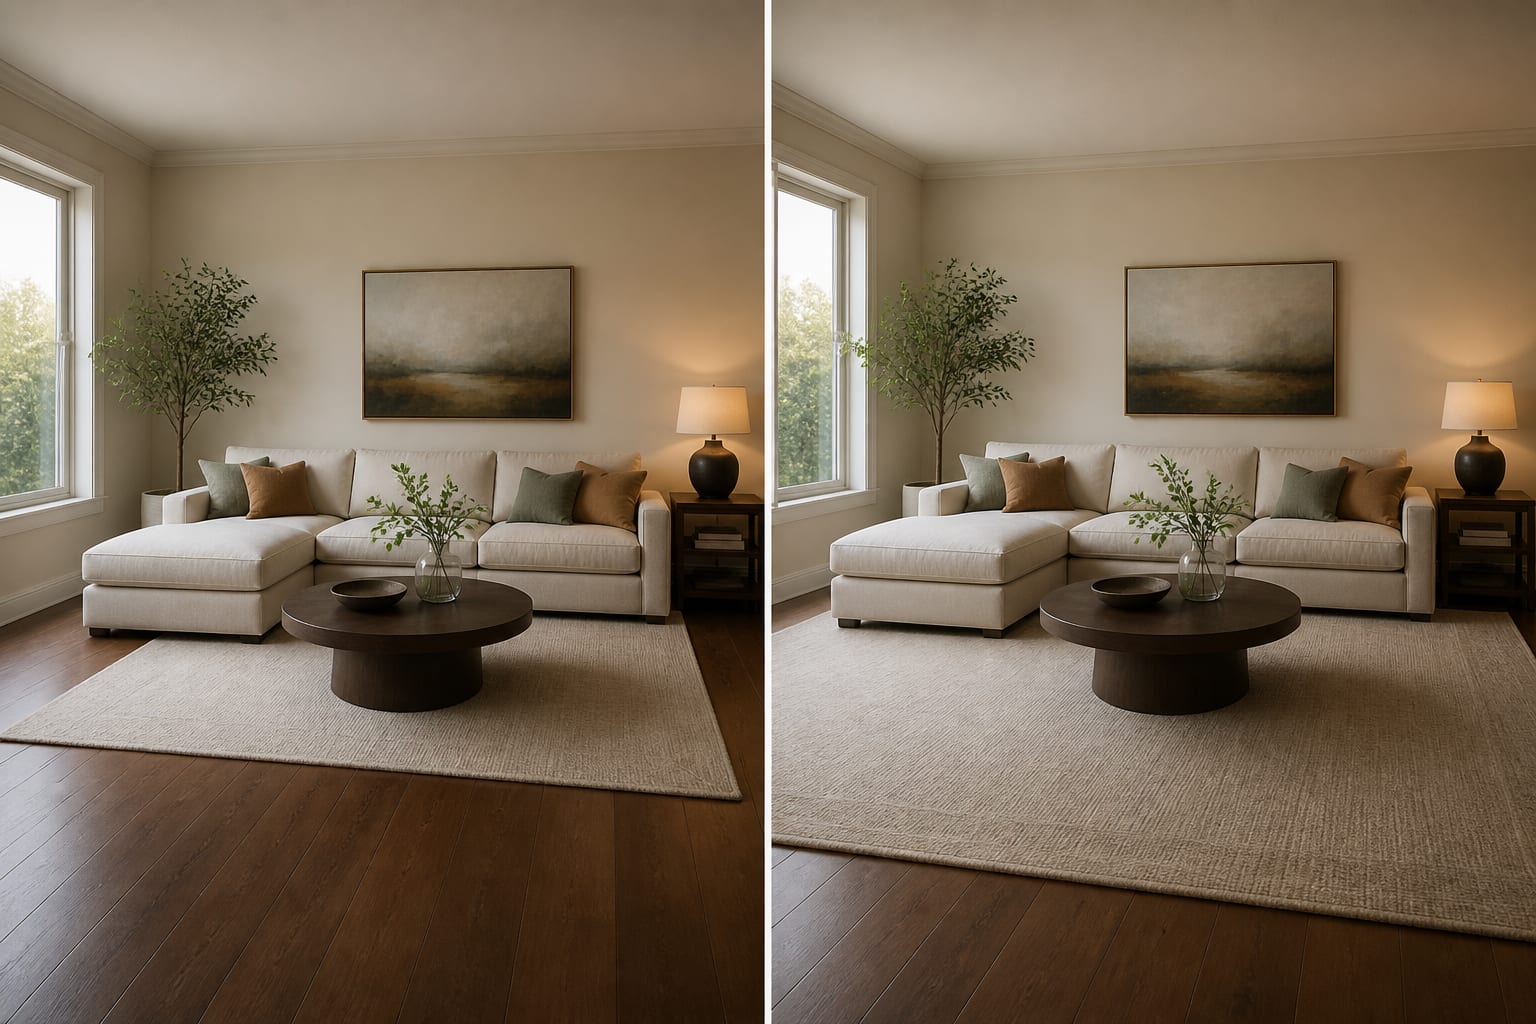
- Revise one design category at a time, because mixed changes make cause and effect impossible to read. Keep the layout while testing wall color, keep the palette while testing rug size, or keep the furniture while testing lighting; three controlled previews teach more than twelve unrelated makeovers.
- Add scale numbers where the image keeps cheating, because beautiful renders are weak witnesses. Specify an 8 by 10 or 9 by 12 rug, a sofa under 84 inches, 24 inch nightstands, a 30 inch coffee table, or curtain rods mounted 4–8 inches above the casing so the room stays believable.
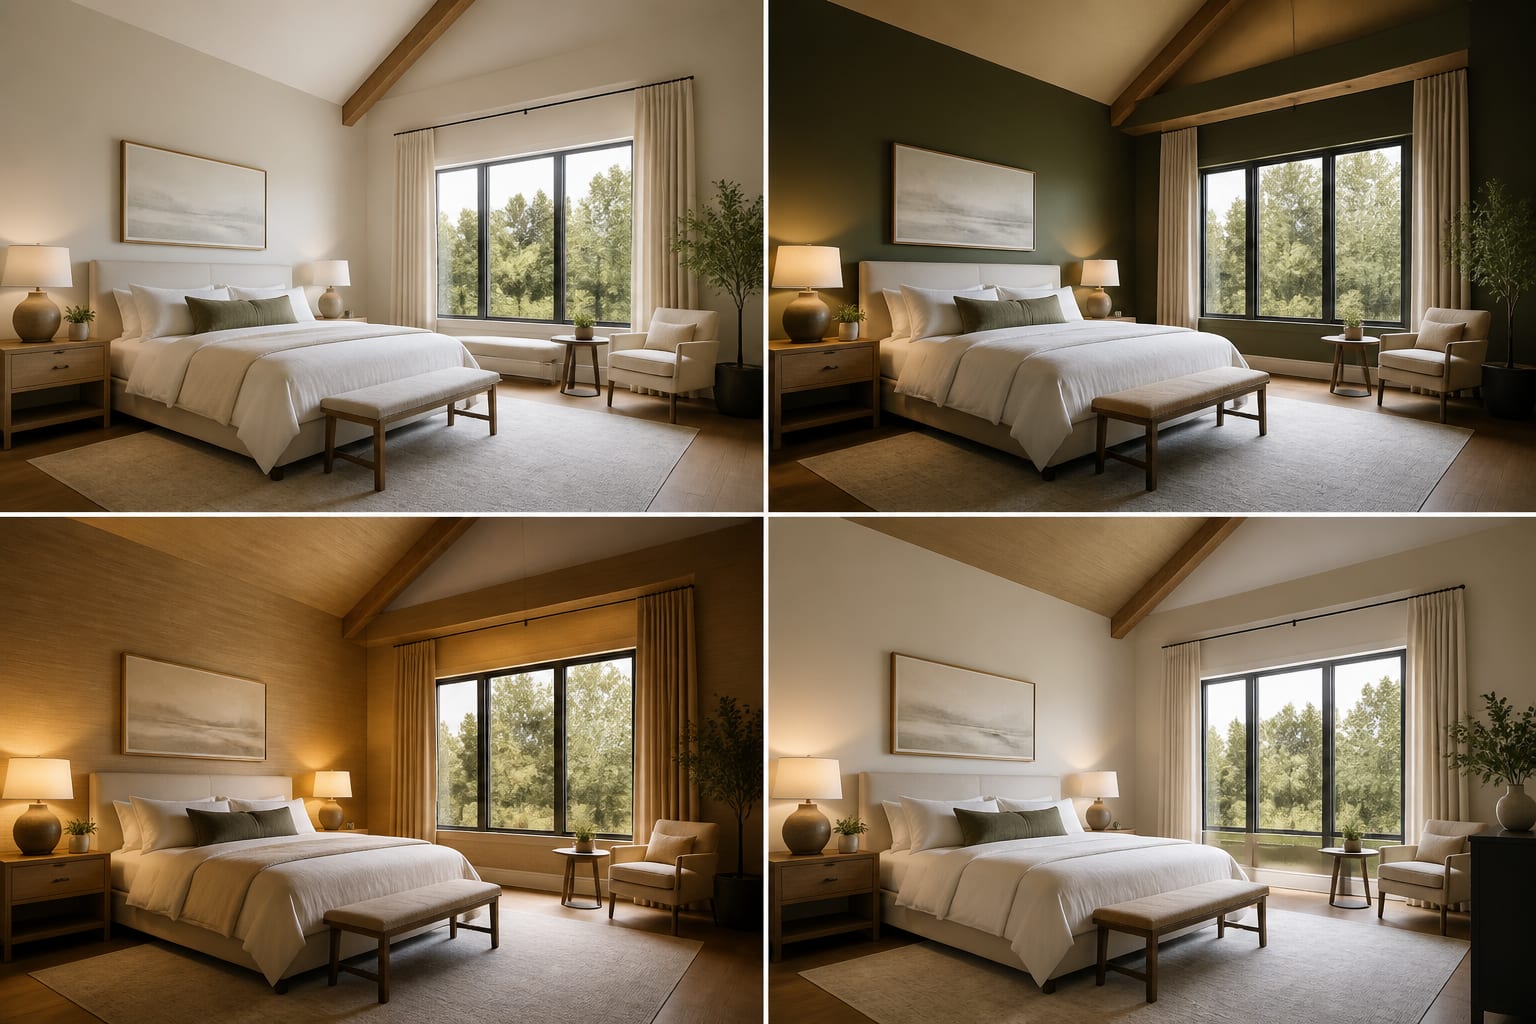
- Check light as a separate pass, because AI often brightens rooms without solving lighting. For a gloomy room, ask for 2700K–3000K bulbs, two shaded lamps, a pale wall finish, and window treatments that do not block daylight; if the problem is chronic dimness, pair the iteration with fake natural light strategies instead of simply whitening every surface.
- Translate the winning image into a physical test, because the room still has gravity. Tape the rug outline, mark the sofa length, hold paint samples on two walls, check outlet access, and confirm that a dresser drawer can open before the preview becomes a shopping list.
This loop is deliberately a little strict. AI gives you speed; your job is to provide friction.
Common AI room design iteration mistakes
The most common mistake is treating every new version as progress. More previews can make the decision foggier if each one changes the room’s rules.
- Changing style, layout, color, and furniture scale in one revision fails because you cannot tell what improved the room. Keep three ingredients steady and test one; for example, preserve the current sofa placement, window treatments, and rug size while comparing warm white, mushroom, and muted olive walls.
- Letting the AI delete fixed problems fails because the final design no longer belongs to your house. If the preview removes a radiator, widens a doorway, replaces beige tile, or invents a second window, the next prompt should say those features must remain visible and unchanged.
- Chasing the most polished image fails when comfort disappears. A room is not better if the coffee table sits 8 inches from the sofa, the dining chair cannot pull back 24 inches, or the desk blocks the only outlet on the wall.
- Using adjectives instead of materials fails because the AI fills in cliché. Replace “cozy luxury” with linen curtains, wool rug, walnut table, matte warm-white paint, aged brass lamp, and one black metal accent.
- Ignoring reflection and glare fails in rooms with mirrors, glass tables, or glossy floors. A mirror should bounce a window, lamp, or pale wall; if the preview reflects a blank corner, borrow the logic from using mirrors to amplify light and ask for a better placement.
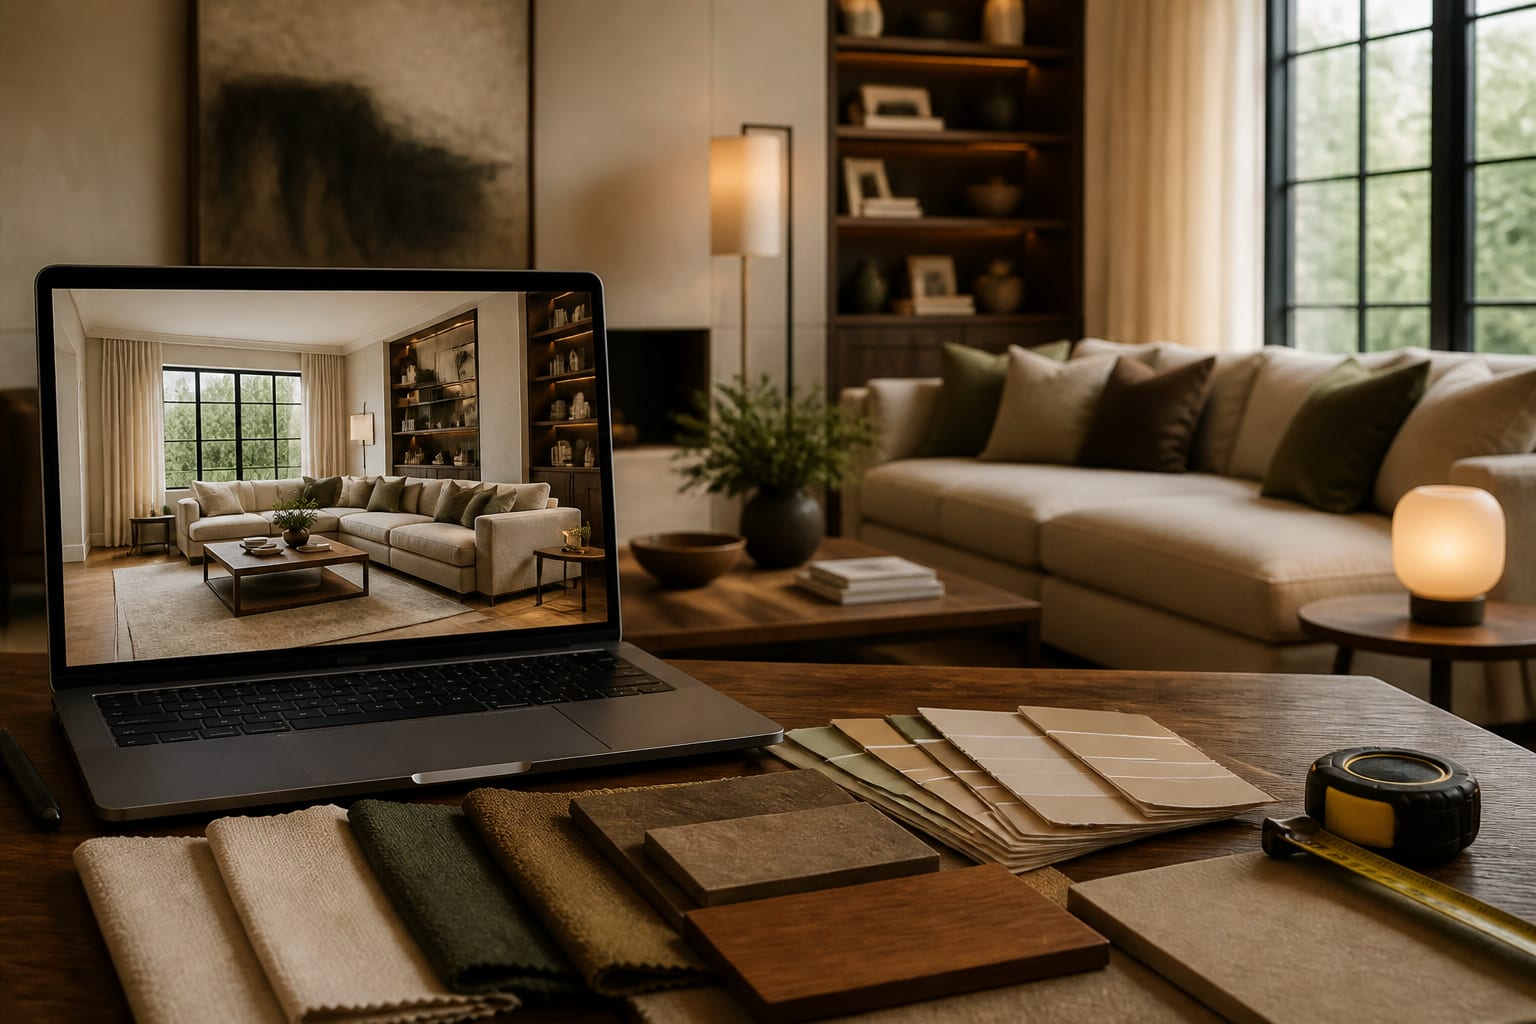
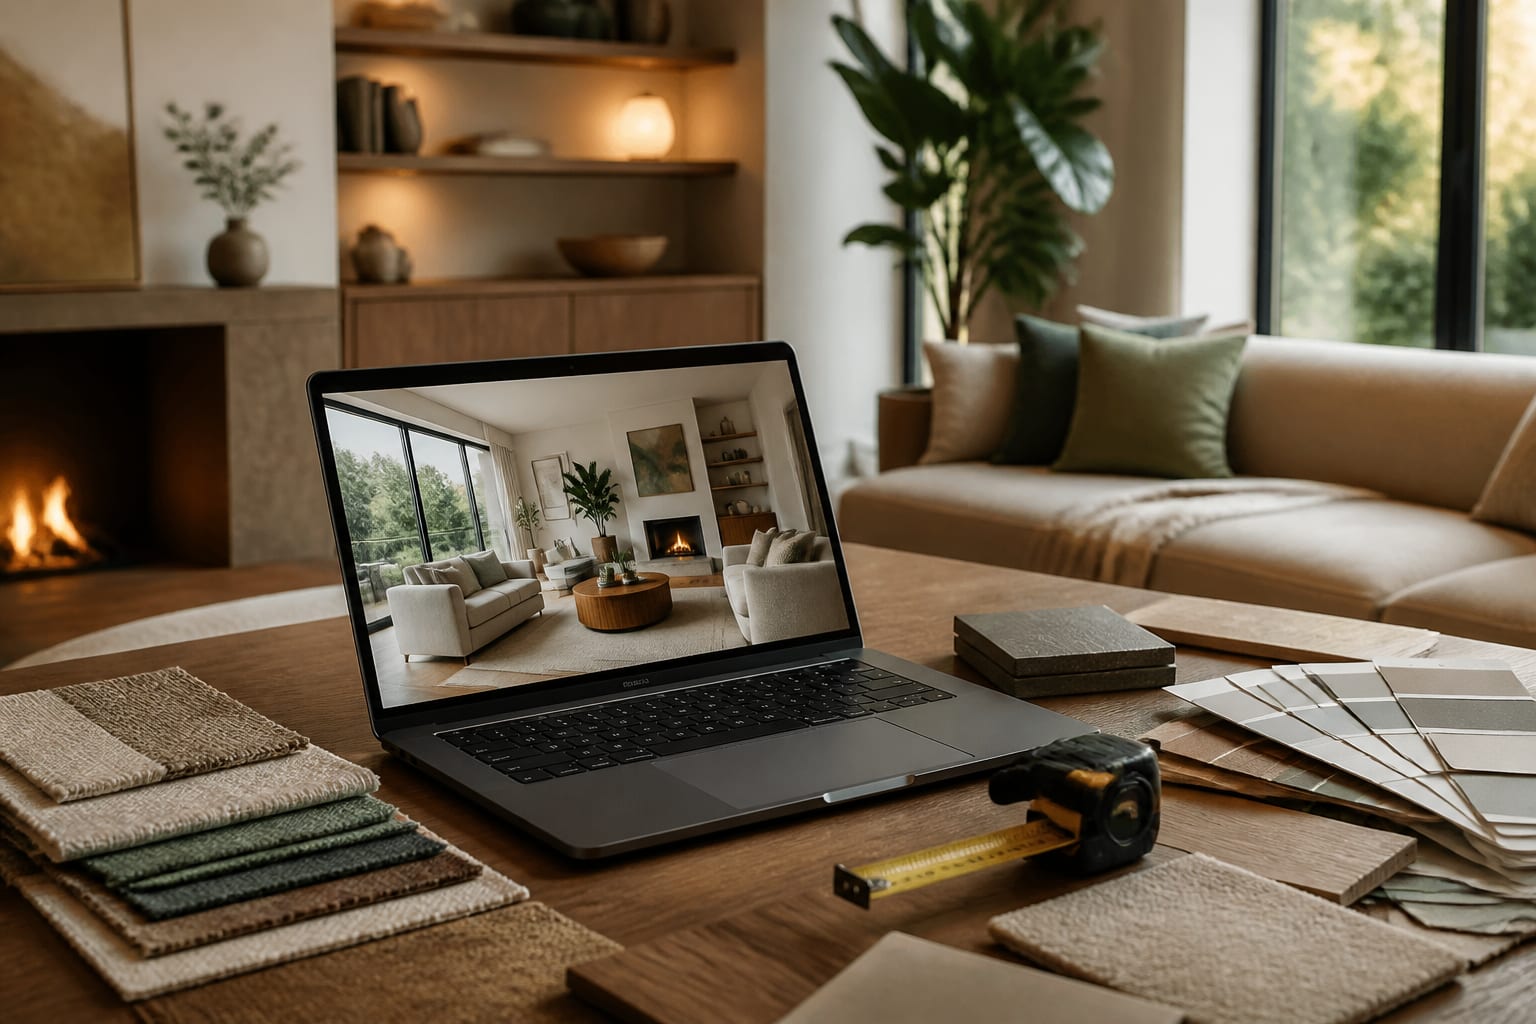
How AI design helps you see the better version
AI design is useful in this stage because it makes small corrections visible before they become purchases. You can upload the same room photo, revise the prompt, and compare a calmer layout, a warmer palette, and a better lighting plan without moving a sofa twice.
The upload-and-preview loop also exposes false confidence. A prompt may sound good until the image shows that the 9 by 12 rug crowds the doorway, the dark accent wall swallows the north-facing light, or the open shelves make a family room look messier. That is valuable information, not failure.
Use the tool like a fast visual draft table. Version one can find the mood. Version two can protect the architecture. Version three can test scale. Version four, if needed, should correct a specific flaw: reduce the sofa depth, keep the window uncovered, remove the fake recessed lights, switch the marble table to wood, or make the design renter friendly with plug-in sconces and freestanding storage.
When is the design ready to leave the screen?
The design is ready to leave the screen when the best preview can be described as a measured plan, not just a mood. You should be able to write a sentence like: warm white walls, existing gray sofa, 84 inch walnut console, 9 by 12 wool-look rug, 32 inch round coffee table, linen curtains to the floor, and two shaded table lamps.
If the sentence collapses into “modern cozy room,” keep iterating. The image has not yet become useful enough.
Before buying anything large, run one final reality pass. Walk the route from doorway to seat and protect 30–36 inches where people move daily. Measure the distance between sofa and table. Confirm curtain length from the proposed rod height. Put paint samples on the wall where morning and evening light hit differently. Check whether pets, kids, cleaning, and delivery access make the prettiest material choice impractical.
Stop generating when the next action is obvious. A good AI room design iteration does not leave you hungry for another image; it tells you to order three swatches, tape one rug size, test two bulbs, or move the existing chair before spending money.