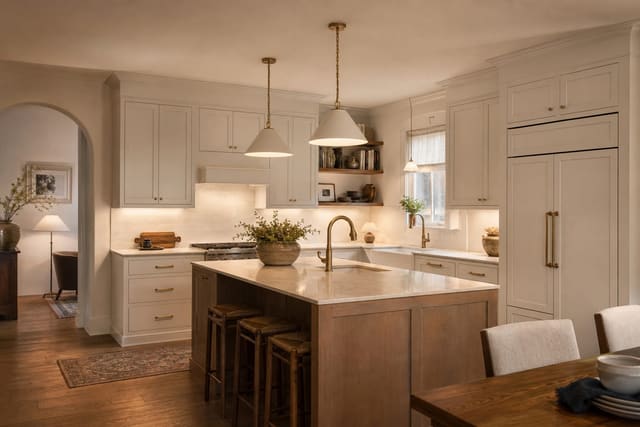
Kitchen counters stay clear when every appliance and tool has a closed home inside arm reach, the daily-use zone holds only three items (coffee setup, knife block, salt), and one drawer is dedicated to the receipt/mail/key drift that always lands on the counter. Kitchen counter clutter is rarely a laziness problem. My opinion is blunt: most counters stay messy because the kitchen has been asked to act as pantry, mailroom, charging station, coffee bar, drop zone, homework desk, and prep surface at the same time. You cannot solve that with a prettier tray. The permanent fix is deciding what the counter is allowed to do, then building storage that makes the wrong behavior inconvenient.
"The counter stays calm when only the tools that earn the surface are allowed to live there."
How do you permanently fix kitchen counter clutter?
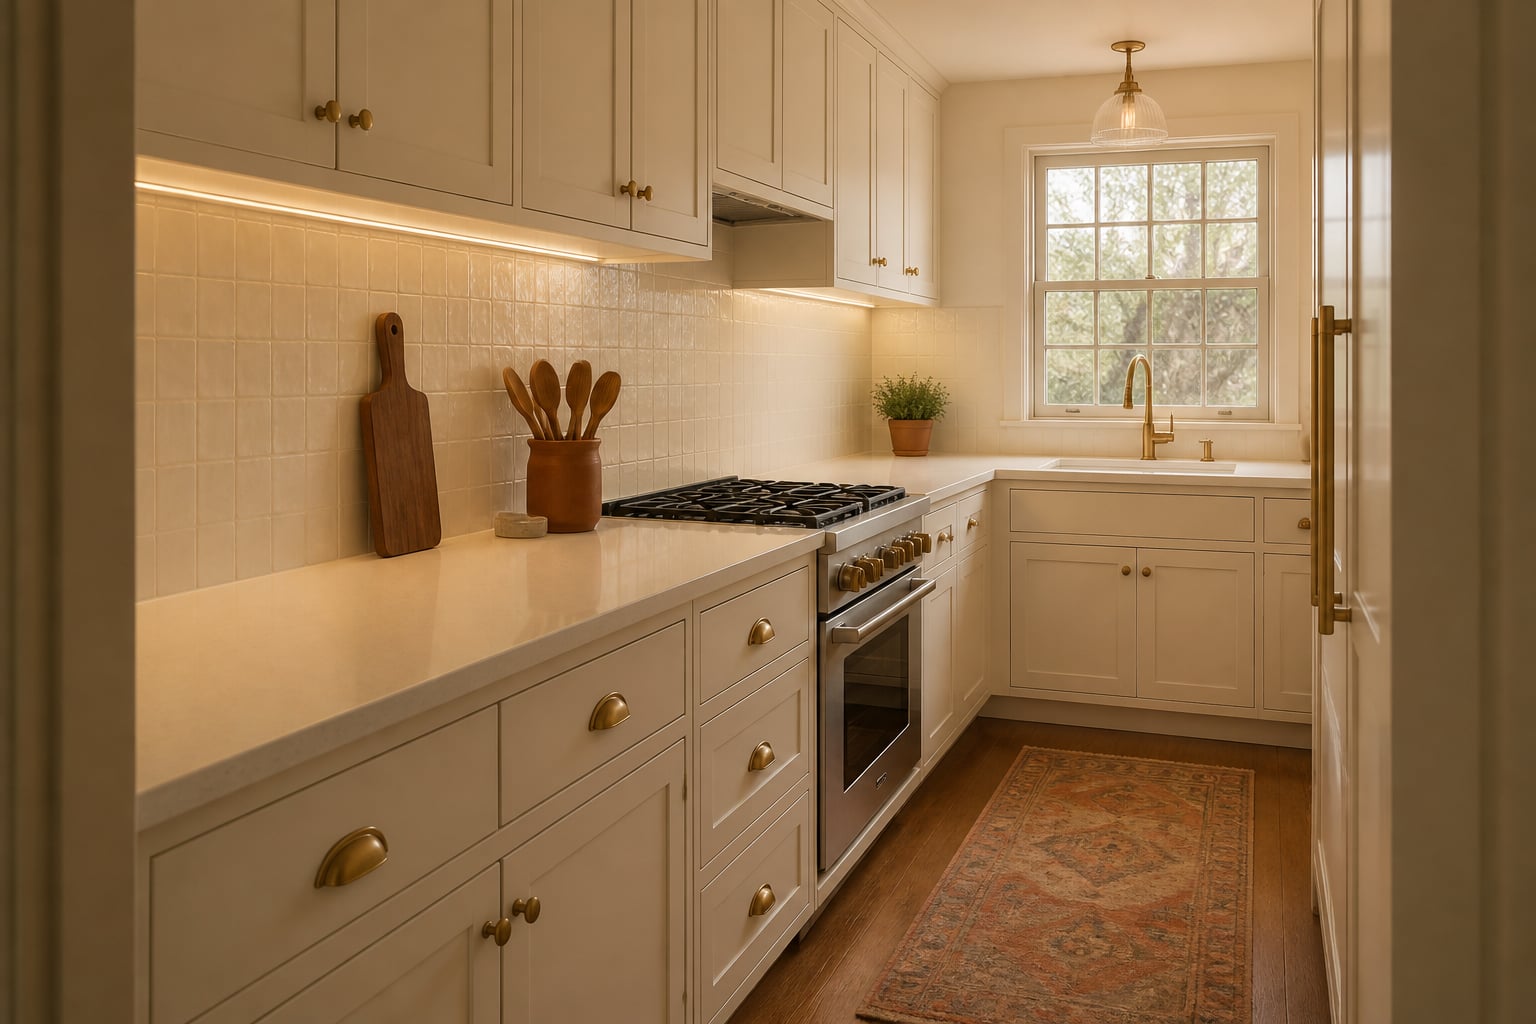
You permanently fix kitchen counter clutter by removing every non-daily item from the counter, assigning each daily item a reachable home, and protecting at least one clear prep zone that stays empty after every meal. That is the difference between tidying and redesigning the kitchen's behavior.
Start with the counter's real job: cooking, rinsing, plating, and small daily rituals. A kitchen usually needs one uninterrupted prep run at least 24" wide, ideally 30"–36" if two people cook. If that zone is occupied by mail, vitamins, a blender used twice a month, and three decorative jars, the room will look cluttered even after you wipe it down.
The most useful rule is a 30-second reset. If an object cannot return to its home within 30 seconds while standing in the kitchen, its home is wrong. Mugs across the room from the coffee maker, lunch containers above the refrigerator, and spices hidden behind mixing bowls all create little piles because the kitchen resists the way you actually move.
Do not begin by buying organizers. Begin by firing the counter from jobs it should not have. Mail belongs near the entry, charging belongs in a drawer or wall pocket, bulk snacks belong in the pantry, and rarely used appliances belong behind a door. If pantry overflow is the reason everything migrates outward, fix the storage source first; this guide to small pantry organization that creates real capacity will do more than another counter basket.
Which items deserve counter space, and which need a new home?
The counter should keep only the objects you use daily, the objects too heavy to move safely, and the objects that support a specific zone. For most kitchens, that means the coffee maker, maybe a toaster, a utensil crock only if drawers are full, hand soap, and a small tray for salt, oil, or vitamins that truly get used every day.
Be ruthless with appliances. A stand mixer can stay out if you bake several times a week or if it is too heavy for an upper cabinet. A blender, air fryer, rice cooker, slow cooker, and waffle maker do not all earn permanent counter space just because they have cords. Store weekly appliances on a 12"–16" deep shelf at waist height, not in a top cabinet where retrieving them becomes a reason to leave them out.
The sink zone needs discipline because wet clutter spreads fast. Keep dish soap, a brush, and one sponge or cloth in a holder no wider than 6"–8". If you need a drying rack, choose a roll-up rack over the sink or a folding rack that disappears after dishes are dry. A permanent full-size rack on a small counter often turns clean dishes into background architecture.
The cooking zone should not become a spice museum. Keep salt, pepper, oil, and the two or three seasonings you use constantly within arm's reach. Move the rest into a drawer insert, a narrow cabinet rack, or a pull-out shelf. A 3"–5" wide spice riser beside the stove can work, but a full lineup of 20 bottles beside heat and grease usually looks busy and ages badly.
Kids' items and pet items need homes low enough for the people using them. Put lunch boxes in a 12"–15" high drawer or lower cabinet bin, not on the counter because the only shelf is too high. Pet treats can live in a closed container near the feeding area, but leashes, medication, paperwork, and grooming tools should not turn the kitchen into a utility closet.
Test this on your own room photo with ReDesign before you choose the final direction; keep the doorway, walls, windows, main furniture, lighting, and awkward fixed features visible so the preview solves the room you actually have.
What storage zones make counters stay clear?
A clear counter depends on zones that match the work, not on containers that look coordinated. The kitchen should have a prep zone, a beverage zone, a cleanup zone, a pantry overflow zone, and a non-kitchen drop zone somewhere else.
For the prep zone, keep knives, cutting boards, mixing bowls, and daily spices within one step of the open counter. If lower cabinets are chaotic, use vertical dividers for sheet pans and boards, then reserve one drawer for prep tools only. A 15"–18" drawer can hold the daily knife, peeler, measuring spoons, microplane, and kitchen shears without needing a counter crock.
For the beverage zone, compress everything into one footprint. Coffee maker, kettle, filters, mugs, tea, sweetener, and spoons should sit together or live directly above and below one another. A coffee setup that stretches across 4 feet of counter becomes visual clutter even if every item is technically useful. If the kitchen is open to the living room, read these ideas for hiding open-plan kitchen mess before you leave a full drink station facing the sofa.
For cleanup, make the sink area easy to finish. Store dishwasher tablets, trash bags, microfiber cloths, and backup soap under the sink in two pull-out bins: one for wet cleaning, one for refills. If the under-sink cabinet is a dark cave, add a battery puck light around 2700K–3000K so people can actually put things back.
For pantry overflow, stop pretending the counter is an acceptable shelf. Use the inside of cabinet doors for measuring spoons or wraps, add a 10"–12" deep rolling cart only if it has a real parking spot, or place a closed 30"–36" cabinet on a nearby wall. Open tiered baskets are fine for fruit and bread; they are terrible for half-empty chip bags, medicine, school forms, and snack boxes.
For the drop zone, build it outside the kitchen if possible. A wall pocket, shallow console, or drawer near the entry catches keys, receipts, sunglasses, and mail before they land beside the stove. The best kitchen organization clutter fix often happens 6 feet away from the counter.
Common kitchen counter clutter mistakes
The first mistake is making a pretty tray responsible for ugly behavior. A tray can corral oil, salt, and a pepper mill; it cannot make mail, vitamins, keys, tape, fruit, and a charger belong together. If the tray holds more than one category, it has become a small junk drawer without sides.
The second mistake is keeping appliances out because the cabinets are annoying. That is a storage design problem, not proof the appliance belongs on display. Move heavy weekly appliances to the easiest lower shelf, add a slide-out tray, or remove duplicate bakeware so the cabinet can do its job. Counter space is more valuable than the third casserole dish.
The third mistake is using clear containers for everything. Clear jars look tidy only when the contents are beautiful, consistent, and full enough. Pasta, oats, and coffee can work; multicolor snack packets, supplement bottles, and children's pouches usually look louder in clear plastic. Use opaque bins or closed doors for visually noisy categories.
The fourth mistake is ignoring vertical surfaces. A short rail under an upper cabinet can hold measuring spoons, a towel, or a small utensil cup without stealing prep space. Keep rails tight, usually 18"–24" long, and avoid hanging every tool you own. The wall should relieve the counter, not become a hardware store aisle.
The fifth mistake is blaming darkness on clutter alone. A dim kitchen makes every object feel heavier because shadows collect under cabinets and around small appliances. If your counters look crowded even after the edit, improve task light, reduce contrast, and use the same principles in this guide to making a dark kitchen feel bright before buying more white bins.
How AI design helps you see the permanent fix
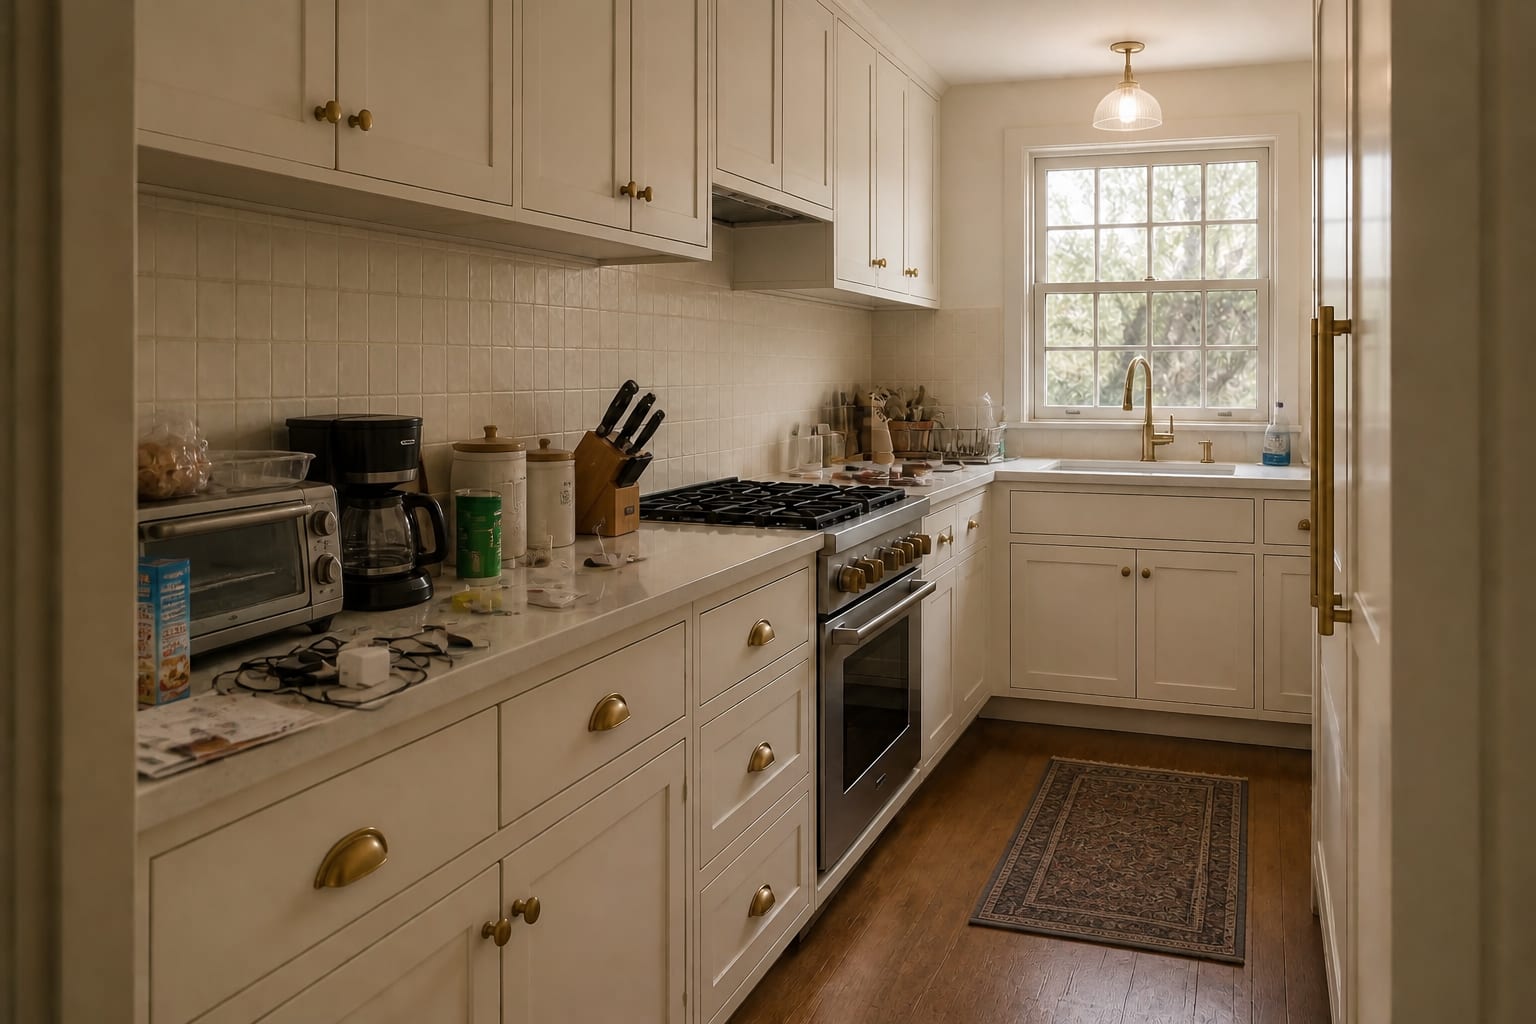
AI design is useful for kitchen counter clutter because the right answer is usually spatial, not decorative. Upload a straight-on photo of the counter wall, then another from the doorway so the sink, stove, upper cabinets, pantry edge, and everyday appliances are visible together. Do not clear the counter into a fantasy version first; leave the coffee maker, dish rack, fruit bowl, lunch gear, and mail pile if those things regularly appear.
Preview one behavioral change at a time. Ask for a counter with only the coffee zone left out, then a version with an appliance garage, then a version with a wall rail, then a version with a closed pantry cabinet added nearby. If the kitchen only looks calm when the preview removes every useful object, the concept is too fragile for real life.
Use the image to test proportions before shopping. Check whether a 30" cabinet would crowd the doorway, whether a 12" rolling cart looks intentional or stranded, whether an 84" shelf line feels too busy, and whether under-cabinet lighting makes the same amount of stuff feel less chaotic. The preview should give you dimensions, locations, and limits.
Then turn the best version into a maintenance rule. The coffee zone gets one tray. The prep zone stays empty. The sink zone gets one small caddy. The pantry overflow gets a closed container or leaves the kitchen. That is how kitchen counter clutter solutions become permanent: the counter stops negotiating with every object that enters the room.
Frequently Asked Questions
Why does my kitchen counter clutter come back even after I declutter?
Counters refill because the items have no closed home; every appliance, tool, and paper needs a named drawer, cabinet, or basket within five feet of where you use it, or it returns within a week. Use the room photo to compare the visible layout and fixed constraints before committing, because door swings, windows, outlets, storage reach, circulation, and existing furniture decide whether the idea survives daily use.
How many things should be on a kitchen counter?
Aim for three to five visible items in the daily-use zone: coffee setup, knife block, salt and pepper, optional fruit bowl; everything else lives behind a door. Keep the preview honest by leaving the problem area visible in the frame, then compare one conservative version against one bolder version before you buy lighting, paint, furniture, or storage.
Where should small appliances live if not on the counter?
Build an appliance garage in a deep cabinet next to the outlet, or dedicate one lower cabinet shelf with a pull-out tray so the toaster, blender, and mixer slide out instead of living out. Check the result against ordinary movement first: drawer clearance, chair pullout, walkway width, glare, switch access, and sightlines matter more than a perfect catalog angle.
What about the paper, mail, and keys that always end up on the counter?
Dedicate one shallow drawer or a wall pocket near the entry to catch the daily drift; clear that drawer Sunday evening so it never accumulates past one week. Use the image to narrow priorities and measurements before ordering anything custom; final purchases still need real dimensions, outlet locations, installation limits, and product clearances.
How do I keep clean counters in a small kitchen with no pantry?
Convert the lower cabinet under the sink, one upper cabinet, and the top shelf above the fridge into a virtual pantry; counters stay clear when even pantry goods have a closed home. If the preview invents architecture or hides the awkward feature you need solved, rerun it with stricter instructions so the result remains tied to your actual room.
Three transformations to try
- Three-item daily-use zone with closed appliance garage
- Under-counter pull-out tray for small appliances
- Single drawer for mail/keys/paper drift