A kitchen island is the most useful and the most over-scaled feature in modern kitchens, so it deserves real planning rather than a default rectangle in the middle of the room. The best islands do three jobs at once, offering prep space, storage, and casual seating, while still leaving clear floor to move. The worst ones are oversized slabs that force you to walk around them all day. These ideas focus on making an island genuinely earn its footprint, from how you size it and seat it to the finishes and lighting that turn it into the room's centerpiece.
Sizing your island and the clearances around it
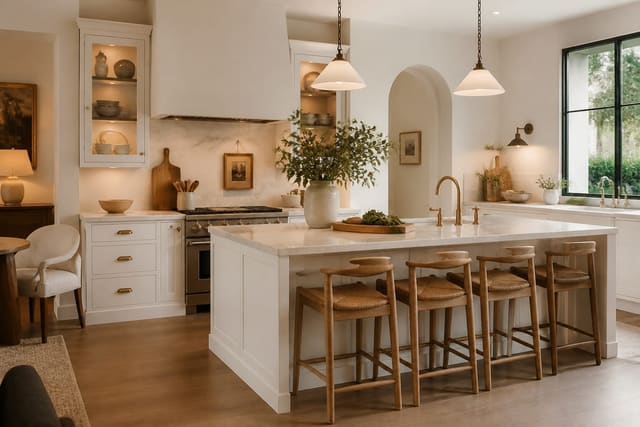
An island fails more often from poor sizing than from any other cause, so start with the floor, not the island. You need at least 42 inches of clear walkway on every side, and 48 inches on the side where the dishwasher opens or where the main prep happens, so two people can pass and appliance doors can swing. Work backward from those clearances to find the island's maximum footprint, rather than picking an island size first and squeezing the room around it. A comfortable island surface starts around 4 feet by 2 feet and grows from there, but resist the urge to make it enormous: an island deeper than about 4 feet leaves a dead zone in the middle you cannot reach to clean or use. If your room is long, a longer, narrower island beats a giant square, since you can reach across it and it preserves walkways. Below roughly 10 by 12 feet of clear floor, an island simply will not fit comfortably, and a peninsula attached to one run gives you the extra working edge without the clearance penalty on four sides. Height is usually a single level at the standard 36 inches, which makes the most flexible work surface, though a raised 42-inch bar on one end hides kitchen mess from a seated guest if that matters to you. Get the clearances right first, and the island becomes an asset rather than an obstacle you edge around every day.
See also our guide to White Kitchen Ideas for more on kitchen island ideas.
Seating, prep, and storage that earn the footprint
An island should do at least two real jobs, and the best do three. For seating, budget 24 inches of width per stool so elbows do not collide, and provide a knee overhang of 12 to 15 inches so people can tuck their legs under and sit at a comfortable distance. Counter-height seating at 36 inches uses standard counter stools, while a raised 42-inch bar takes taller stools and hides clutter; pick one and commit. For prep, position the most useful clear run of counter on the island facing the cooktop, and consider adding a prep sink if the island is large, which turns it into a true second work zone for a second cook. Storage is where islands quietly earn their keep: deep drawers on the kitchen side hold pots and pans far better than door cabinets, a built-in trash and recycling pull-out keeps bins off the floor, and the seating side can house cookbook shelves, a wine rack, or display cubbies. Do not waste the island as a pure decorative slab; every cubic foot should store something or serve a task. If you cook seriously, dedicating the island to prep and storage while seating two or three at one end is a smarter use than turning the whole thing into a dining bar. Match the island's functions to how you actually use the kitchen, and it will pull its weight every single day rather than just looking impressive in photos.
For a related angle on kitchen island ideas, read Dark Kitchen Ideas.
Waterfall edges, two-tone color, and finishes
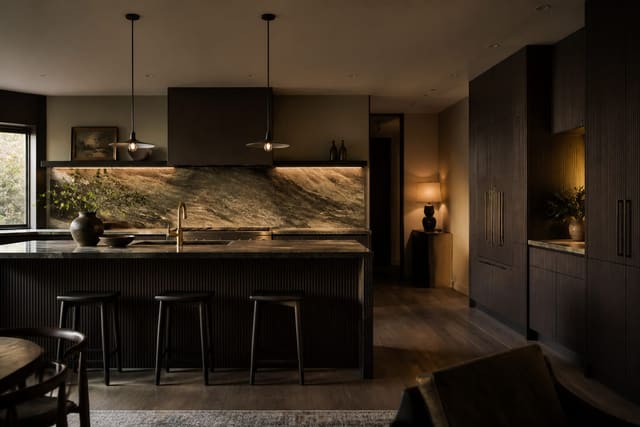
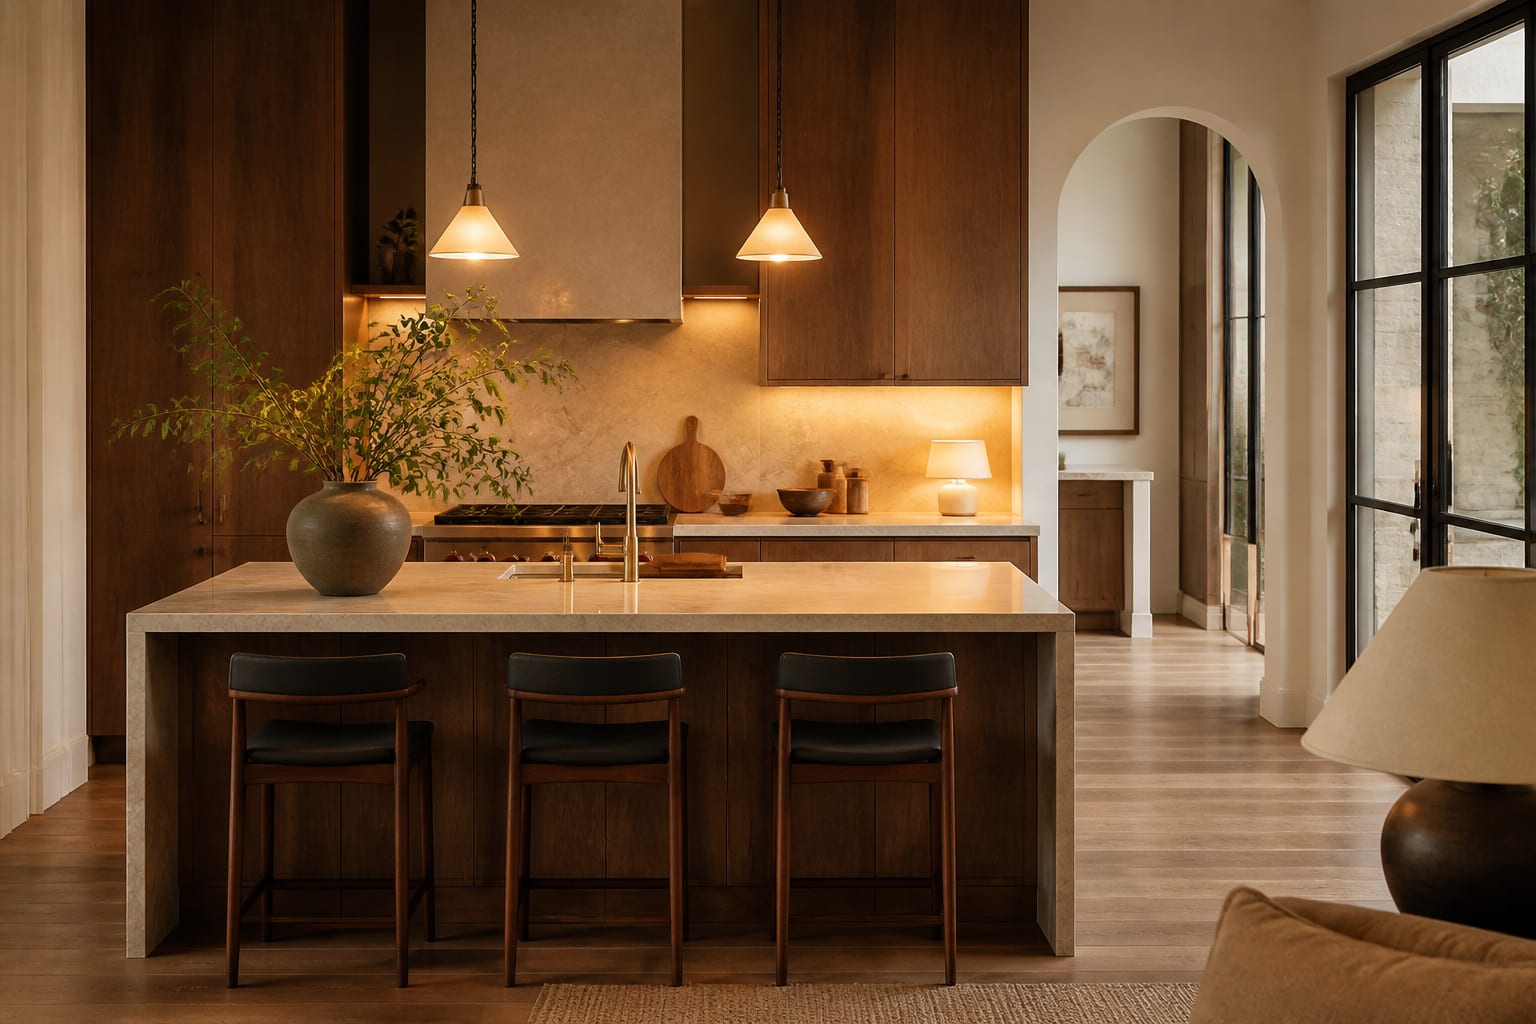
The island is your chance to make a design statement the perimeter cannot, and two moves dominate. A waterfall edge, where the countertop material turns the corner and runs vertically down the sides all the way to the floor, reads sculptural, modern, and expensive, framing the island as a solid block of stone. It looks especially striking with dramatic veining, since the pattern wraps the corner and continues down the side, but it roughly doubles the stone needed for those sides, so budget for it. The second move is two-tone color, painting or finishing the island differently from the perimeter cabinets. A white kitchen with a navy, green, or charcoal island gains an instant anchor and a clear center of gravity, while a wood-clad island in a painted kitchen introduces warmth and texture at the heart of the room. Two-tone also lets you use a different, perhaps more expensive, counter material on the island alone, concentrating your splurge where it shows most. For finishes, a butcher-block top on the island is practical for chopping and adds warmth, while a contrasting stone marks the island as the hero surface. You can even mix: a stone perimeter counter with a warm wood island top, or vice versa. Whatever you choose, let the island differ deliberately from the perimeter so it reads as the intentional centerpiece of the room rather than just more of the same cabinetry.
Lighting above the island
Lighting over an island is both functional and the room's biggest decorative opportunity, so treat it carefully. The island needs dedicated task light because you prep and often eat there, and overhead pendants deliver it while defining the island as its own zone. For an island up to about 6 feet long, two pendants usually balance the space; longer islands take three, or a single elongated linear fixture that runs the length. Space multiple pendants evenly, keeping them at least 6 inches in from each end so they do not crowd the edges, and align their spacing to the island's center rather than the room's. Hanging height matters: set the bottom of the pendants roughly 30 to 36 inches above the countertop, high enough to see across the island and talk to someone opposite, low enough to feel grounded and light the surface well. Scale the fixtures to the island, since pendants that are too small float meaninglessly over a big slab while oversized ones overwhelm a modest one; as a rough guide, the combined width of the pendants should be around a third of the island's length. Put the pendants on their own dimmer separate from the recessed cans so you can drop them low for dinner and brighten them for prep. The pendants are often the first thing people notice in a kitchen, so this is the place to spend on a fixture with real presence rather than defaulting to plain recessed cans over the island.
- Size the island from the clearances in, keeping at least 42 inches of clear floor on every surrounding side.
- Budget 24 inches of stool width and a 12-to-15-inch knee overhang so seated guests sit comfortably.
- Load the kitchen side with deep pot drawers and a built-in trash pull-out so the island stores real gear.
- Add a prep sink to a large island to create a genuine second work zone for a second cook.
- Paint the island a contrasting navy, green, or charcoal to give the kitchen a clear anchor and center.
- Wrap the counter material down the sides as a waterfall edge for a sculptural block, budgeting extra stone.
- Top the island in butcher block or a contrasting stone so it reads as the room's deliberate hero surface.
- Hang two or three pendants 30 to 36 inches above the surface, sized to about a third of the island length.
Bring the look home with Re-Design
An island is a big commitment in both cost and floor space, so see it in your room first. Upload a photo of your kitchen to Re-Design and preview different island sizes, a contrasting two-tone color, a waterfall edge, and pendant options against your actual layout. Checking the clearances and sightlines visually helps you avoid the most common mistake, an oversized island that looks impressive in a showroom but crowds the floor you live in.
Frequently Asked Questions
How many stools fit at a kitchen island?
Allow about 24 inches of width per stool so elbows do not bump. A 6-foot island seats three comfortably along one side, while an 8-foot island fits four. You also need a 12-to-15-inch knee overhang for legroom. Seating around a corner adds spots but check that stools do not block a walkway when occupied.
Is a waterfall edge worth the extra cost?
It depends on your style and stone. A waterfall edge runs the counter material down the sides to the floor for a sculptural, modern block, and it shines with dramatic veining that wraps the corner. It roughly doubles the stone needed for those sides, so it suits a statement island where you want a clean, contemporary look and have the budget.
How high should pendant lights hang over an island?
Set the bottom of the pendants about 30 to 36 inches above the countertop, high enough to see across the island and talk to someone opposite, low enough to light the surface and feel grounded. Use two pendants for islands up to 6 feet and three for longer ones, spaced evenly and aligned to the island's center.