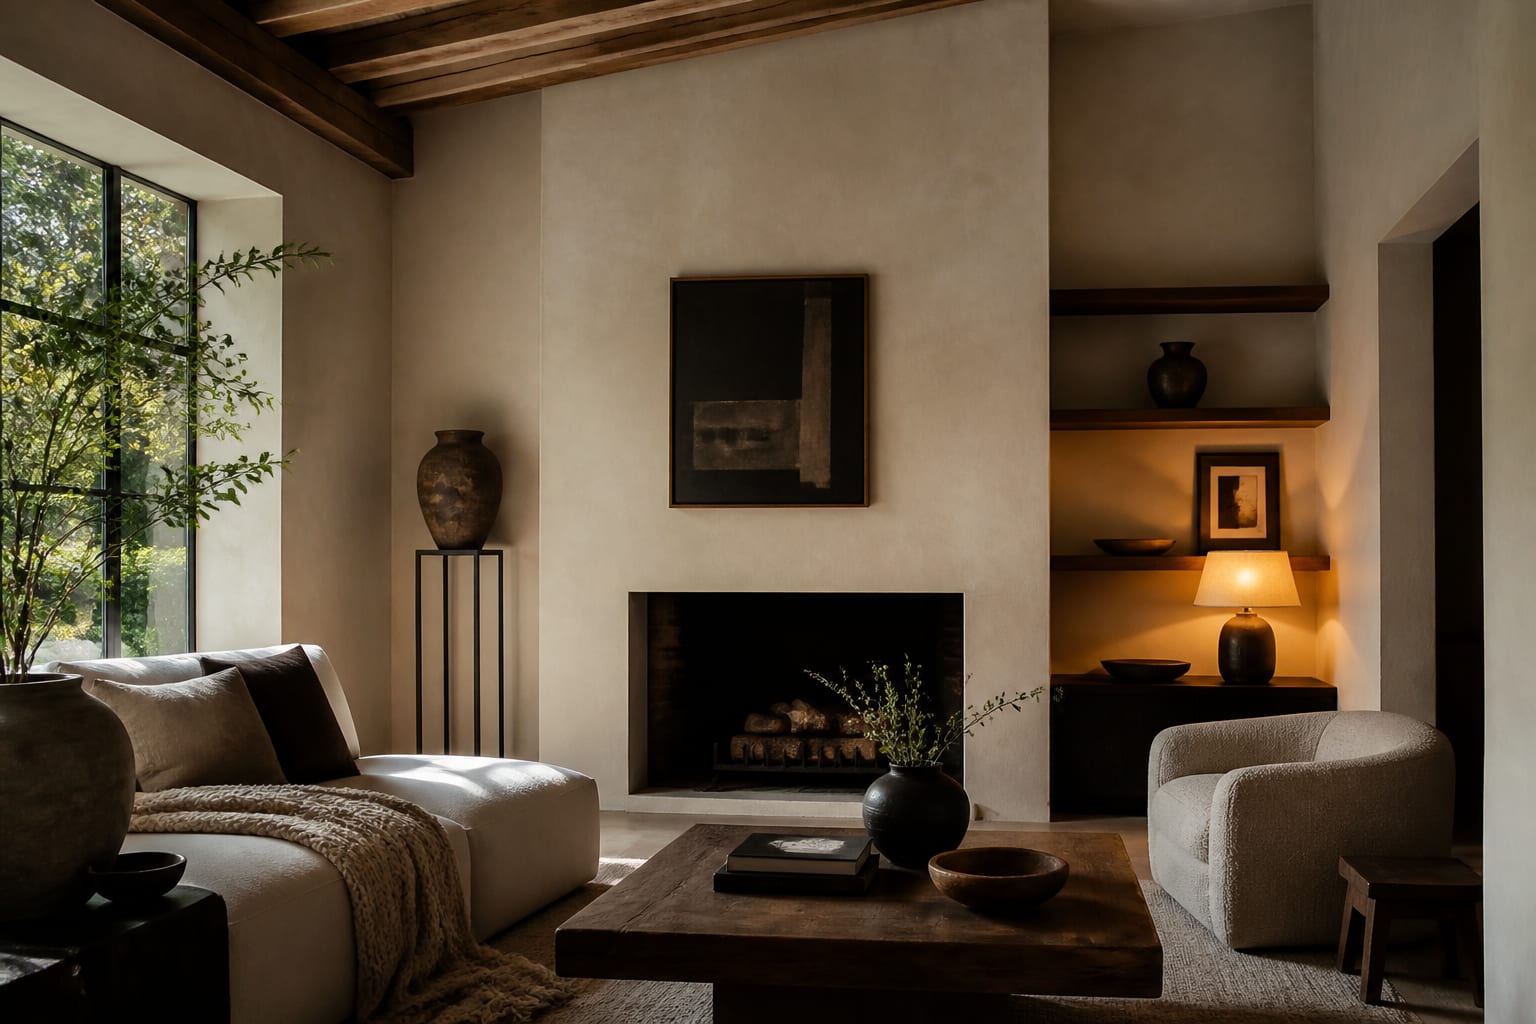
Limewash is the cheapest way to make a flat wall look like it has been there for a century. It is slaked lime thinned with water, brushed on in cloudy, cross-hatched layers that dry to a chalky, matte depth no roller can fake. If you want texture and age without the cost of Venetian plaster, this is the finish.
Limewash paint is a breathable mineral coating you apply in two thin coats with a wide brush, working in random X-strokes to build the soft, mottled movement that gives it character.
What limewash actually is
Limewash is one of the oldest wall finishes still in use, and its look comes from how the lime cures rather than from pigment sitting on the surface. As it dries, the lime reacts with carbon dioxide in the air and crystallizes back into a kind of soft stone, which is what gives the finish its faintly translucent, weathered depth.
That chemistry also makes it breathable. Unlike a sealed acrylic paint that forms a plastic film, limewash lets moisture pass straight through, which is why it holds up on old plaster and brick that need to dry out rather than trap damp. The trade-off is that it is delicate — it can rub off or burnish if you scrub it hard, so it suits walls more than hard-wear trim or baseboards.
Coverage runs thinner than regular paint, and this surprises people on their first project. A single gallon covers roughly 100 to 175 square feet per coat, about half what a standard interior paint covers, so buy generously and from the same batch to keep the color consistent. Most quality limewash runs $70 to $110 per gallon.
It is worth separating limewash from its cousins. True limewash is the thinnest and most mottled; mineral or "lime paint" is a slightly thicker, more durable modern version; and Venetian plaster is a troweled, polished finish that costs several times more in labor. Limewash gives you 80% of the old-world character for a fraction of the price and skill.
How to apply it in two coats
The technique is forgiving but specific. Rushing it or treating it like ordinary paint is where the finish falls apart.
- Prep the surface. On drywall, seal first with a mineral or limewash-specific primer; on raw plaster or brick, mist the wall lightly with water so it does not pull moisture from the wash too fast.
- Thin if needed. Many products want a 1:1 to 2:1 paint-to-water ratio for the first coat — check the label and stir often, since lime settles.
- First coat. Load a 5 to 6 inch masonry brush and work in loose, overlapping X-strokes across a 3-foot section, keeping a wet edge.
- Let it cure 4 to 8 hours, then apply the second coat the same way to deepen the cloudiness and even out coverage.
Two coats is the sweet spot for most rooms; a third adds opacity but starts to flatten the movement that makes limewash worth doing in the first place.
Work one full wall at a time and never stop in the middle of a plane, because a dried edge picked back up later leaves a visible lap line that no amount of feathering hides. Box your product first too — pour every can into one large bucket and stir — so the color stays uniform from the first stroke to the last. For a single accent wall, one person can finish a coat in under an hour; budget half a day total once you account for the cure between coats.
Where limewash works best
Limewash is not a universal finish, and forcing it into the wrong room is how people end up disappointed. It shines where its breathability and texture are assets, not liabilities.
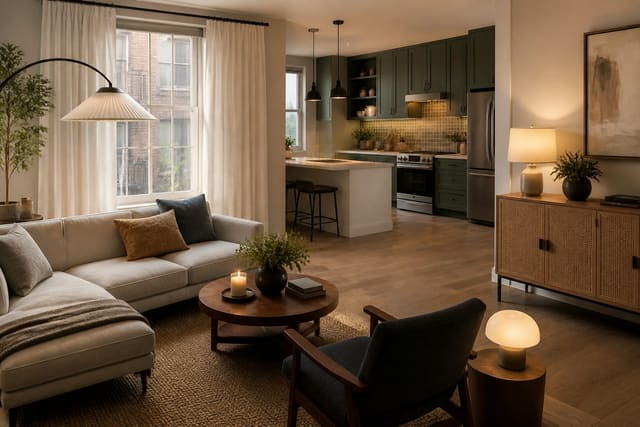
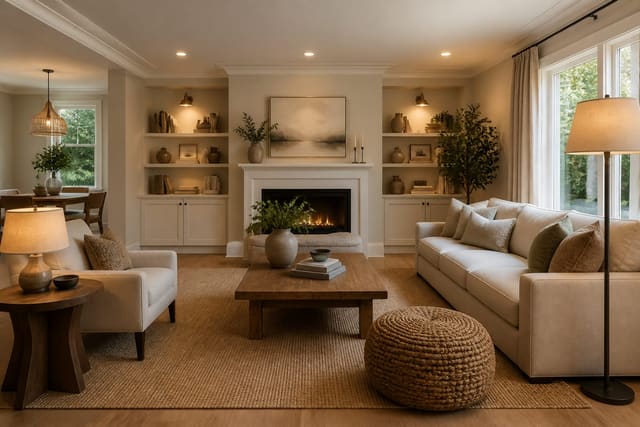
It looks its best on large, uninterrupted wall planes in living rooms, bedrooms, and dining rooms, where the cloudy movement has room to read across 8 or more feet. It also belongs on masonry — a brick fireplace or an exterior stucco wall takes limewash naturally because the surface is already porous and mineral.
Be cautious in wet, high-touch zones. A powder room can work if it is well ventilated, but a steamy primary shower surround or a kitchen splash area behind the sink will defeat an unsealed lime finish over time. And because limewash is so forgiving and low-commitment, it is a strong pick for spaces you may want to change later — renters weighing reversible upgrades can pair it with the ideas in AI room design for a rental apartment, since a future owner can simply paint over it.
One more advantage worth naming: limewash bounces light in a soft, diffuse way that makes a wall recede. That light-reflecting matte depth makes tight rooms feel larger and calmer, which plays directly into the strategies in AI interior design for small spaces.
Common mistakes to avoid
Limewash forgives a wobbly hand but punishes a few specific errors.
- Using a roller. A roller kills the cross-hatch texture and leaves a flat, dead surface — the brushwork is the entire point.
- Judging color while wet. Wet limewash looks 30 to 50% darker than its cured state, so people panic and over-apply; wait the full 3 to 5 day cure.
- Skipping the primer on drywall. Without a porous primer the wash cannot grip, and you get patchy, chalky failure that wipes off.
- Sealing it with the wrong topcoat. A glossy acrylic sealer suffocates the breathable finish; if a high-touch wall needs protection, use a mineral-based limewash sealer only.
The thread running through all four errors is impatience. Limewash rewards a slow hand and a willingness to wait for the cure, and it punishes anyone who treats it like a quick weekend coat of latex.
Use AI design to preview limewash before you commit
Limewash is a finish you cannot truly judge from a 2-inch swatch, because its cloudy movement only reads at full wall scale and shifts noticeably with the light in your specific room.
Upload a photo of your room to Re-Design and let the AI design tool render the wall in a warm putty, cool greige, or moody charcoal limewash so you can see the depth across the entire surface. It is a fast way to compare three undertones — and how each one plays against your floor and trim — before you brush on a finish that takes days to cure and is a chore to redo. The same preview earns its keep when you are staging a home with AI design and want a textured wall that photographs with real depth.