Most people shop luxury vinyl plank by looking at the photo on the box, which is exactly backward. The thing that decides whether your floor still looks good in five years is the wear layer measured in mils and the thickness measured in millimeters, not how convincing the wood-grain print looks in the store. A cheap 6-mil plank in a busy kitchen will scuff and dull fast, while a 20-mil plank in a quiet guest room is money wasted. Match the spec to the room first, then pick the look you like within that tier. Get that order right and LVP is one of the best-value floors you can buy.
Which rooms suit luxury vinyl plank best?
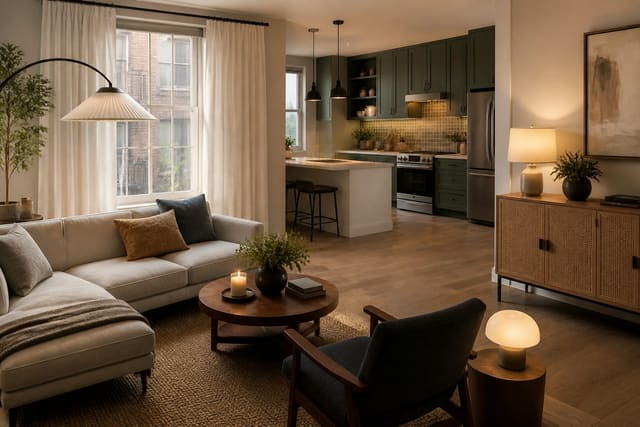
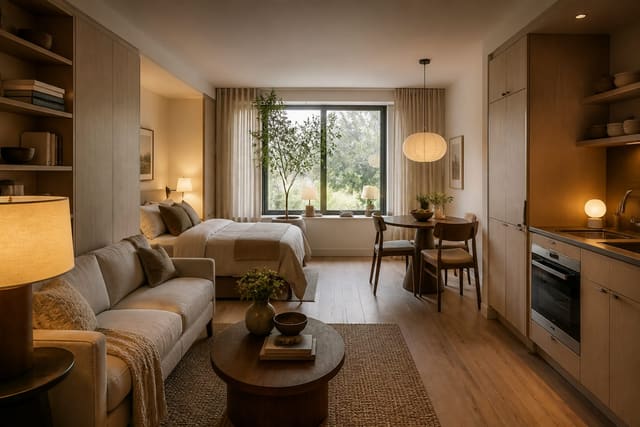
LVP earns its keep in the rooms where real hardwood struggles. Because rigid-core and waterproof formulations shrug off spills and humidity, they are the obvious pick for kitchens, full and half bathrooms, laundry rooms, and below-grade basements where moisture would cup or delaminate a solid wood floor. A waterproof plank handles a dishwasher leak or a tracked-in puddle in a way an engineered hardwood simply cannot, which is why LVP has taken over so many kitchen renovations.
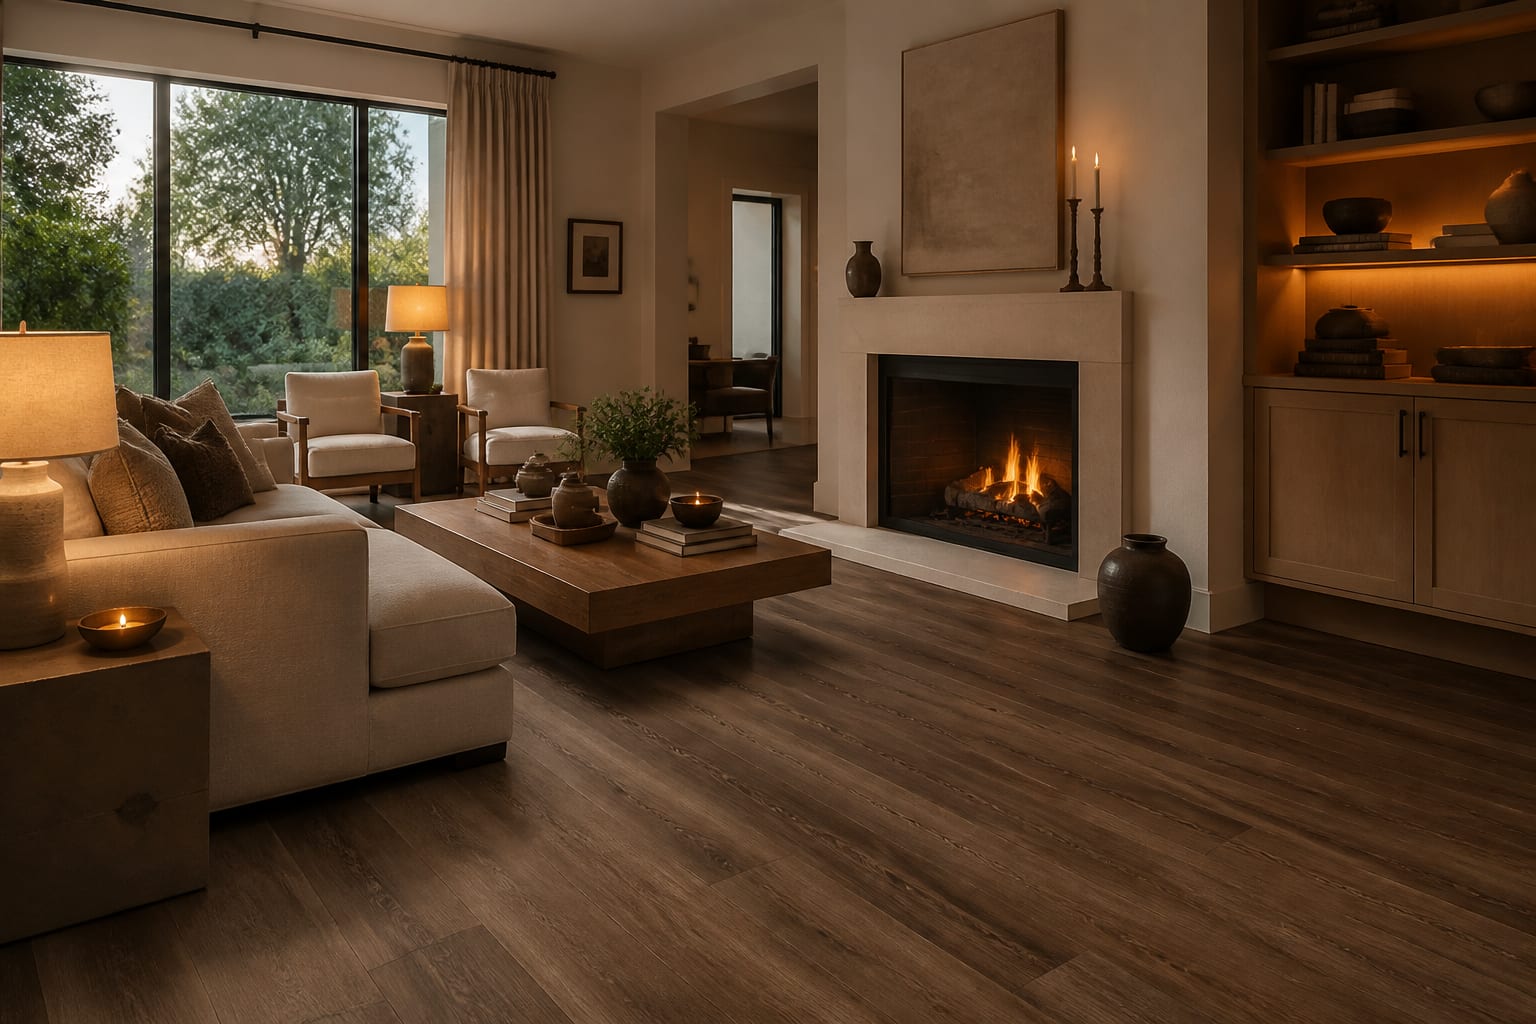
It is also the practical choice in high-traffic and high-mess zones: entryways, mudrooms, kids' playrooms, and pet households all benefit from a tough wear layer that resists scratches and dents. The scratch resistance is a real advantage over hardwood when a dog's nails are involved. LVP works in bedrooms and living rooms too, though those calmer spaces let you drop to a thinner wear layer and save money. If you are putting LVP into a rental to get a durable, neutral floor without the cost of hardwood, our guide to designing a rental apartment covers how a consistent floor reads to tenants and buyers. For a compact home, running one plank color across several rooms makes the footprint feel larger, a tactic our notes on small-space design explore in more detail.
How to read wear layer and thickness specs
Two numbers govern LVP quality, and confusing them is the most common shopping error. The wear layer is the clear protective film on top, measured in mils (thousandths of an inch). For light-use bedrooms and closets, 6 to 8 mil is acceptable. For typical living areas, step up to 12 mil. For kitchens, entries, and any commercial-grade traffic, choose 20 mil or more, which carries the longest wear warranties. Do not confuse mils with millimeters; a thick plank with a thin wear layer will still scuff.
The second number is overall plank thickness, typically 4 to 8 mm. Thicker planks with a rigid SPC or WPC core feel more solid underfoot, span minor subfloor imperfections better, and are quieter to walk on. Aim for at least 5 mm with an attached cork or foam underlayment, which cuts the hollow, clicky sound cheap planks make. Wider planks of 7 to 9 inches and longer lengths around 48 to 60 inches read more like real wood and show fewer seams, but they demand a flatter subfloor to lie correctly. Match the printed grain and a low-gloss or embossed-in-register texture for the most convincing wood look.
Install tips that prevent buckling and gaps
Most install failures trace back to a handful of common mistakes you can avoid before the first plank clicks down. Most LVP failures trace back to skipped prep, not bad product. Start with the subfloor: it must be clean, dry, and flat to within 3/16 inch over a 10-foot span. Grind down high spots and fill dips with leveling compound, because any dip telegraphs through floating planks and creates flex and clicking. Vacuum thoroughly so no grit sits under the new floor.
Acclimate the planks in the room where they will be installed for at least 48 hours so they adjust to its temperature and humidity, which prevents the gapping and peaking that come from installing cold planks that later expand. Leave a consistent expansion gap of about 1/4 inch around the entire perimeter and at every fixed object, hidden later by baseboard or quarter-round; floating floors need room to move. Stagger the end joints of adjacent rows by at least 6 inches so seams do not line up and weaken. A few placement rules keep the finished floor flat and quiet:
- Run planks parallel to the longest wall or in line with the main light source for the most natural look.
- Snap a chalk line for the first row so the whole field stays square to the room.
- Keep the expansion gap behind toe-kicks and around pipes, not just along visible walls.
- Use a tapping block, never a hammer directly, to seat the click-lock joints without crushing the edges.
- Roll or weight a glue-down installation so the adhesive bonds fully and edges do not lift.
What luxury vinyl plank costs to own
LVP sits in a comfortable middle of the flooring market. Material runs roughly $2 to $5 per square foot for solid mid-grade product, with premium 20-mil rigid-core lines reaching $5 to $7. Professional installation typically adds $1.50 to $4 per square foot, though the click-lock floating systems are genuinely DIY-friendly, which is part of the appeal. For a 200-square-foot kitchen, a quality floating floor in materials lands around $600 to $1,200 before labor.
The long-run value is strong because the durable wear layer means fewer refinishes; unlike hardwood, you do not sand and recoat LVP, you replace planks if they ever fail. Choose a slightly higher spec than you think you need in wet and busy rooms, since the few extra dollars per square foot buy years of scratch and scuff resistance. The cheapest planks, under $2 with a 6-mil layer, are a false economy anywhere people actually walk. Budget a little extra product, about 10 percent over your room's square footage, to cover cuts, mistakes, and future repairs.
See it first in Re-Design
LVP comes in dozens of wood looks, from pale white oak to gray-washed and rich walnut, and a 6-inch sample never tells you how a tone will read across a whole floor. Upload a photo of your kitchen, bathroom, or basement to Re-Design and swap in different plank colors and widths to see how each one works against your cabinets, walls, and natural light before you order a single box. Seeing a wide gray plank versus a warm narrow oak in your actual room makes the choice obvious, and you can test how the floor pairs with a backsplash or paint color you are also considering. That preview saves you from committing $1,000 of flooring to a tone that fights the rest of the room.
Frequently Asked Questions
What wear layer should I choose for luxury vinyl plank?
Match it to traffic. Use 6 to 8 mil for light-use bedrooms and closets, 12 mil for normal living areas, and 20 mil or more for kitchens, entries, and pet households. The wear layer is the clear top film measured in mils, and it determines scratch and scuff resistance far more than the plank's overall thickness does.
Is luxury vinyl plank good for bathrooms and basements?
Yes. Waterproof rigid-core LVP is one of the best choices for bathrooms, kitchens, laundry rooms, and below-grade basements, since it resists the moisture that would cup or delaminate real hardwood. Pair a waterproof plank with a 20-mil wear layer in these wet, high-use rooms so the floor handles both standing water and traffic.
Do I need underlayment under luxury vinyl plank?
Many rigid-core planks include attached cork or foam underlayment, which is usually enough and quiets the floor. If your planks do not have it, add a thin LVP-rated underlayment, but never stack two layers, as the floor becomes too soft and the joints can fail. The subfloor still must be flat to within 3/16 inch over 10 feet.
Why is my luxury vinyl plank buckling or gapping?
The usual causes are skipped acclimation and no expansion gap. Let planks sit in the room 48 hours before installing, and leave about 1/4 inch of gap around the entire perimeter so the floating floor can move with temperature swings. An uneven subfloor with dips over 3/16 inch across 10 feet also causes flex, peaking, and separated seams.