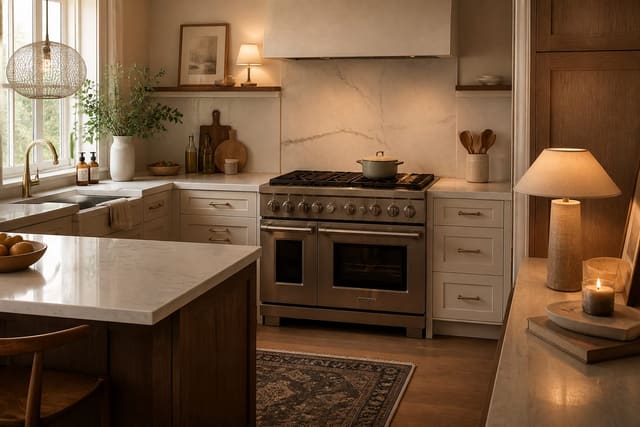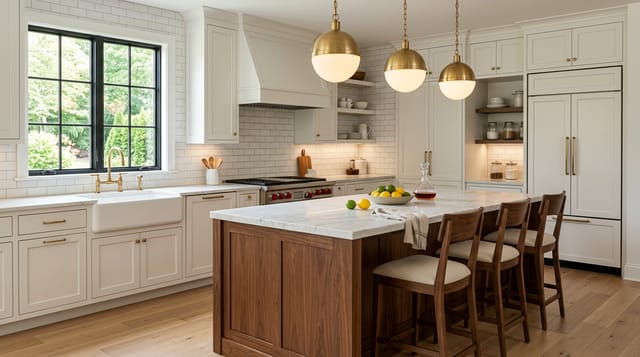
Most pantry resets fail within a month, and the reason is almost always the same: people buy containers before they understand how they actually shop and cook. The better order is to fix the layout and the zones first, then buy storage to fit. A pantry is not a display project; it is a tool you reach into a dozen times a day, and the version that lasts is built around adjustable shelves, clear sightlines, and a home for every category. Get the bones right and the pretty jars take care of themselves. Here is how to build a pantry that stays organized past week one.
How deep should pantry shelves be?
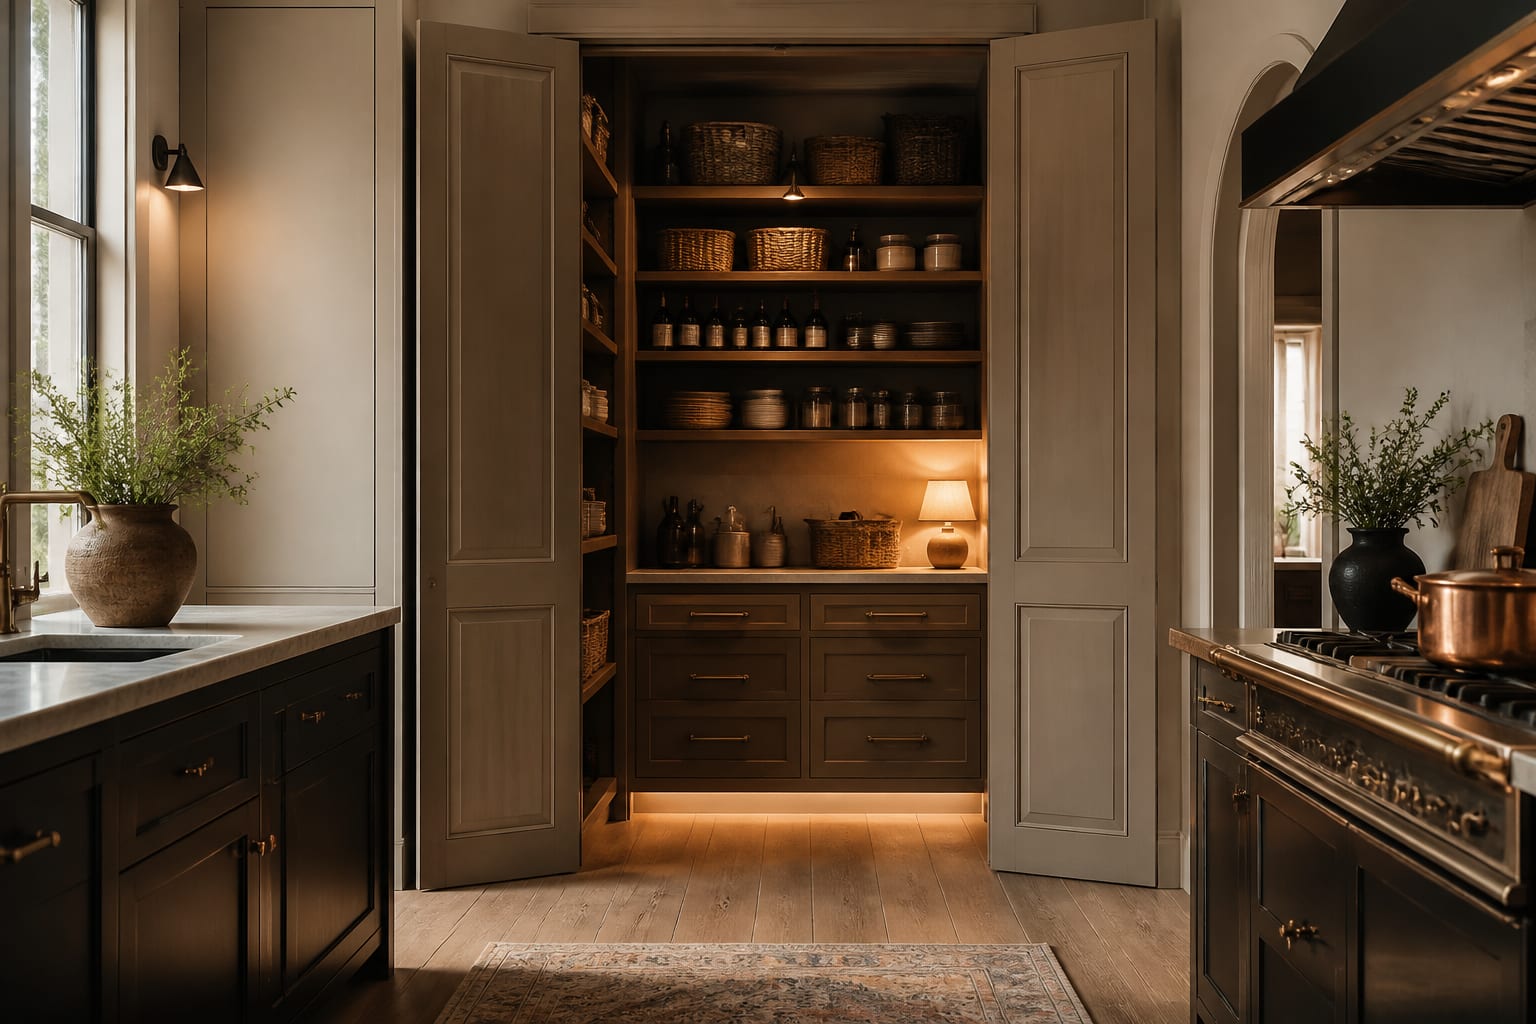
Depth is the single most decided factor in whether a pantry works, and most builders default to shelves that are far too deep. A 24-inch deep shelf swallows boxes into a back row you never see, which is exactly where food expires unnoticed. For everyday goods, 12 to 16 inches of depth is the sweet spot, deep enough for cereal boxes and small appliances yet shallow enough that everything sits in one visible row. If you have a deep closet, reserve the bottom 24-inch shelf for bulk backstock in labeled bins you pull out like drawers, and keep the eye-level shelves shallow.
Shelf height matters as much as depth. Fixed shelves spaced a uniform 12 inches apart waste enormous volume above short cans and crowd tall cereal boxes. Switch to an adjustable system on a 1-inch pin or track spacing so you can set a 7-inch gap for canned goods and a 14-inch gap for cereal and pasta. Aim for five to six shelves in a standard 84-inch tall pantry rather than the typical four, since shorter, well-sized shelves hold more usable inventory. If you are reworking a tight kitchen, our small kitchen storage ideas cover squeezing a real pantry out of a narrow closet or a single run of cabinets.
How do you set up pantry zones?
A pantry stays organized when every category has a fixed address, the same way a well-run store shelves its aisles. Group by how you actually reach for things, not by package type. A baking zone holds flour, sugar, and leaveners together; a breakfast zone groups cereal, oats, and coffee; a snack zone sits at kid height; and an overflow zone up high holds the second jar of peanut butter you bought on sale. When everything has a home, putting groceries away becomes automatic and the pantry resists the slow drift back into chaos.
Place zones by frequency and by weight. The prime real estate is the band between 30 and 60 inches off the floor, roughly hip to eye level, and that is where daily items belong. Push rarely used appliances and holiday serving pieces to the very top, and put heavy bags of flour, pet food, and bulk water on the floor or the lowest 24-inch shelf so nothing dangerous lives overhead. Snacks belong low where children can reach them without climbing. This single habit, assigning every category a fixed shelf, does more for long-term order than any container ever will.
Which containers are worth buying?
Decanting into matching jars looks beautiful on the internet and quietly wastes a lot of money and time if you do it to everything. Be selective. Decant the high-turnover staples that pour and spill, flour, sugar, rice, pasta, coffee, and cereal, into airtight containers because they genuinely stay fresher and stack cleaner. A 2-quart container handles most flours and sugars; a taller 4-quart holds cereal or pasta. Leave canned goods, spice jars, and anything with a date you need to read in their original packaging, since transferring them just hides expiration information.
Bins do the heavy lifting for everything that does not pour. Use open bins roughly 6 inches tall to corral snack packets, drink pouches, and seasoning packets that otherwise slide to the back and disappear. A turntable 12 to 16 inches across tames a cluster of oils and vinegars in a corner. Always measure your shelf depth and the gap between shelves before buying a single container, because the most common organizing mistake is buying gorgeous bins that turn out to be an inch too tall or two inches too deep. A pantry refresh need not be expensive, and our save money kitchen remodel notes cover where a small budget goes furthest, often shelving and lighting over custom millwork.
What keeps a pantry organized long term?
The systems that survive are the ones that take less than five seconds to maintain. Label the front of every bin and the leading edge of every shelf so anyone in the house, not just the person who set it up, knows where things go back. A pantry only stays tidy if returning an item is as easy as grabbing it. Practice first-in, first-out by sliding older stock forward when you restock, which keeps the back row from quietly aging out.
Light is the unsung hero. A dim pantry hides what you own and leads to duplicate buying; add a motion-activated LED puck or a strip so you can actually read labels at the back of a shelf. Do a fast 10-minute reset once a month to pull expired items and re-front the bins, and keep a running list or a marker board inside the door for staples running low. If you are rethinking the whole room, our AI kitchen design ideas cover how a pantry's finishes can echo the kitchen it serves. None of this is glamorous, but a pantry is a working machine, and these small habits are what separate a space that holds for a year from one that collapses by Sunday.
Here are the common mistakes to avoid when organizing a pantry: - Buying containers and bins before measuring your shelf depth and the gap between shelves, so half of them do not fit. - Using fixed 12-inch shelves that strand wasted air above the cans and crush the taller cereal boxes. - Building shelves deeper than 16 inches, which hides a back row of food that expires before you ever see it. - Decanting everything, including dated items, so you lose track of expiration dates and waste hours refilling jars. - Storing heavy flour bags or appliances on a high shelf instead of the lowest 24 inches where they belong. - Skipping labels, so the system only makes sense to the one person who built it and unravels within weeks.
See your pantry layout in Re-Design
It is hard to know whether five shelves or six will fit, or how a wall of clear jars reads against your paint and floor, until you can actually see it. Snap a picture of your pantry or closet and upload it to Re-Design, then preview different shelf spacings, a coat of paint on the back wall, and a uniform set of labeled bins in place. You can re-design the same closet with adjustable wire shelving versus solid wood, or test a brighter back-wall color to make the space feel less like a dark cave, all before you drill a single bracket. Seeing the finished pantry in your own room helps you commit to a layout that fits your space instead of guessing from a catalog photo.
Frequently Asked Questions
How deep should pantry shelves be?
Keep everyday shelves 12 to 16 inches deep so items sit in one visible row instead of a hidden back layer. Reserve deeper 24-inch shelves for the floor or bottom level, where you store bulk backstock in pull-out bins. Shallow shelves at eye level are the secret to a pantry where you can actually find what you own at a glance.
Should I decant everything into matching containers?
No. Decant high-turnover staples that pour and spill, like flour, sugar, rice, pasta, and cereal, into airtight jars. Leave canned goods, spices, and dated items in their original packaging so you can read expiration dates. Over-decanting wastes money and hours of refilling, and it buries the very information you need to avoid food waste.
How do I keep my pantry organized long term?
Give every category a fixed home, label the bins and shelf edges, and add light so you can read the back of each shelf. Practice first-in, first-out by sliding older stock forward when you restock. A quick 10-minute monthly reset to clear expired items and re-front bins keeps the system from sliding back into clutter.
What is the best way to use a deep pantry closet?
Use the deep bottom shelf for bulk backstock in labeled bins you pull out like drawers, and keep upper shelves shallow at 12 to 16 inches. Add a turntable in any corner so nothing gets stranded behind it. Keeping the back of a deep closet accessible is what stops it from becoming a graveyard of forgotten cans.