Builder-grade finishes are not bad, they are just neutral on purpose. A developer picks the cheapest acceptable everything so the house photographs fine and offends nobody. My read is that you do not need to gut the place, you need to swap the five or six items that telegraph cheap the loudest, and leave the rest alone. Done in the right order, a spec home starts feeling custom for a fraction of a renovation budget.
The mistake is starting with the expensive, visible stuff like countertops and flooring before fixing the small details that are quietly dragging the whole house down. Flat builder paint, dome light fixtures, hollow hardware, and bare windows do more damage per dollar than a laminate counter. This checklist runs in priority order, from the cheap high-impact swaps to the bigger projects worth saving for.
Start with lighting and hardware
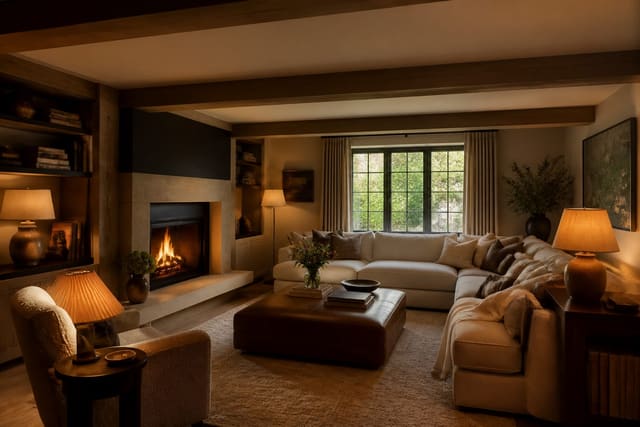
The single fastest upgrade is the lighting. Builders default to dome ceiling fixtures and a couple of recessed cans, which throw flat, unflattering light. Replacing a dome fixture with a flush mount or a small pendant costs $40 to $120 and changes the character of a room more than almost anything else at that price. Add warm 2700K bulbs while you are up the ladder, since the builder-issued daylight bulbs make every other finish look harsher than it is.
Hardware is the next cheap win. Builder cabinet doors and interior doors usually wear the thinnest, shiniest knobs available, and swapping them for solid pulls at $3 to $8 each transforms a kitchen for the cost of a dinner out. Match the metal across the room, brass or matte black or brushed nickel, and stay consistent. If you are working a tight budget and want maximum visible change, the prioritization logic in make-room-look-expensive-on-budget lines up closely with how I rank these swaps.
While you are in upgrade mode, knock out anything that is both cheap and quick:
- Replace builder faucets with a solid single-handle model in the $80 to $200 range
- Swap plastic switch plates and outlet covers for screwless metal ones
- Add dimmers to main living spaces for a few dollars per switch
- Replace the builder bathroom mirror with a framed one
- Upgrade shower heads, which the builder always specs at the bare minimum
Paint, trim, and the details that read custom
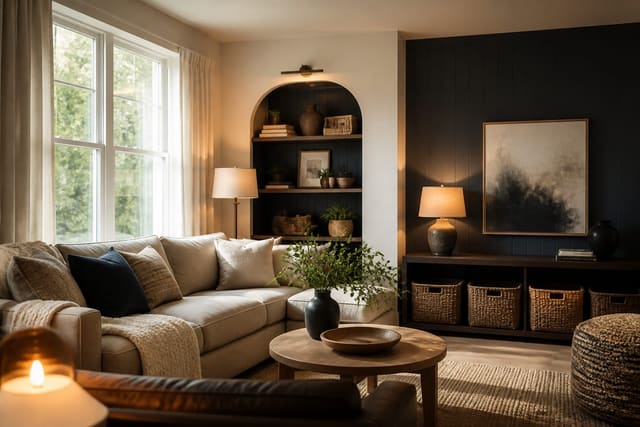
Builder paint is almost always a single flat white sprayed on fast, and flat paint scuffs the moment life happens. Repainting in an eggshell or satin finish, with a quality $40 to $60 gallon, gives walls depth and lets you wipe marks off instead of repainting. Color choice matters less than finish here, though a soft warm white or greige reads more expensive than the cool builder white almost every time.
Trim is the upgrade that fools people into thinking a house is custom. Spec homes use the smallest acceptable baseboard, often a 2.25-inch builder profile, and bumping that to a 5 to 7 inch base with a cleaner profile changes the whole room. Crown molding, beefier door casings, and a feature wall of paneling all read as architecture rather than decoration. If your ceilings feel low after adding trim, the proportion tricks in low-ceiling-design-tricks keep the heavier baseboard from closing the room in.
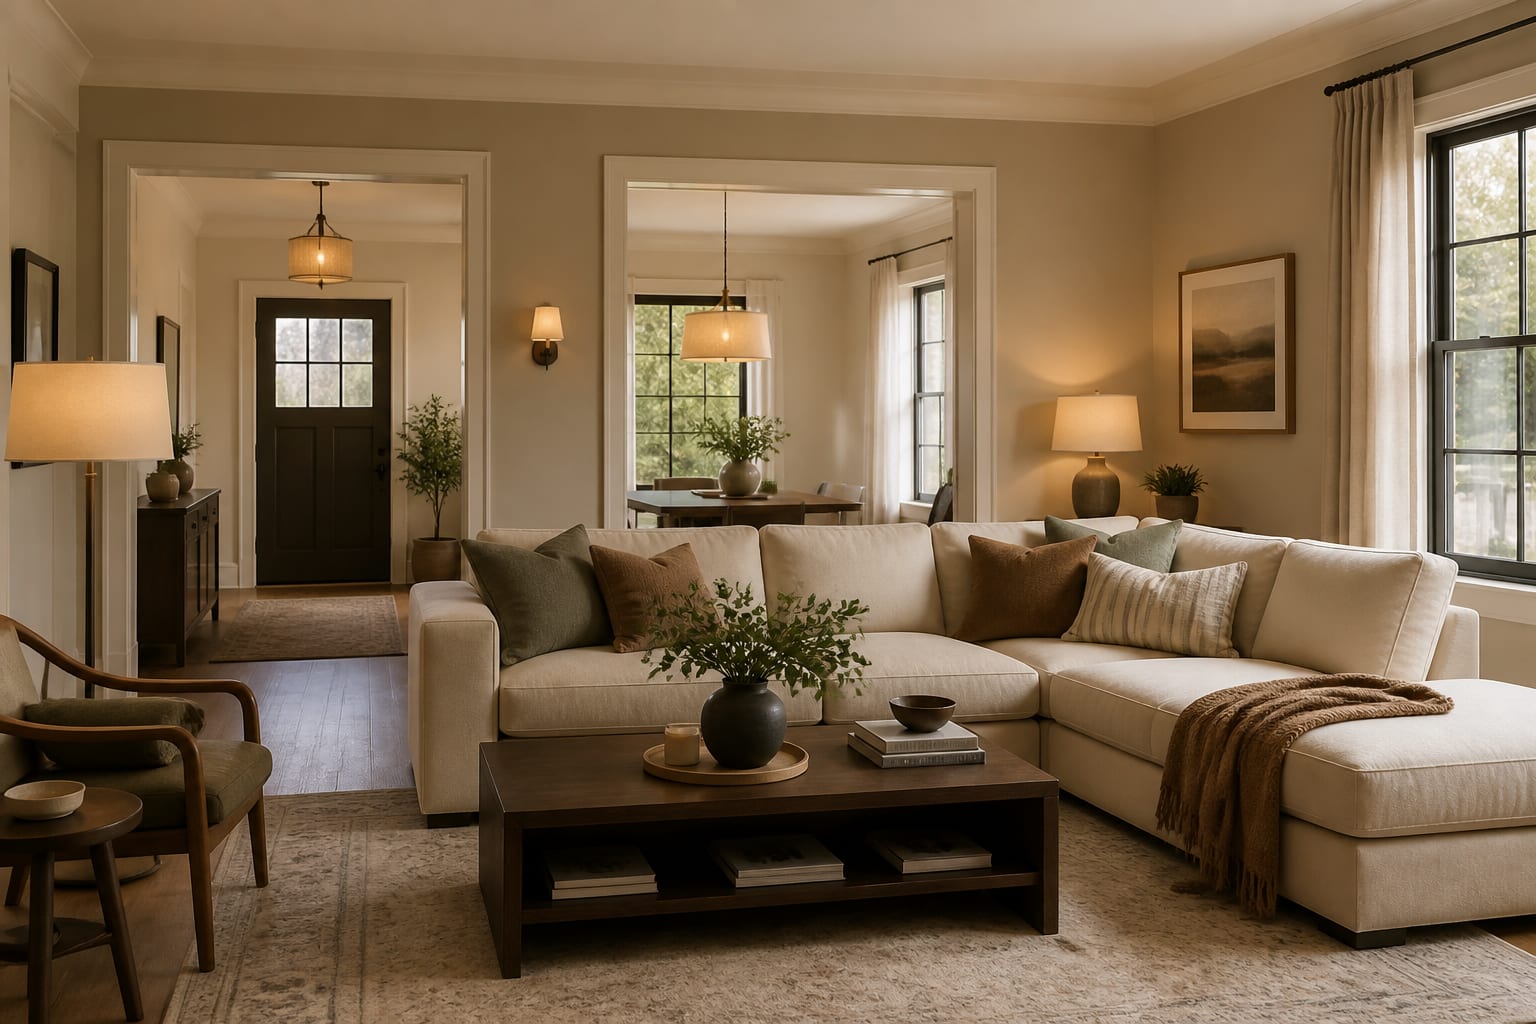
Windows are the last of the cheap-to-mid wins. Builder homes ship bare or with cheap blinds, and hanging curtains high and wide, with the rod 4 to 6 inches above the frame, makes ceilings feel taller and windows feel grander than they are. This is also a great weekend job, and it slots neatly alongside the projects in weekend-diy-room-projects if you are tackling the house in stages.
When to spend on the big-ticket finishes
Countertops, flooring, and tile are where real money goes, so they come last on purpose. Once the cheap swaps are done, you can see clearly whether the laminate counter or the builder carpet is actually the problem, or whether it was the lighting and hardware all along. Quartz counters run roughly $50 to $100 per square foot installed, and luxury vinyl plank or engineered wood lands around $40 to $80 per square foot, so these are projects to plan rather than impulse.
When you do reach them, prioritize the rooms you use and photograph most: the kitchen and the main bathroom. Replacing builder vinyl with tile in a primary bath, or swapping a laminate kitchen counter for quartz, returns the most visible value. Hold the line on bedrooms and secondary spaces, where a good rug over builder carpet buys you years before you need to commit to new flooring.
A tile backsplash deserves a special mention because it punches well above its cost. Most builders skip a backsplash entirely or run a 4-inch laminate strip, and tiling the full wall behind a counter usually lands around $15 to $30 per square foot installed for a modest area, which is a fraction of a countertop swap. It is also one of the few mid-budget projects that reads as genuinely custom from across the room. If you are staging upgrades over a year or two, this is the one big-ticket detail I would pull forward ahead of new flooring, because it changes the kitchen's whole impression for relatively little.
Common mistakes to avoid
The most common mistake is starting with countertops. People rip out a perfectly functional laminate counter on day one and blow the budget before fixing the lighting and paint that were doing most of the damage. Spend the cheap dollars first and reassess.
Another mistake is mixing metal finishes by accident. Half-upgrading hardware leaves you with brass pulls, chrome faucets, and nickel hinges in one room, which reads more disjointed than the original builder spec did. Pick one metal per space and finish the job.
The last one is skipping the trim. People repaint, swap hardware, and still wonder why the house feels generic, because the 2.25-inch baseboard is quietly announcing spec home. Taller trim is the detail that closes the gap to custom.
Use AI design to preview how to upgrade builder grade finishes before you commit
The hard part of upgrading a spec home is sequencing, because every change affects how the next one looks, and it is tough to picture taller trim or warmer paint from a sample. Re-Design lets you skip the guesswork. Upload a photo of your builder kitchen or living room and the AI can re-render it with new flush-mount lighting, matte black hardware, a deeper baseboard, and a warmer wall color, so you see the cumulative effect before you buy a single fixture.
I use it to settle arguments with myself about order of operations. You can preview the room with just lighting and hardware changed, then add paint, then add trim, and judge where the diminishing returns kick in. That makes it easy to decide whether the countertop really needs replacing or whether the cheaper layers already got you to custom. Test the sequence on screen, then spend in the order that earns its keep.