A five-minute AI room design can be useful, but only if you stop asking the tool to redesign your entire life. My firm opinion: speed works when the brief is narrow, physical, and slightly bossy. The homeowner who gets a good result in five minutes is not the one with the fanciest prompt; it is the one who says what must stay, what feels wrong, and what decision needs an answer. Use this as a fast design triage, not a substitute for measuring the sofa wall.
How do you use AI to design a room in 5 minutes?
You quickly use AI to design a room by uploading one clear photo, choosing one specific design goal, generating 2–3 focused previews, and checking the best version against real measurements before you buy or move furniture. That is the whole loop: photo, brief, preview, verify.
The five-minute version should answer one question, not every question. Ask whether the room wants warmer color, a better furniture layout, more storage, a larger rug, or a clearer style direction. If you ask for all five at once, the preview may look polished while dodging the decision that sent you there.
Start with a room photo that shows the fixed shell: floor, ceiling, windows, doorways, trim, and the largest furniture you plan to keep. Then write a short instruction that names the constraint. For a dim living room, pair the AI preview with practical ideas for making fake natural light look believable, because the tool may brighten the image without giving you a real lighting plan.
What should you photograph before the timer starts?
The fastest AI room design begins before you open the app. A rushed, crooked, cluttered photo forces the tool to solve the wrong problem, and the first preview becomes a cleanup fantasy instead of a design answer.
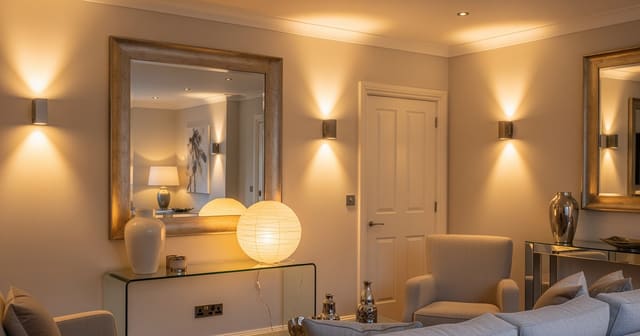
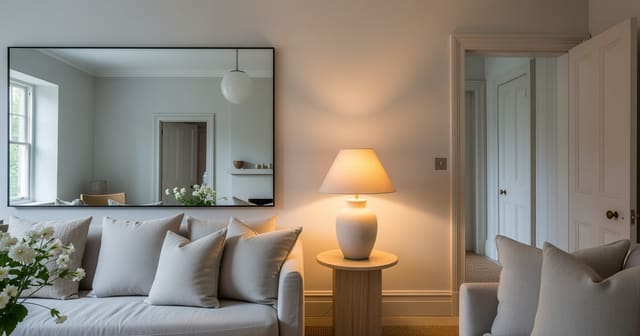
Shoot the room once from a corner or doorway so the image shows two walls and the floor plane. Keep the phone around standing eye height, roughly 48–60 inches from the floor, and avoid ultra-wide distortion if it makes a 10-foot wall look twice its size. Open shades for daylight, turn off colored bulbs, and use warm white lamps near 2700K–3000K if the room is too dark to photograph without help.
Clear only the clutter that is not part of the design problem. Remove mail, dishes, laundry piles, and tiny objects that may confuse the preview, but keep the sofa, bed, table, rug, windows, fireplace, and storage pieces that control the plan. If the room has a glare problem, place mirrors only where they can reflect a window, lamp, or pale wall; the same rule drives using mirrors to amplify light in rooms that feel flat.
What is the 5-minute workflow that actually works?
Set a timer if you tend to spiral. The point is not to finish the room in five minutes; the point is to get one useful visual answer without turning the process into another mood-board swamp.
- Upload the cleanest photo first, because the first image teaches the AI the room’s architecture. Use a 4:3 crop if it preserves the corners, floor, ceiling, and main wall; a pretty close-up of a sofa tells the tool almost nothing about layout.
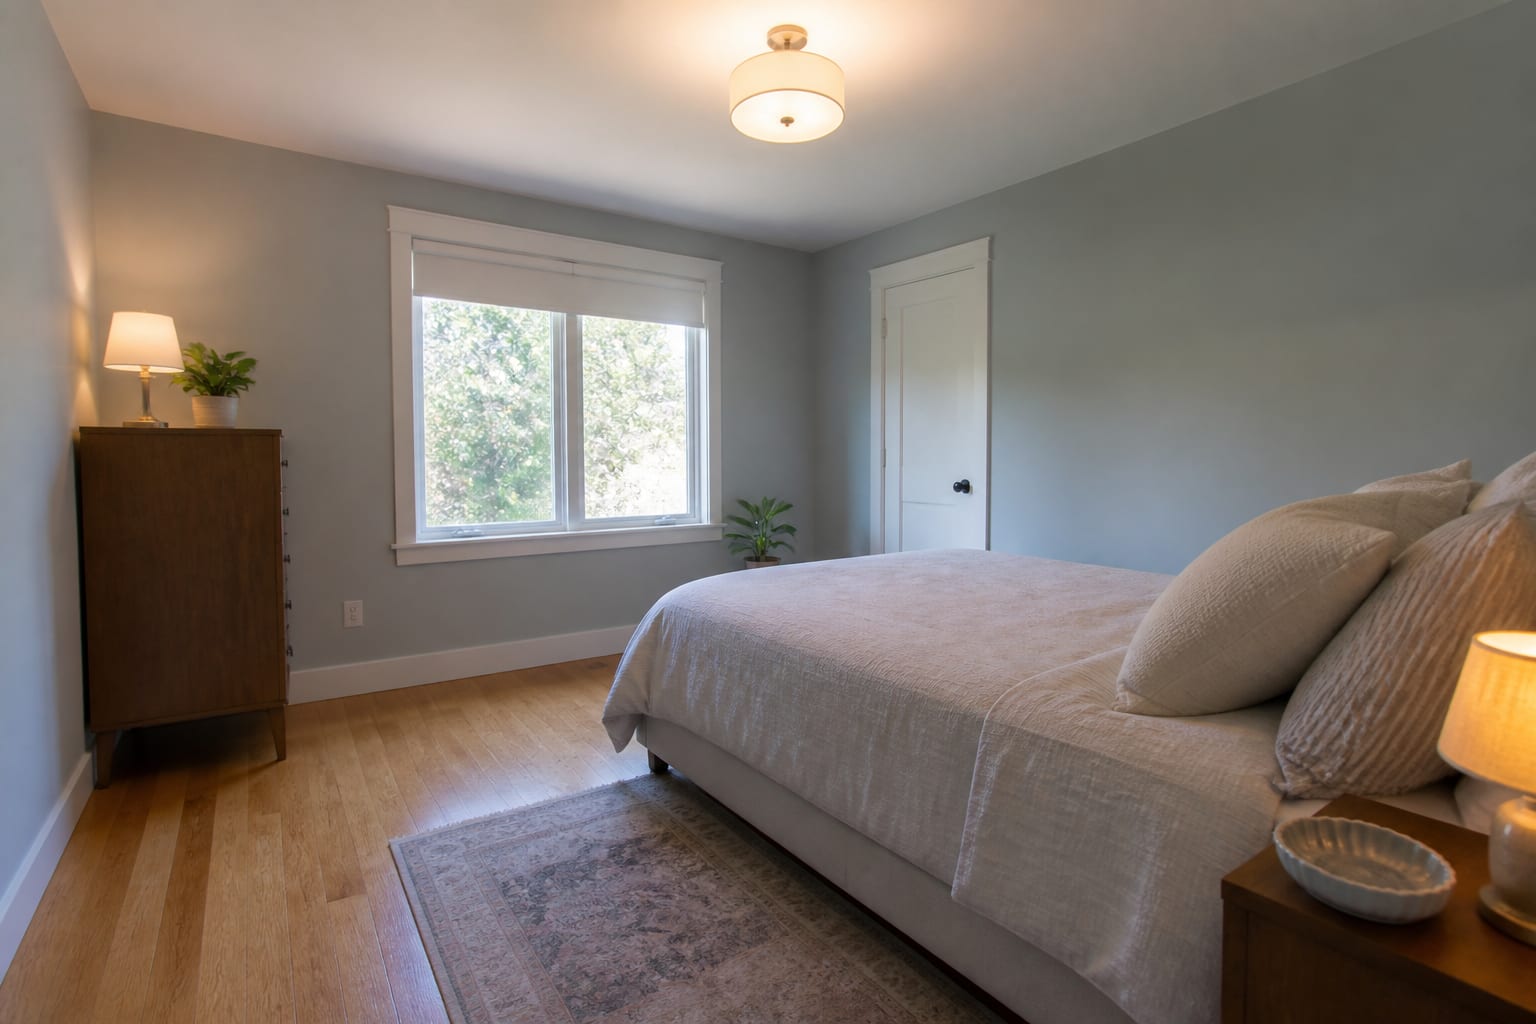
- Name the room and the non-negotiables, because the preview should respect what is expensive, rented, or already working. Try a brief such as: redesign this 11 by 13 foot bedroom, keep the queen bed, oak floor, white trim, and 8 foot ceiling, and make it calmer with warm walls, better lamps, and no new flooring.
- Ask for one outcome, because a narrow task produces a more readable preview. Choose a paint direction, a furniture layout, a rug size, a storage wall, or a lighting plan; do not ask for color, layout, storage, art, plants, and shopping in the same first pass.
- Generate 2–3 versions, because comparison is useful and excess is numbing. One version can keep the current layout, one can test a stronger style, and one can solve the practical friction, such as a bigger rug or a clearer walkway.
- Check the winning idea with measurements, because AI images can flatter bad scale. Keep 30–36 inches for main circulation, leave 16–18 inches between sofa and coffee table, test an 8 by 10 or 9 by 12 rug with painter’s tape, and confirm curtain panels can hang 4–8 inches above the window casing without stopping short of the floor.
If the room has too many openings, the preview must protect paths before it decorates walls. A guide to rooms with too many doorways can help you prompt for circulation first, especially in living rooms where every wall seems interrupted.
Common mistakes that waste the first preview
The most common failure is asking for a beautiful room when you really need a decision about scale, light, storage, or permission. Beauty is too vague for a five-minute test; friction is much easier to solve.
- Asking for a full style makeover fails because the AI may replace the pieces you planned to keep. Tell it to keep the gray sofa, 84 inch media console, cherry floor, ceiling fan, or landlord-approved wall color before asking for anything new.
- Uploading a dark corner shot fails because the model may invent brightness, windows, or finishes that are not present. Reshoot with curtains open, lamps on if needed, and the camera level enough that table legs, door frames, and cabinet lines do not lean.
- Trusting the furniture scale fails because renders can make oversized pieces look harmless. If the preview shows a 96 inch sofa, a 42 inch coffee table, or a king bed in a tight room, tape those footprints before you decide the design works.
- Choosing the prettiest version fails when the room’s daily problem remains untouched. A gorgeous olive wall does not fix a dining chair that needs 36 inches to pull back, and a stylish bookcase does not help if it blocks a switch, vent, or doorway.
- Ignoring rental limits fails because AI loves permanent upgrades. If you cannot paint, drill, change tile, or hardwire sconces, say so in the first prompt and ask for freestanding storage, plug-in lamps, removable rods, washable rugs, and peel-and-stick samples.
A good first preview should make the next physical test obvious. If you cannot tell what to measure, sample, move, or remove after seeing the image, the prompt was probably too decorative.

How AI design helps you see the fix before you commit
AI design is strongest here because it turns a vague irritation into a visible comparison. You upload the room, preview a few targeted directions, and notice which version fixes the actual problem: gloom, awkward traffic, undersized rug, scattered storage, or furniture that never belonged together.
For a north-facing bedroom, the useful preview might compare mushroom paint, warm white walls, and clay-toned textiles while keeping the same bed and curtains. For a rental living room, it might test a 9 by 12 rug, plug-in shaded lamps, linen curtain panels, and a walnut media cabinet without touching paint or flooring. For a family room, it might reveal that closed toy storage matters more than another accent chair.
The five-minute workflow also protects you from buying too early. Instead of ordering a console because it looked good on a product page, you can see whether a 72 inch or 84 inch piece balances the wall. Instead of guessing at lighting, you can compare two table lamps and one floor lamp against the existing ceiling fixture. The preview is not the final authority; it is the fast draft that tells you where to put your tape measure.