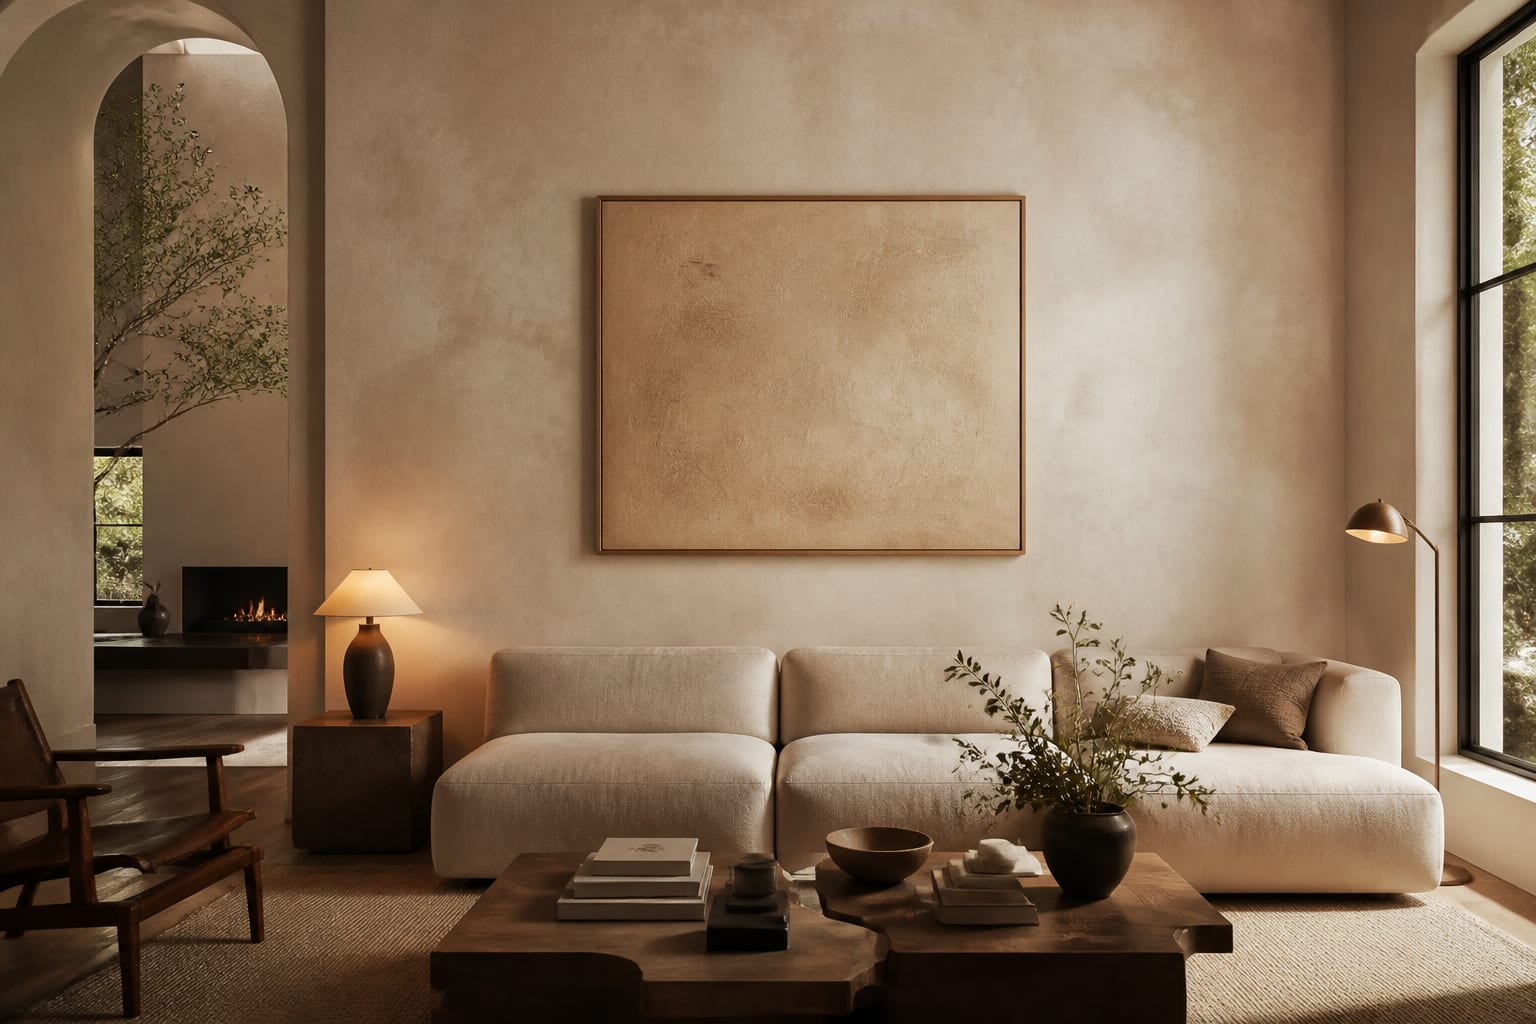
Venetian plaster is the finish people reach for when paint stops feeling special enough, and it earns the reputation when it is done right. At its core it is a lime-and-marble-dust compound, troweled on in thin layers and burnished to a depth and movement that flat paint cannot fake. The surface seems to hold light differently because, technically, it does.
My honest opinion: it is worth the premium on a feature wall or a small room, and a waste of money smeared across a whole house where the eye stops noticing it. The finish lives on contrast and restraint, so the more walls you cover, the less special each one becomes. Spend the budget where people pause, like an entry, a dining wall, or a powder room, and let plain paint carry the corridors nobody studies.
What Venetian plaster actually is
Venetian plaster is a wall finish made from slaked lime putty and finely ground marble or limestone dust, thinned to a spreadable paste. It is applied with a steel trowel in multiple thin layers, then compressed and burnished so the surface develops a marble-like depth with subtle veining and sheen. The technique is genuinely old, traced to Roman and Renaissance Venetian walls, and the modern product is the same chemistry with better tinting and sealing options.
The depth is real, not printed. Each of the 2 to 4 coats is troweled at random angles, and the final burnish polishes the lime so light reflects off micro-facets in the marble dust. That is why a plastered wall shifts as you move past it, while paint stays flat from every angle. A flat photo can never quite capture it, which is part of why the finish photographs as merely nice but reads as remarkable in person.
Traditional lime plaster is also breathable and naturally mold-resistant, which is why it holds up in bathrooms where vinyl paint can blister. The lime stays slightly alkaline as it cures, an environment mold dislikes, and the material lets water vapor pass rather than trapping it behind a plastic film. That combination is why it has survived on Venetian and Moroccan walls for centuries while modern paint needs a redo every five to seven years.
It is worth separating the names you will see in showrooms. Marmorino is a coarser, more matte version with visible marble grit; Veneziano is the high-polish, glassy variant; and limewash is the thinnest, chalkiest cousin that soaks into the wall rather than building depth. All three sit under the broad umbrella of polished or Venetian plaster, but they land in very different places on the sheen scale.
How it is applied and what it costs
The process is layered and slow, and the cost reflects the labor more than the material. 1. Skim a base coat to even the wall and give the plaster something to grab. 2. Trowel the first plaster coat thin, at roughly 1 millimeter, in short overlapping strokes. 3. Apply a second and often a third coat once each is dry, building the depth. 4. Burnish the final coat with the flat of the trowel, then seal with wax or a topcoat for sheen and protection.
Expect $8 to $25 per square foot installed depending on the artisan and the number of coats, against roughly $2 to $5 per square foot for quality paint. A skilled applicator covers far less ground per day than a painter, often 100 to 150 square feet, because burnishing cannot be rushed. That slow pace is the whole cost story: you are paying for trained hands and time, not exotic ingredients, since the raw lime and marble dust are cheap.
The finish also lasts: a properly sealed lime plaster wall can hold up for 15 to 20 years without the repaint cycle paint demands. Spread that lifespan across the install cost and the premium starts to look reasonable on a wall you actually see every day. It is also low-maintenance once cured; a damp cloth handles dust, and minor scuffs can often be buffed out with the trowel rather than repainted.
The sheen you end up with is a dial, not a single setting. A heavy burnish plus a wax topcoat gives the glassy, almost wet marble look people picture, while a lighter hand and a matte sealer leaves a soft, suede-like surface that hides imperfections and fingerprints better. Tell your applicator which end of that range you want before the final coat, because the burnish is the step that locks it in and it cannot be dialed back later without redoing the top layer.
Common mistakes to avoid
Most failed plaster jobs come from treating it like thick paint, and the errors repeat: - Applying coats too thick, which cracks as the lime cures instead of building smooth depth. - Skipping the burnish step, leaving a chalky matte surface with none of the signature sheen. - Using a cheap synthetic imitation in a wet room, where only true breathable lime plaster resists mold. - Choosing a busy, high-contrast color, which fights the subtle movement the finish is prized for. - Hiring a general painter instead of a plaster specialist and paying twice when it has to be redone.
Soft, tonal colors in the same family let the depth do the talking, which is where the finish actually pays off.
Timing the work in the build matters too. Plaster wants a fully cured, crack-free substrate and a dust-free room, so it belongs near the end of a renovation after the messy trades are gone, not in the middle of demolition next door. Vetting the artisan is the same diligence you would give any specialist: ask to see finished walls in person, because the only honest sample is a real one you can stand beside and watch shift in the light. A small test panel on your own wall, lit by your own fixtures, settles a color debate that a brochure swatch never will.
Use AI design to preview Venetian plaster before you commit
At $8 to $25 per square foot, a plaster wall is not a finish you want to second-guess after it cures. Upload a photo of your room to Re-Design and render a polished plaster finish on the wall you have in mind, testing warm clay, soft greige, or pale limewash tones against your real light and trim. Because the look is all about how the tone reads at depth, seeing it on your actual wall beats holding a tiny sample chip that cannot show the movement. You can also weigh a single plaster feature wall against a fully plastered room before you book the artisan, which is the smarter way to spend the budget. For renters or small spaces, the same preview helps decide whether the look is worth it at all, and the rental apartment design, small space design, and home staging workflows all lean on the same upload-and-preview step.