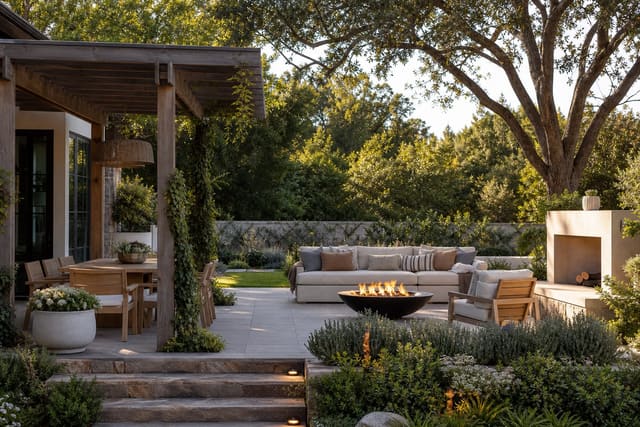
Downspout landscaping works when you give the water somewhere to go — a buried dry well, a dry-creek bed, a rain garden, or a daylighted outlet 10ft from the house — and dress the outlet with stone, grasses, or a planted bowl so it reads as a feature rather than a leak. My opinion is blunt: the outlet should become a designed water path, not a plastic elbow you pretend guests will ignore. The fix has to protect the foundation first, but it can also give the bed shape, texture, and a reason to exist. Here is how to turn roof runoff into a garden feature without making drainage problems prettier but worse.
How do I landscape around a downspout without making a wet mess?
Landscape around a downspout by first extending or slowing the water, then shaping a durable landing zone with stone, water-tolerant plants, a rain chain, or a rain barrel that sends overflow away from the foundation. Start with the boring question: where should the water go after it leaves the gutter? If the answer is “right beside the basement wall,” stop decorating and solve the discharge route.
For most houses, the outlet should move water at least 4–6 feet from the foundation before it spreads into a bed, lawn, rain garden, or approved drain route. A splash pad should be wider than the water stream, usually 12–18 inches across, and heavy enough that it does not slide when the first hard storm hits. If you use loose stone, choose 1–3 inch river rock rather than pea gravel, because tiny gravel scatters and collects leaf grit.
The downspout also needs visual weight. A skinny black pipe against a blank wall looks accidental; a stone basin, planted collar, or rain chain makes the roof water read as part of the garden. Keep dense planting a few inches away from the pipe so you can clear leaves and check joints. Around the outer edge, low plants can soften the hard material, especially if you borrow the same erosion-minded logic used in low maintenance ground cover ideas.

- Make the landing area bigger than the pipe, because splash is wider than the downspout opening; a 12–18 inch stone or concrete pad usually looks intentional instead of skimpy.
- Use plants beside the water path, not inside a blocked throat, because maintenance access matters; leave a 6–8 inch clear zone around elbows, cleanouts, and rain barrel valves.
- Match the detail to the house, because a cottage rain chain, a steel scupper, and a rustic dry creek bed send very different signals; repeat one material from the facade or paving.
What should the water do after it leaves the downspout?
The best gutter downspout design starts with the exit path, not the pretty object attached to the pipe. Watch the next storm for five minutes and note whether water shoots forward, curls back toward the wall, or digs a rut. That little observation decides whether you need an extension, a stone apron, a rain barrel, or a more serious drainage route.
For a simple garden bed, shape a shallow swale only one or two inches lower than the surrounding soil so the water has a visible course without creating a trench. Keep the path at least 24 inches wide if it is meant to read as a dry creek detail, because a narrow rock stripe looks like a spill. Near a walkway, leave 30–36 inches of clear passage so no one has to step over wet stone.
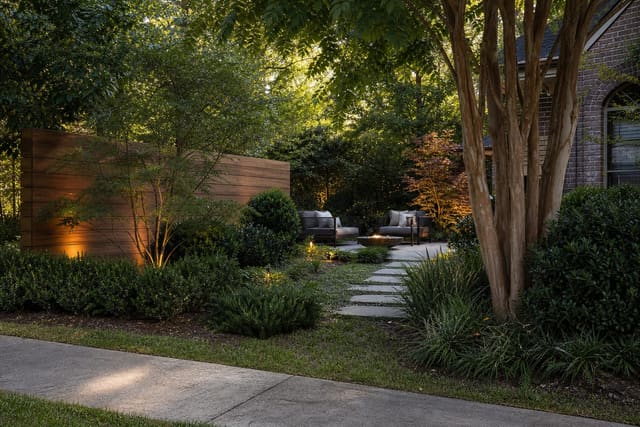
If the downspout sits near a property line, be careful with berms and edging. A raised lip can push water toward the neighbor or back under your siding. Use a low, open edge instead: flat stone set flush with the soil, steel edging with gaps, or planting that slows water without damming it. Where the same boundary also needs screening, a loose hedge can make the drainage corner feel calmer; the spacing lessons in living fence and hedge ideas are useful if you need privacy without trapping runoff.
Which downspout landscape ideas actually look designed?
The right idea depends on how much water arrives, how visible the wall is, and whether you need storage, sound, or pure erosion control. Choose one main move, then make the surrounding bed support it instead of adding every drainage accessory in the aisle.
- Use a stone landing basin when the downspout is close to a bed edge, because it stops splashback and gives the pipe a finished base; make the basin 18–30 inches long, slope it slightly away from the wall, and use larger stones at the first impact point.
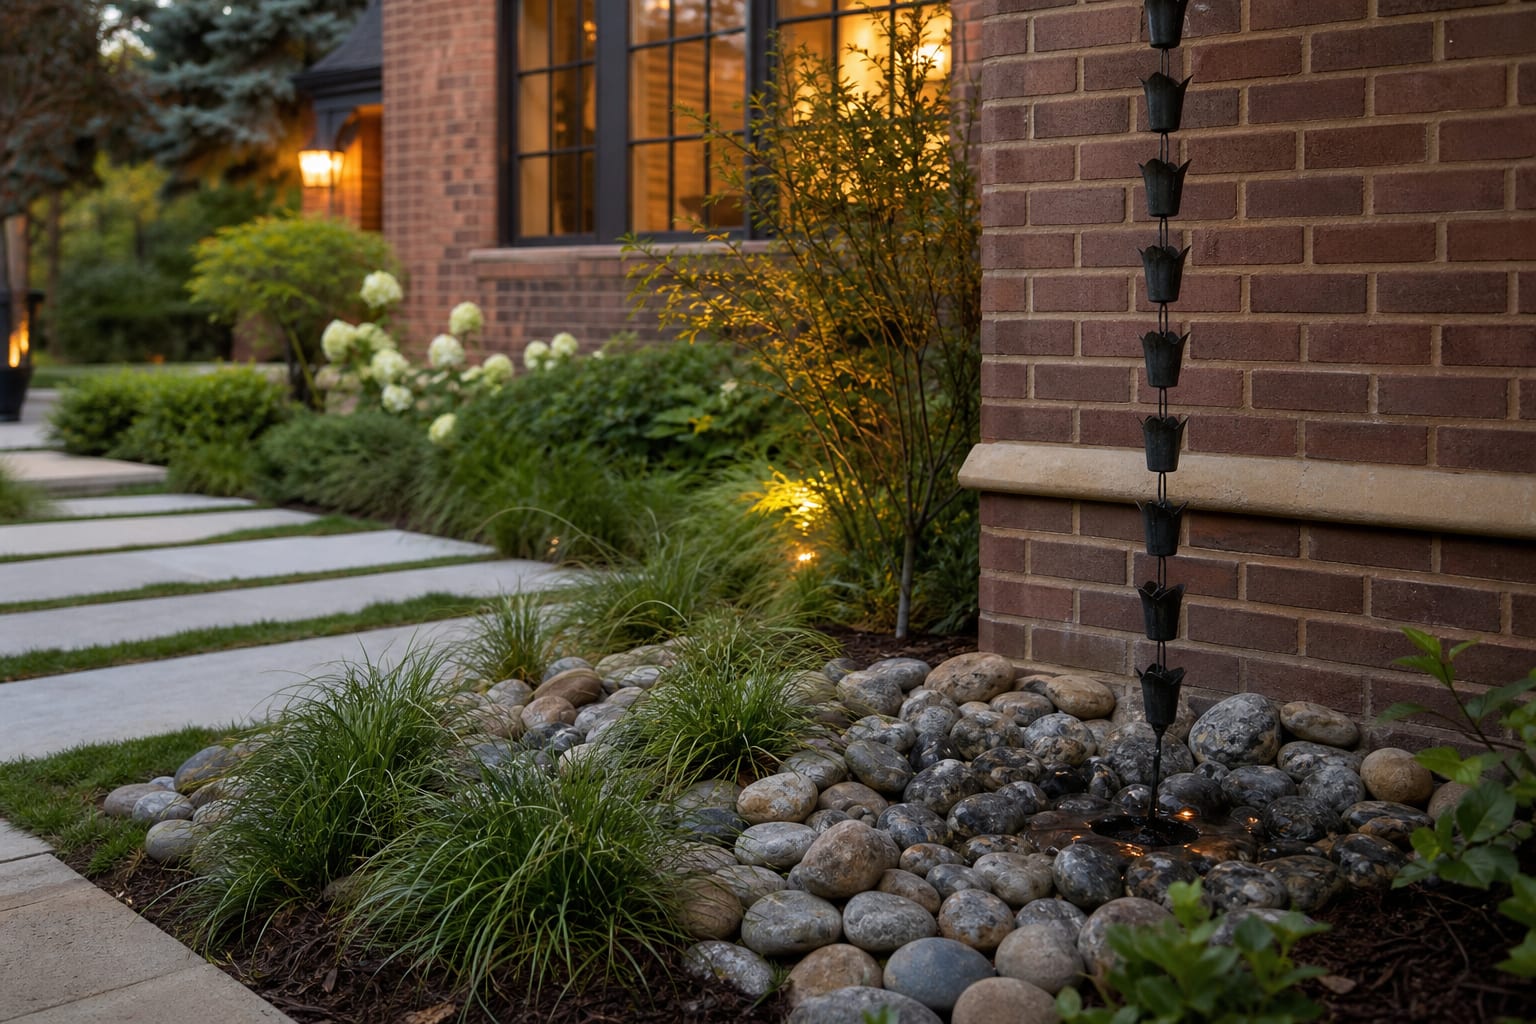
- Try a rain chain where the downspout is visible from a porch or window, because falling water can become a soft vertical feature; hang the chain plumb, anchor the bottom, and set it over a 16–24 inch gravel catch basin so wind does not spray the siding.
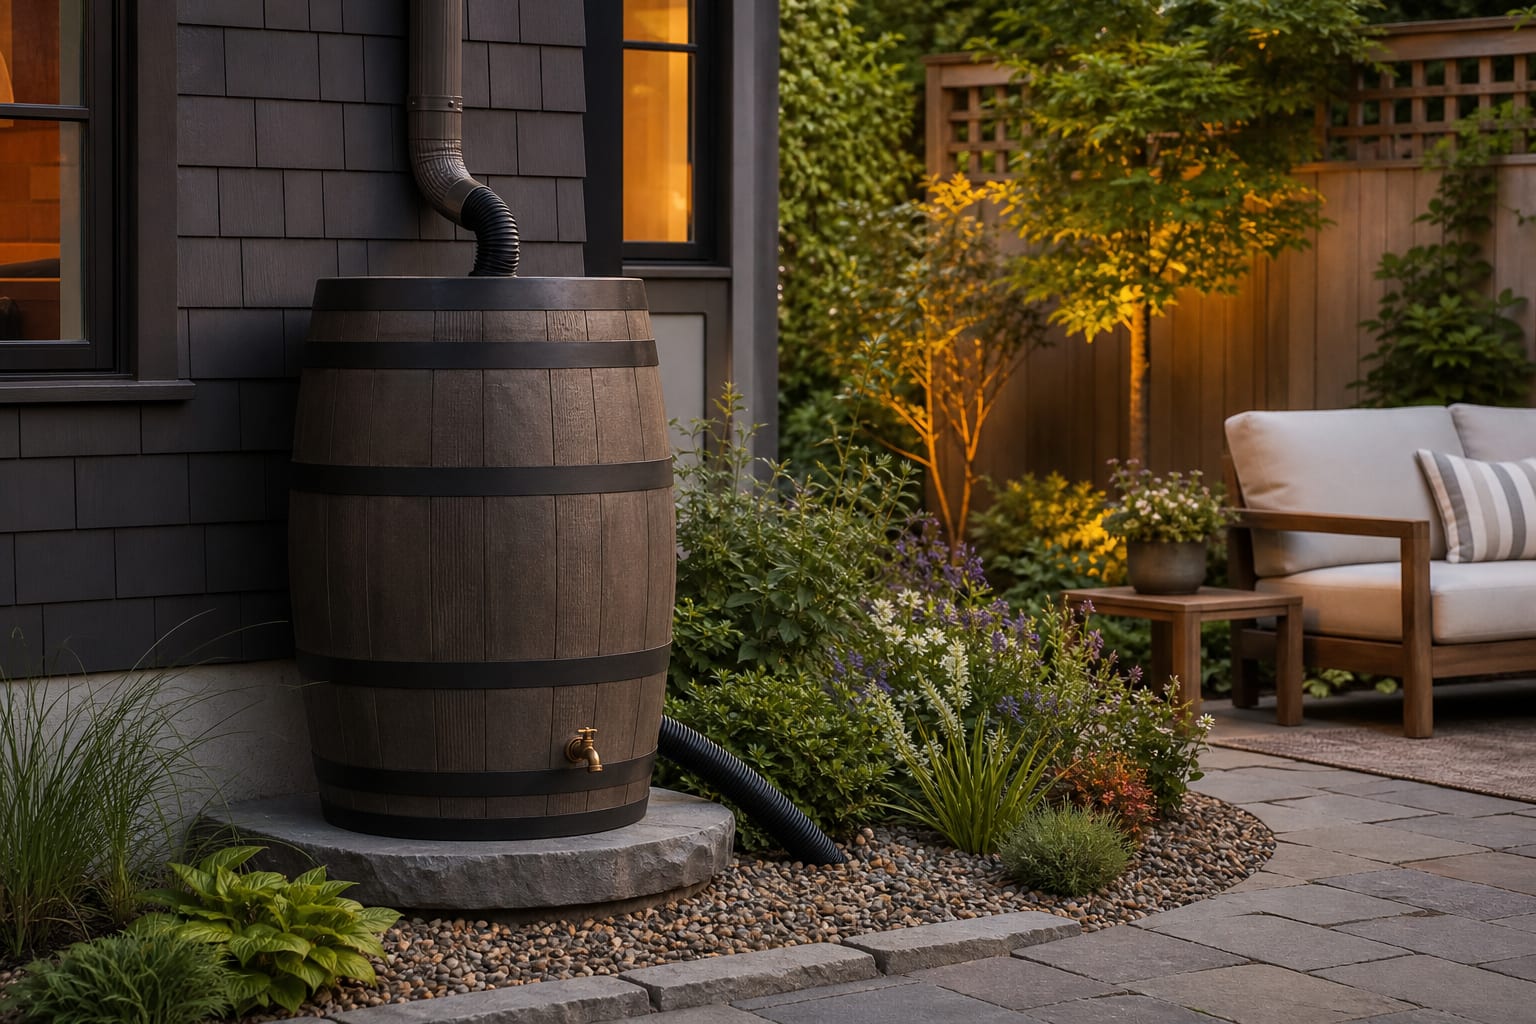
- Add a rain barrel when the garden needs stored water, because a barrel turns the outlet into a useful station; place it on a level base, raise it 12–18 inches for watering-can clearance, and run the overflow to the same safe route the downspout would have used.
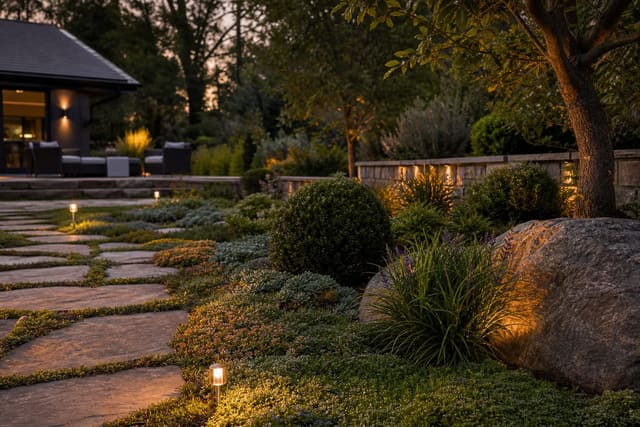
- Build a dry creek ribbon for a long discharge path, because stone can carry the eye through the bed while handling intermittent flow; vary stones from 1–5 inches and bury a few larger pieces so the channel does not look poured from a bag.
- Plant a moisture-tolerant collar around the outlet, because foliage hides elbows and softens hardscape; keep mature plant height near 12–24 inches so the downspout remains serviceable and the wall still gets airflow.
| Choice | Best use | Spec to copy | |---|---|---| | Rain chain | Visible porch or garden wall | 16–24 inch catch basin below the chain | | Rain barrel | Vegetable beds or thirsty containers | 12–18 inch raised base plus overflow hose | | Stone channel | Erosion-prone discharge path | 24 inch minimum visual width for a dry creek look |
A downspout rain chain idea works best when the wall behind it is simple. If the facade already has shutters, lights, vines, and hose reels, the chain may become clutter rather than charm. A rain barrel downspout landscape needs the opposite approach: give the barrel a small pad, a flat back, and enough planting around the sides that it looks placed, not parked.
Design-check shorthand: - Depth before decoration. - Repetition before variety. - Maintenance before novelty.
Common downspout landscaping mistakes to avoid
The first mistake is hiding the discharge under mulch. Mulch floats, clogs elbows, and leaves a dirty fan on the sidewalk after a storm. Use stone, turf, dense ground cover, or a planted basin where water actually hits.
The second mistake is aiming the extension into the nearest planting bed without checking grade. A bed can absorb some roof runoff, but it should not become a bathtub against the foundation. Keep the soil line below siding, maintain visible clearance at weep holes, and route overflow away from walls, steps, and crawl-space vents.
The third mistake is choosing a decorative rain chain without a bottom detail. A chain that ends on bare soil is just a prettier splash problem. Give it a basin, a buried drain connection where allowed, or a shallow stone path that carries water onward.
The fourth mistake is planting shrubs too close to the pipe. Branches make maintenance annoying, and roots can crowd shallow drain lines. Leave a hand-width gap around the downspout, and keep woody stems at least 18–24 inches away from fittings you may need to open.
The fifth mistake is ignoring sound. Metal chains, hollow barrels, and water striking thin pavers can be louder than expected beside a bedroom or dining patio. If the outlet sits near a seating area, pair stone with grasses and layered planting; the same softening approach behind sound barrier garden design can make runoff feel calmer without blocking the route.
Use AI design to preview your downspout detail before you dig
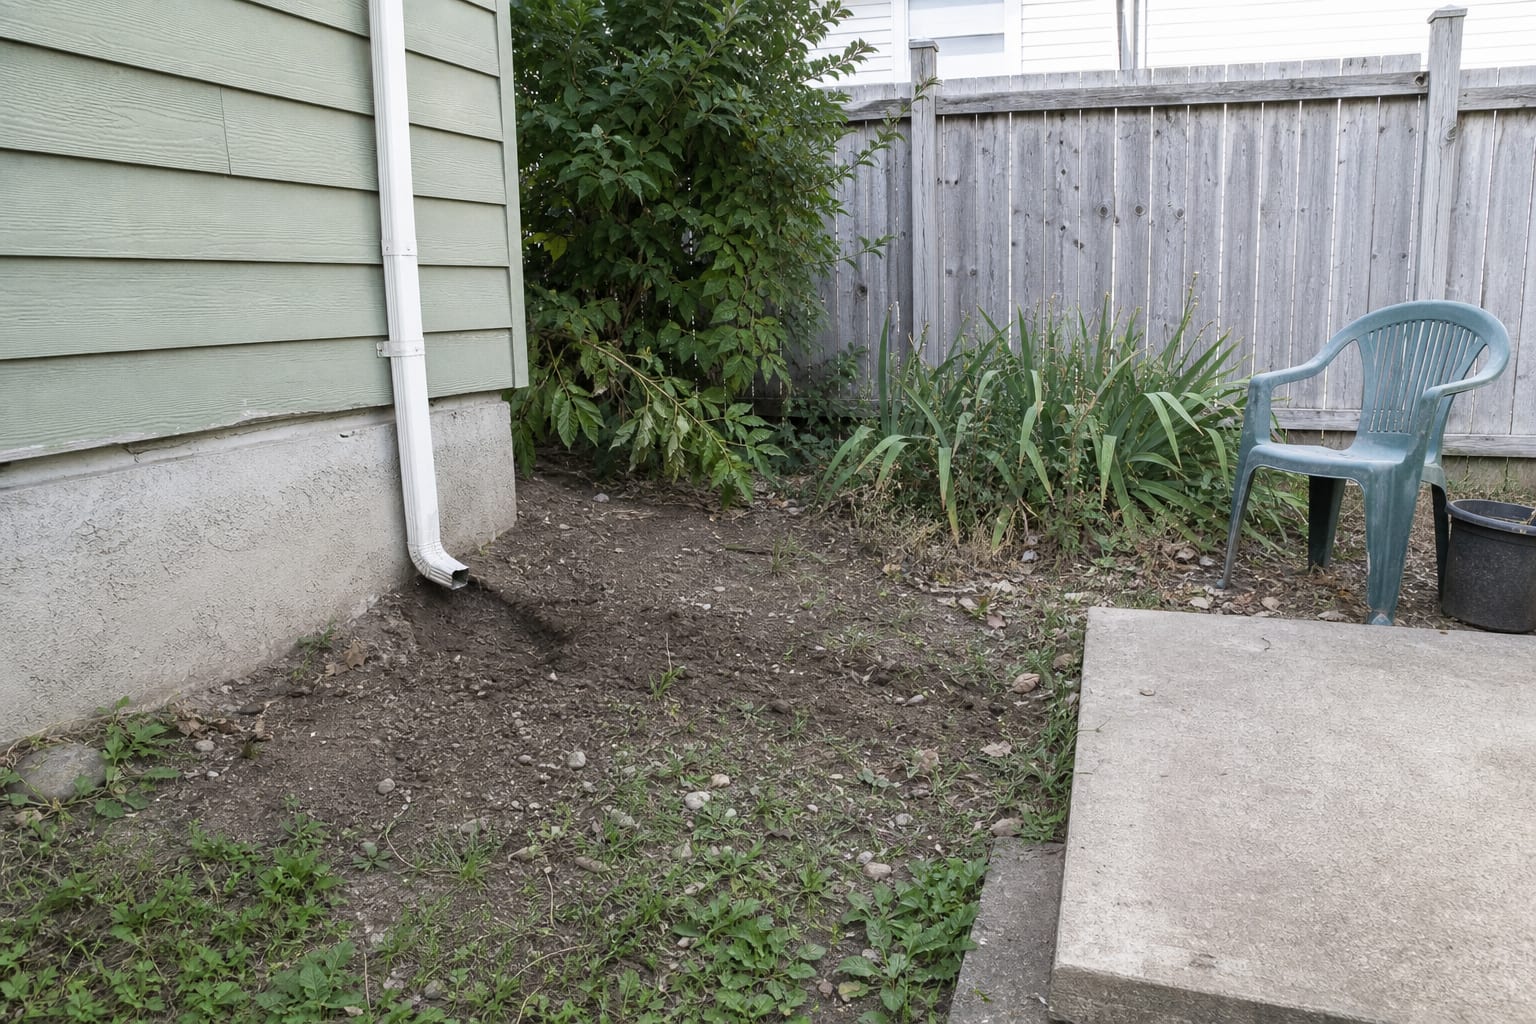
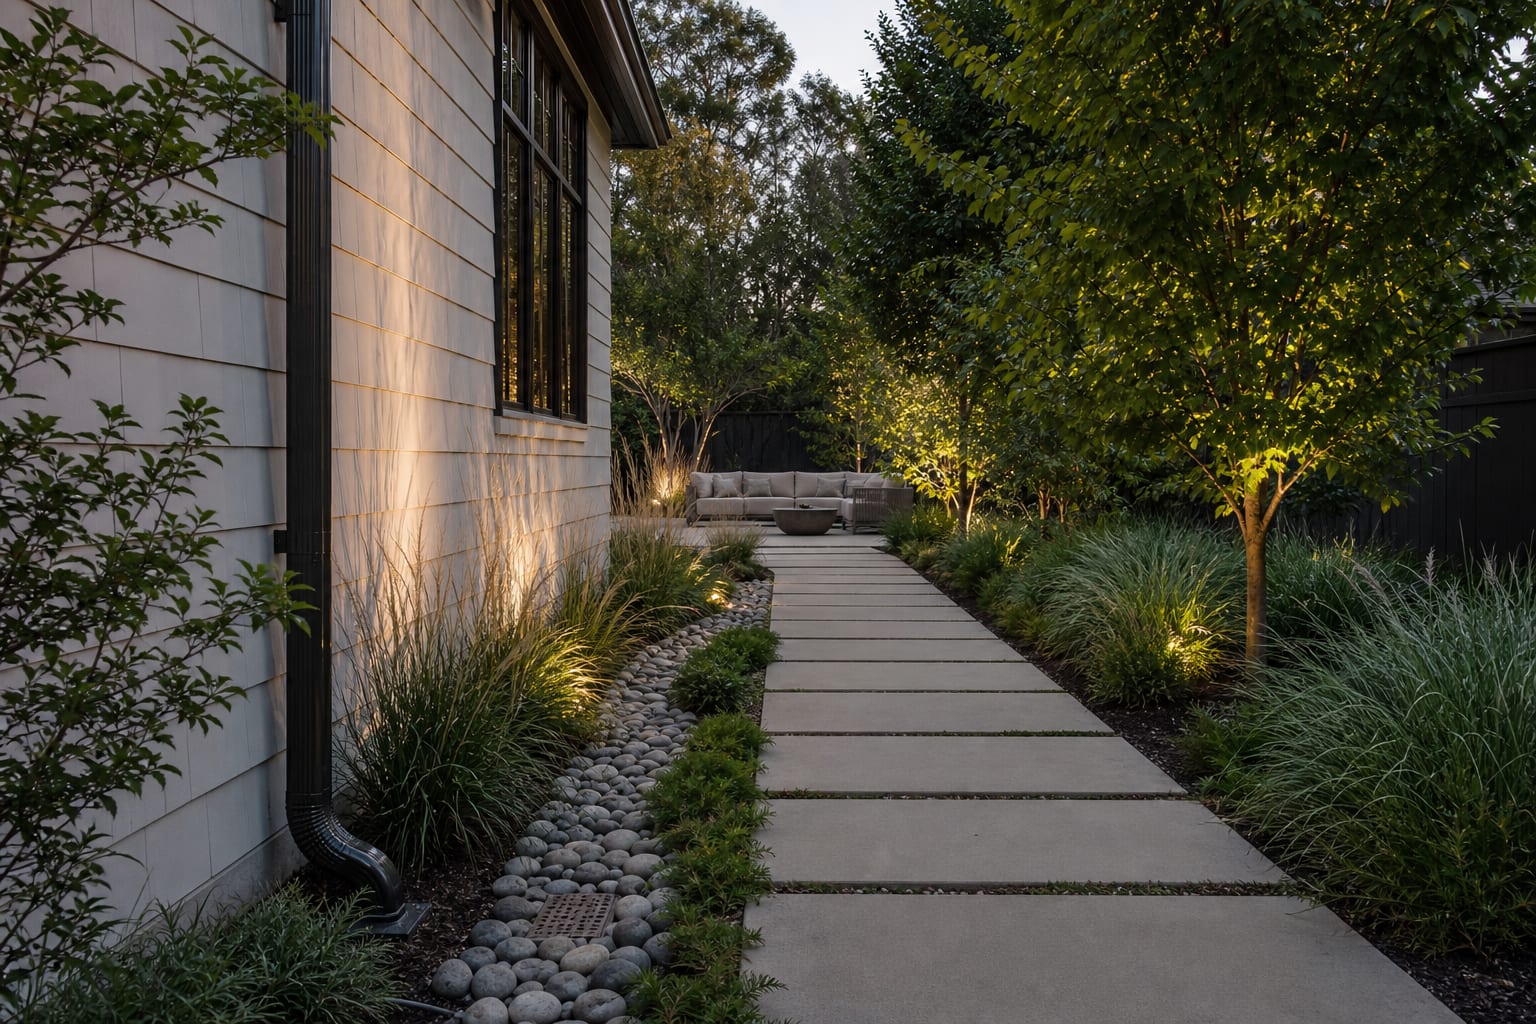
AI design is useful here because a downspout fix changes both the wall and the ground plane. Upload a straight-on photo that includes the gutter outlet, foundation, nearby path, and the bed where water collects. Then preview three realistic versions: a stone landing basin, a rain chain with planting, and a rain barrel with a screened overflow route.
The point is not to let a rendering approve the drainage. The point is to see scale before you buy rock, cut edging, or plant around a pipe that still needs service access. If the preview makes the outlet look fussy, simplify the material palette. If the stone channel looks too thin, widen it before installation. If the rain barrel dominates the wall, test a darker color, a lower profile, or a planted side screen.
For homes with active leaks, pooling against the house, or runoff crossing property lines, bring in a drainage professional before making aesthetic choices. Once the safe water route is clear, the design work becomes much easier: repeat one house material, keep the outlet reachable, and let the planting make the necessary fix look deliberate.
Frequently Asked Questions
Should I bury my downspout?
Yes if water pools at the foundation — bury a corrugated or PVC line that daylights at least 10ft from the house, slopes downhill, and ends in a splash zone of cobble or a rain garden. Use this as a fit check by measuring real clearances, sunlight, and access, then compare a restrained version against a stronger version from the same viewpoint.
What plants survive at the bottom of a downspout?
Plants that handle wet-and-dry swings: switchgrass, sedge, joe-pye weed, swamp milkweed, inkberry, and red-twig dogwood; avoid drought-only species like lavender or sedum directly under the spout. If this choice meets your access and maintenance limits in one ordinary week, it is usually the one worth scaling.
Can a downspout feed a rain barrel?
Yes — a 50–55 gal rain barrel collects from a typical residential roof in a single 1in storm; install an overflow line to a dry-creek or garden bed so the barrel doesn't back up to the gutter. Treat the decision as staged: confirm constraints, test one conservative layout, and then test one stronger layout before committing.
How do I hide an ugly downspout outlet?
Use a planted bowl of stones, a cedar splash-block enclosure, or a 3×3ft dry-creek bed with cobbles ending at an ornamental boulder; the goal is to make the outlet look intentional. Run a two-pass practical check from the main viewpoint and one alternate route so the option still works once use begins.
Is a rain garden the same as a downspout drainage area?
A rain garden is a specific design — a shallow basin 6–12in deep filled with absorbent soil and rain-tolerant plants — that intentionally holds water for 24–48 hours; not every downspout outlet needs to become a rain garden. Keep the evaluation concrete: if the option still reads well after watering, evening use, or weather swing, it usually survives purchase.