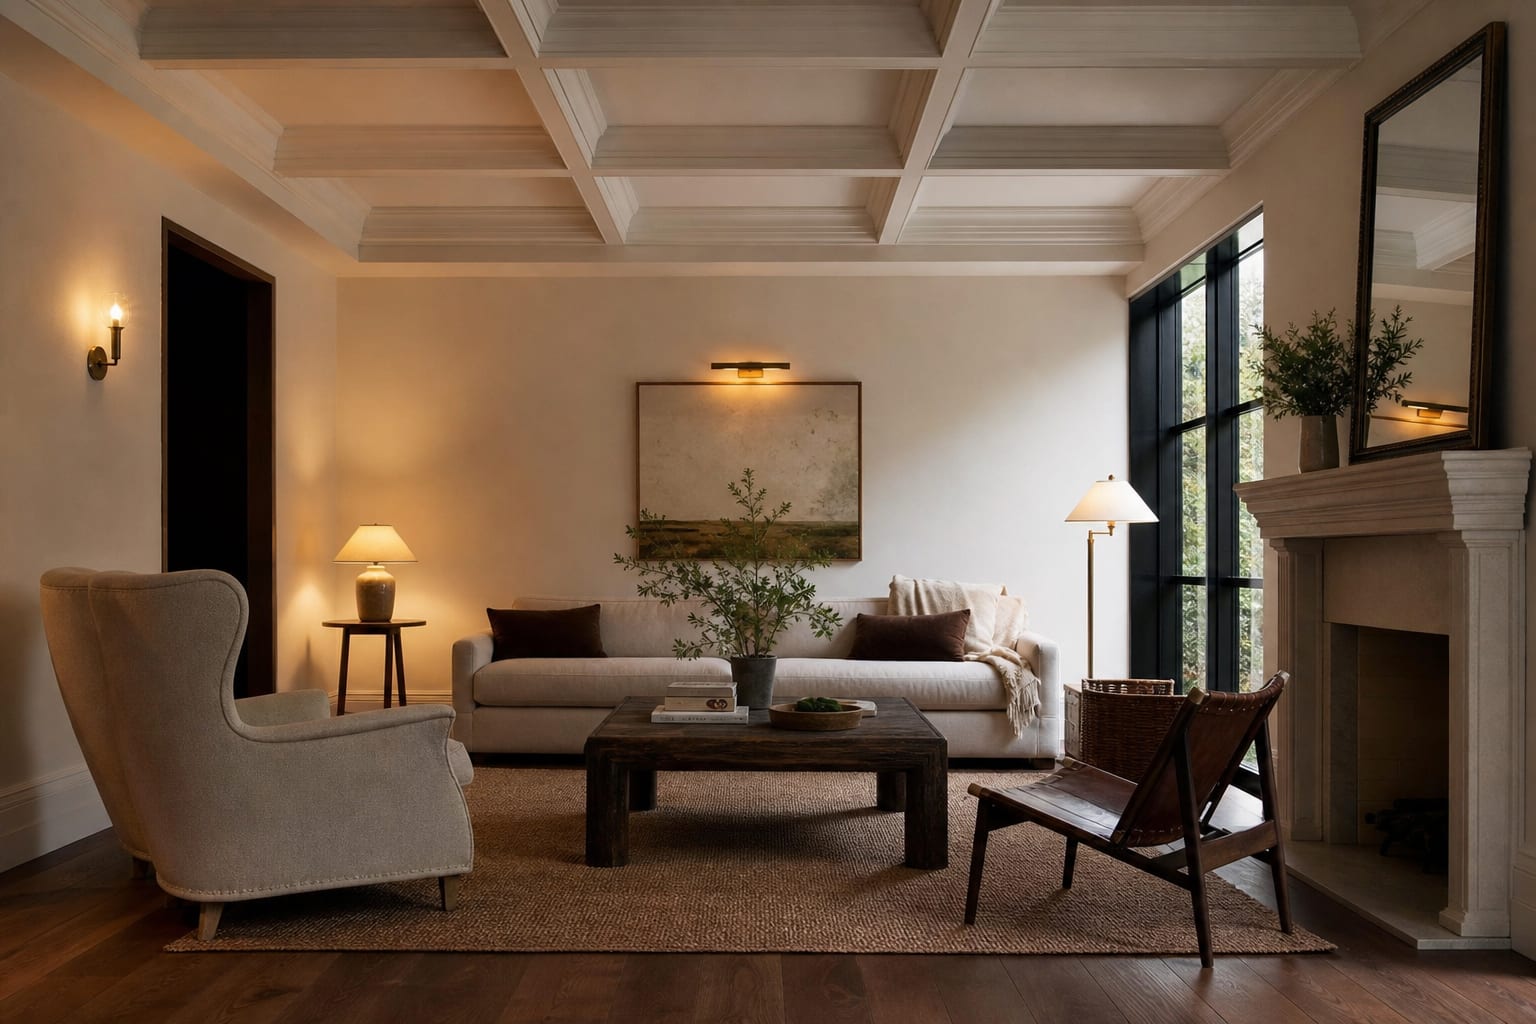
Coffered ceiling DIY cost typically runs $9 to $18 per square foot in materials for a paint-grade MDF grid, or several thousand dollars once you add professional carpentry, electrical work, or stained hardwood. DIY only makes sense for a shallow trim grid on a flat, dry ceiling, not for structural beams or wavy drywall. Done well, coffers make a plain room feel tailored; done badly, they look like lost picture-frame molding.
How much does a coffered ceiling cost?
Professional installs run $20-40 per square foot for a basic MDF grid and $40-80 per square foot for stained hardwood or detailed profiles. Complex coffered ceilings with crown and applied molding can exceed $100 per square foot. Returns are strongest in rooms with 9-foot-plus ceilings, prominent dining or living spaces, and existing architectural detail to match.
| Tier | Cost per sq ft | Typical material |
|---|---|---|
| Basic DIY grid | $9-18 (materials only) | Primed MDF, paint, brad nails |
| Pro paint-grade | $20-40 (installed) | MDF, crown, caulk, labor |
| Stain-grade hardwood | $40-80 (installed) | Hardwood, stain, detailed profiles |
| Complex crown/millwork | $100+ (installed) | Custom millwork, deep beams |
A DIY applied-grid ceiling needs primed MDF or finger-jointed pine, construction adhesive, finish nails, caulk, primer, and paint, often just a few hundred dollars for a small room if you already own a saw, nailer, level, stud finder, and caulk gun. A true boxed-beam ceiling costs more because every beam has sides, bottoms, seams, and returns, and labor is the real expense: a carpenter has to make the grid look square in a room that probably isn't. If the ceiling has popcorn texture or water stains, fix that first with popcorn ceiling alternatives that skip scraping.
Which coffered ceiling layout fits your room?
Ceiling height and room shape decide grid depth. An 8-foot ceiling wants a shallow applied grid, roughly 1/2 to 1 1/2 inches proud of the drywall. A 9-foot-plus ceiling can carry deeper beams, 3-6 inches, if the furniture and lighting scale to match.
- Dining room: Center the grid on the table and chandelier, not the drywall perimeter; keep the chandelier bottom 30-36 inches above the tabletop.
- Living room: Align the main rectangle with the seating zone, fireplace, or window wall, and stop an open-plan grid at a natural break like a soffit. See modern beamed ceiling design for a related look.
- Bedroom: Use fewer, larger rectangles over the bed instead of a busy checkerboard; a queen bed (about 60 inches wide) shouldn't look boxed in.
Test this on your own room photo with Re-Design before cutting anything, keeping doorways, windows, and main furniture visible so the preview solves your actual room.
What details make the grid look real, not applied?
Measure length and width in three spots, near each wall and through the center. Many rooms are out of square by 1/2 inch or more, and identical border pieces will expose that gap. Balance the perimeter border instead of leaving one wall's strip skinny; in a 12x15 room, six or nine larger coffers usually read calmer than twelve or fifteen small ones.
Check joist direction before attaching anything heavy. Applied trim can run on adhesive and finish nails into drywall plus available framing, but boxed beams need secure anchoring into structure. Never assume old ceiling material can carry decorative weight.
Plan lighting before the grid goes up. Recessed lights should land centered inside coffers or aligned along beam runs, with clearance for trims, smoke detectors, and vents; a 4-inch light fits cleanly in a 24-inch coffer but crowds a 12-inch panel.
Flat ceiling paint hides minor waviness better than satin, and semi-gloss trim only works if the carpentry is excellent. Match the ceiling white's temperature to the wall color so the grid doesn't read harsher than intended.
What mistakes ruin a DIY coffered ceiling?
- Building too deep for the room. Save 3-6 inch beams for 9-foot-plus ceilings; use shallow trim everywhere else.
- Ignoring the room's center of use. A grid centered on the ceiling alone can leave the chandelier or bed off-axis; the eye forgives an old wall more than a misaligned fixture.
- Skimping on caulk and prep. Every inside corner casts an overhead shadow, so cut clean miters, fill nail holes, sand, and use flexible paintable caulk.
- Mixing too many ceiling ideas. Coffers plus heavy crown, medallions, exposed beams, and a showy chandelier turn a room into a showroom; pick one ceiling language.
- Underbudgeting the extras. Primer, paint, adhesive, blades, ladder rental, and drywall repair add up, the same way they do when comparing refinishing versus replacing hardwood floors.
How can AI preview the ceiling before you build it?
Upload a straight photo of the room to an AI interior design tool and test grid depth, spacing, paint color, and lighting against your real furniture before buying boards. Prompt with specifics, such as "12x15 dining room, shallow white coffered ceiling, six panels, centered brass chandelier, 8-foot ceiling," then run a second version with deeper beams or fewer coffers. The real question isn't which render looks fanciest; it's whether the ceiling makes the room feel composed or crowded.
Previews are especially useful for testing contrast: white-on-white can look subtle in one room and vanish in another, while dark beams look dramatic in a tall room but heavy in a small one. Renters should treat the preview as a boundary check, since coffered ceilings need nails, adhesive, and paint; if the preview only confirms you want more definition, a painted ceiling color or lighting change is the renter-friendly answer.
What final checks confirm the ceiling will look right?
Stand in the doorway and look up for three seconds. If a crooked border, clipped light, or misaligned grid jumps out, fix the plan before cutting the first board. Tape the grid on the ceiling with painter's tape or a laser line, then check it from the entry, the sofa or bed, and the far corner; a pattern that only works from one angle doesn't work.
Confirm ceiling height, room length, beam depth, and the 2700K LED layout on paper first. The best DIY coffered ceiling stays restrained: balanced borders, clean corners, and a 36-inch grid that holds up under warm light.
Frequently Asked Questions
What does a coffered ceiling cost per square foot?
Basic paint-grade MDF coffers run $20-40 per square foot installed, stain-grade hardwood or deep profiles run $40-80, and complex coffered ceilings with crown and applied molding can exceed $100 per square foot.
Is a coffered ceiling worth it under 9-foot ceilings?
Usually no. Coffers under 9-foot ceilings visually shorten the room and the labor rarely pays back at resale, so a simple beam accent or painted ceiling reads better below that height.
Does a coffered ceiling add real-estate value?
In formal dining rooms and primary suites of homes above $750K, coffered ceilings often return 60-80% of cost at resale; in starter and entry-level homes, the return is closer to 30-40%.
Can I DIY a coffered ceiling?
Yes. A paint-grade MDF coffered grid is a strong intermediate-skill weekend project; the difficulty is in level layout, miter cuts, and crown returns rather than in the tools required.
Can AI preview a coffered ceiling on my room?
Yes. Upload a room photo and an AI design tool can preview grid sizes, profiles, and paint versus stain finishes before you commit to buying materials or hiring a carpenter.
> Try this: Ready to see this on your own room? Open Re-Design and run the preview.
Three transformations to try 1. Paint-grade MDF coffered grid 2. Stained hardwood coffered ceiling 3. Simple grid with crown returns