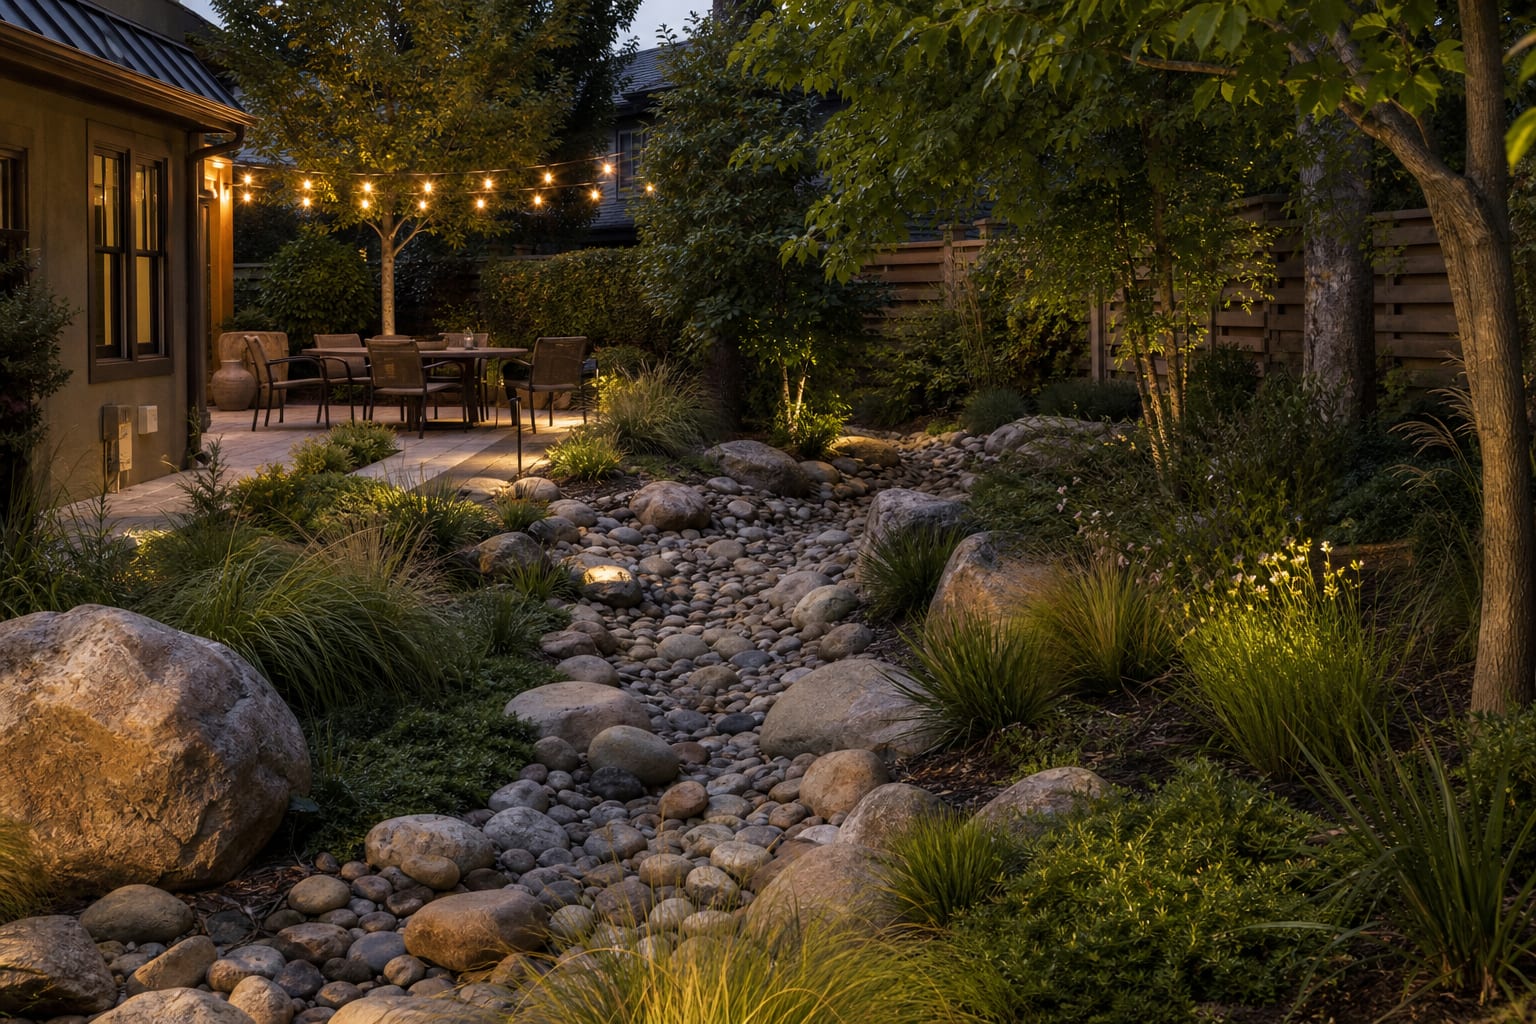
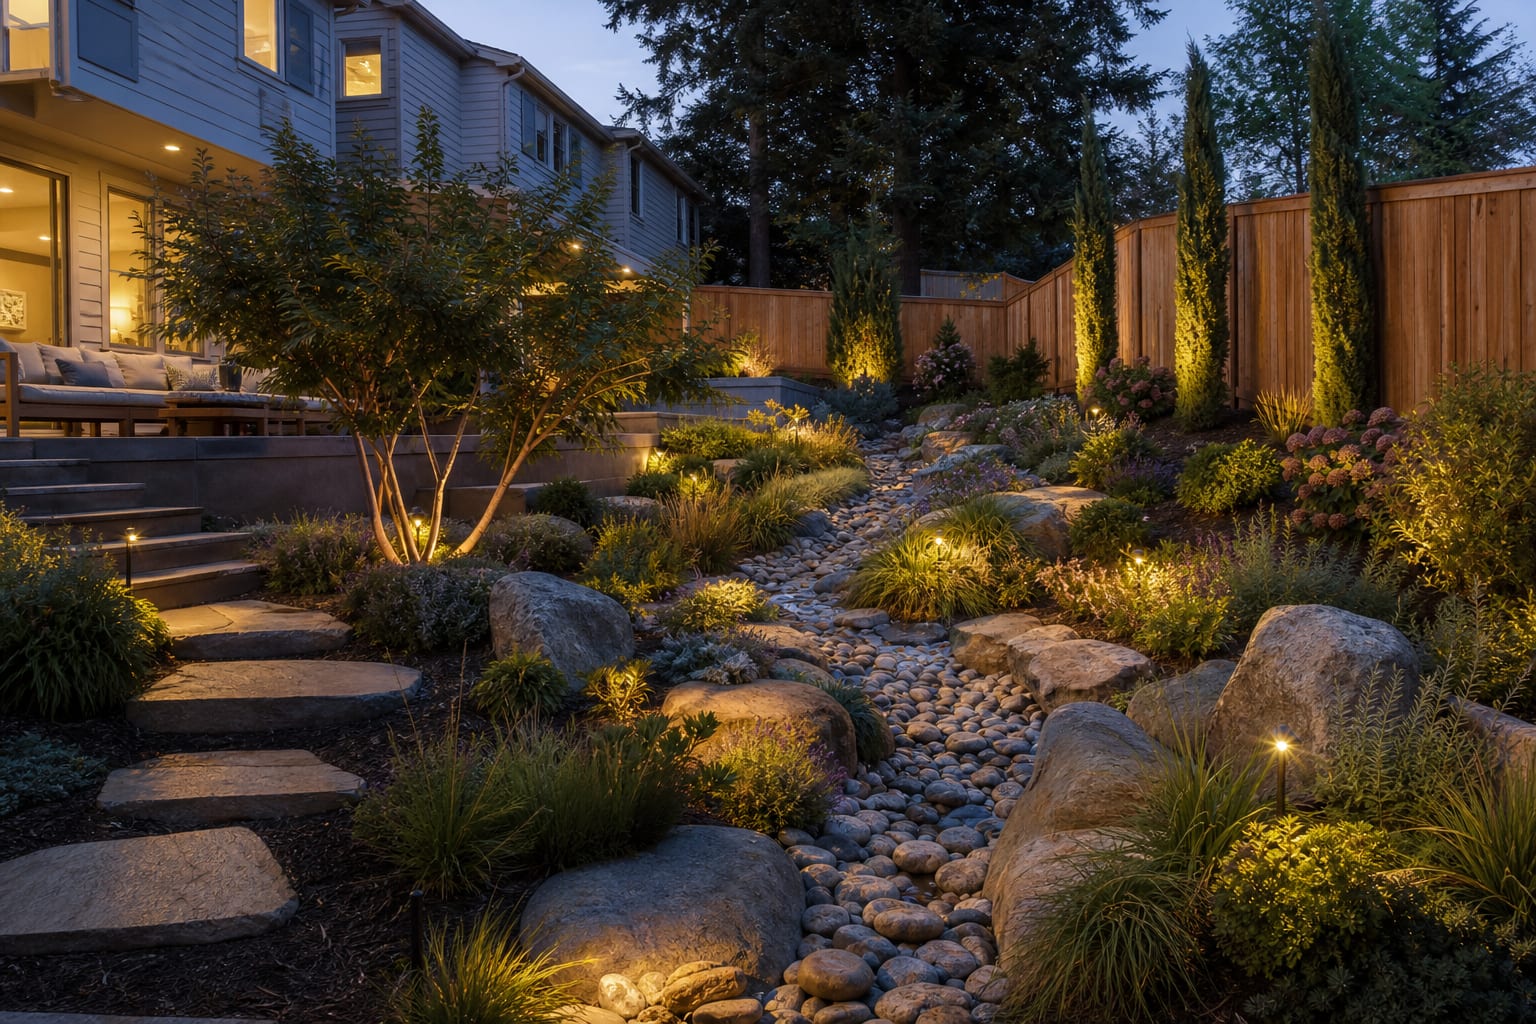
A dry creek bed reads as drainage and design when the bed is twice as wide as deep, follows the natural low line in a gentle S-curve, layers fist-sized cobble on river-stone fines with one or two boulder anchors, and is planted along both banks with at least three textures. A dry creek bed is not a rock necklace tossed across the lawn. The best ones are quietly engineered: they catch roof runoff, guide it across the garden, and look as if a seasonal stream has always belonged there. My firm opinion: if the creek does not have a clear beginning, middle, and exit, it will look fake no matter how expensive the stone is. Done well, it solves the soggy-yard problem without making your garden feel like a utility corridor.
How do I build a dry creek bed that actually drains?
Build a dry creek bed in your yard by setting a shallow, sloped channel from the runoff source to a safe outlet, lining it with fabric, and layering varied rock sizes so water can move without the bed looking like a trench. Start at the problem: a downspout, a patio edge, a driveway runoff point, or a high-side slope that sends water into planting beds. The channel should usually be 18 to 36 inches wide in small gardens, 3 to 6 inches deep at the edges, and deeper only where it needs to collect short bursts of water.
A decorative dry creek bed still needs a drainage logic. Aim for a gentle fall of about 1% to 3% where the site allows, which means the channel drops 1 to 3 inches over 8 feet. Steeper beds need more boulders and check stones to slow water; flatter beds need a cleaner outlet so water does not linger in the middle.
| Creek decision | Better choice | Why it works | |---|---|---| | Stone mix | 3/8 inch gravel, 1 inch to 3 inch river rock, and 8 inch to 18 inch accent boulders | Real streambeds rarely use one rock size, and mixed stone locks together better during rain. | | Fabric | Nonwoven landscape fabric under the stone | It separates rock from soil while still letting water pass through. | | Edge shape | Irregular, planted edges instead of a perfect ribbon | Soft edges make the creek read as landscape rather than a construction line. | | Outlet | Daylight, rain garden, dry well, or approved storm connection | A creek bed that merely moves water to a new puddle has not solved the yard. |
Which creek shape looks natural instead of fake?
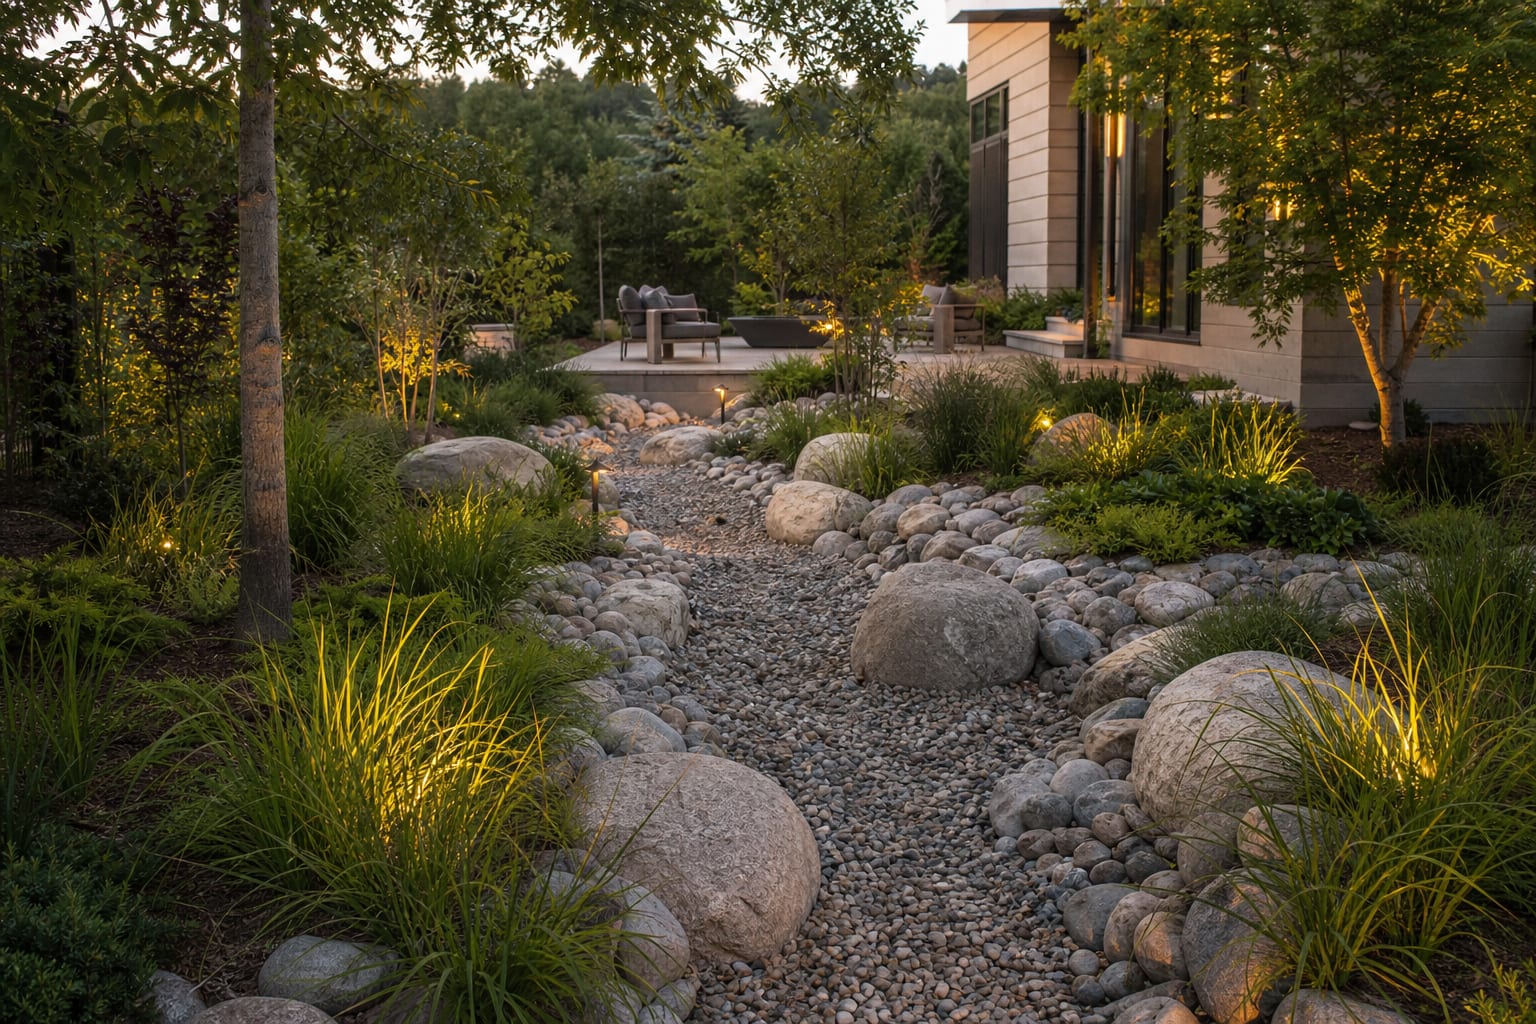
A natural-looking dry river bed landscaping plan borrows from how water behaves, not from how a border looks on a Pinterest board. Let the creek begin where water visibly arrives, widen slightly at bends, narrow through planted sections, and disappear into a lower garden area, gravel sump, or rain garden. A creek that starts in the middle of a flat lawn with no source reads like decoration pretending to be geology.
Curves should be broad enough to mow around and believable enough to suggest flow. In a compact front yard, use a shallow S-curve with a radius of at least 4 feet rather than tight wiggles every 2 feet. In a larger backyard, create one major bend near a boulder grouping and one quieter curve near planting; too many turns make the bed look nervous.
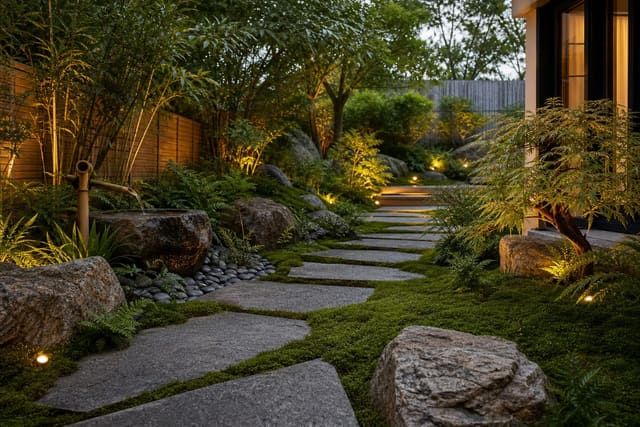
The edge is where most amateur rock drainage creek design goes wrong. Do not outline the creek with identical stones like a necklace. Bury larger rocks one-third into the soil, pull smaller cobbles into the center, and let plants overlap the edge in clumps. If you plan to light the route, keep fixtures subtle: low-glare stakes from a path lighting layout for gardens should sit outside the active wash zone, not inside the creek itself.
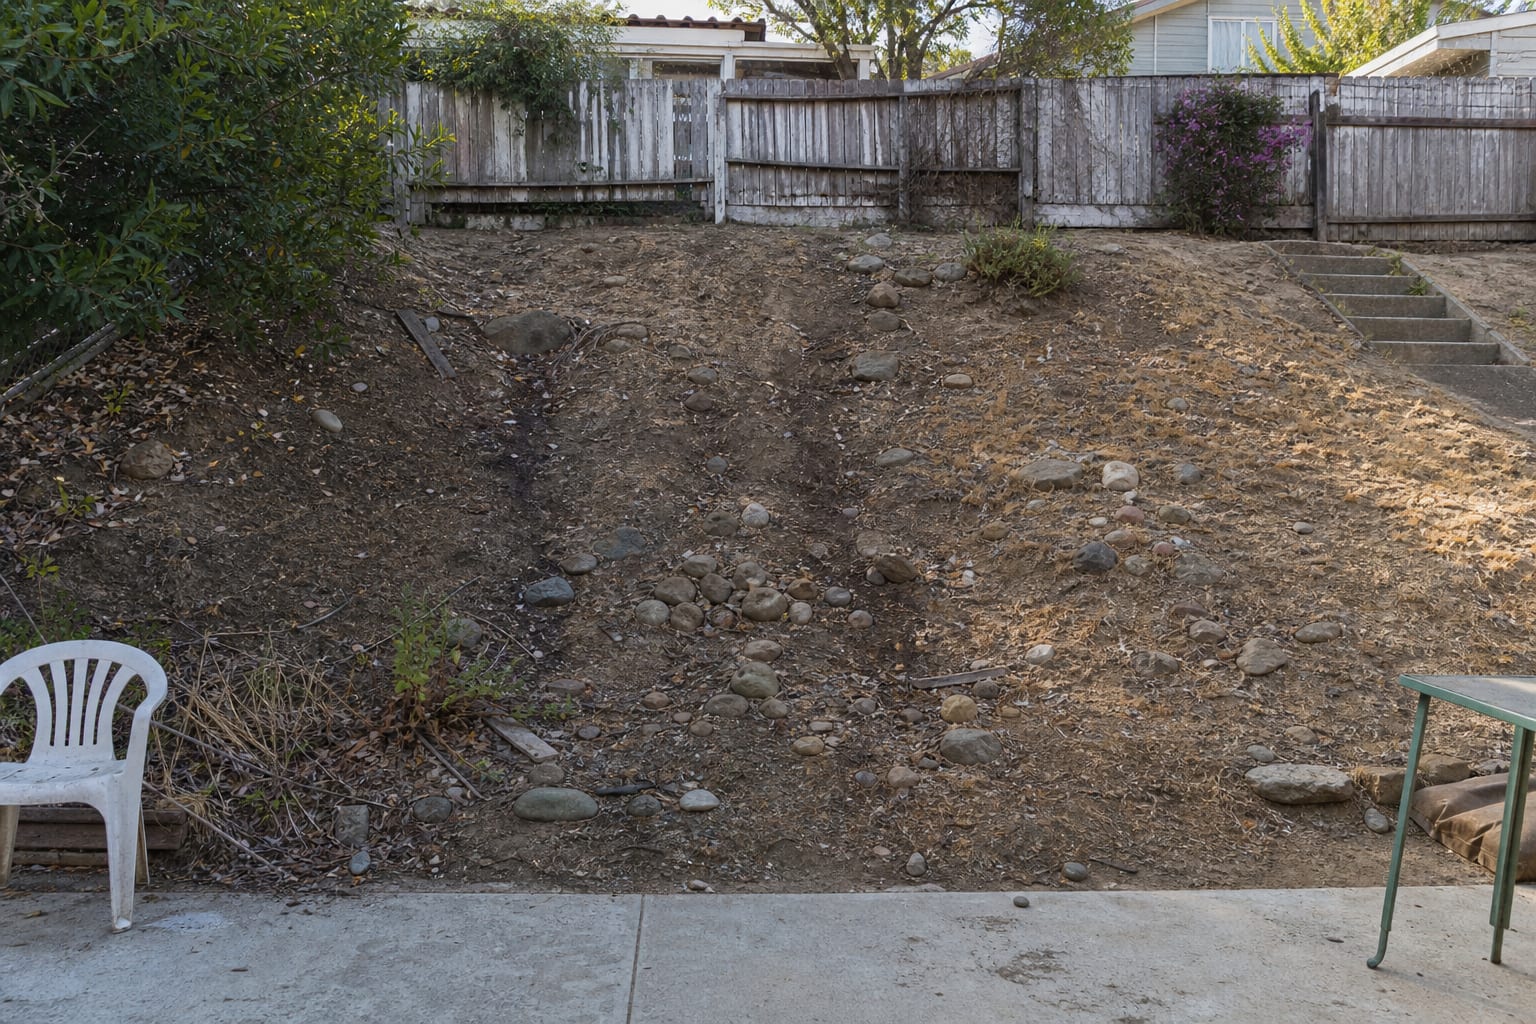
Test this on your own photo with ReDesign before you choose the final outdoor direction; keep the house edge, horizon line, hardscape, planting beds, and main path visible so the preview solves the space you actually have.
Dry creek bed ideas that solve ugly runoff
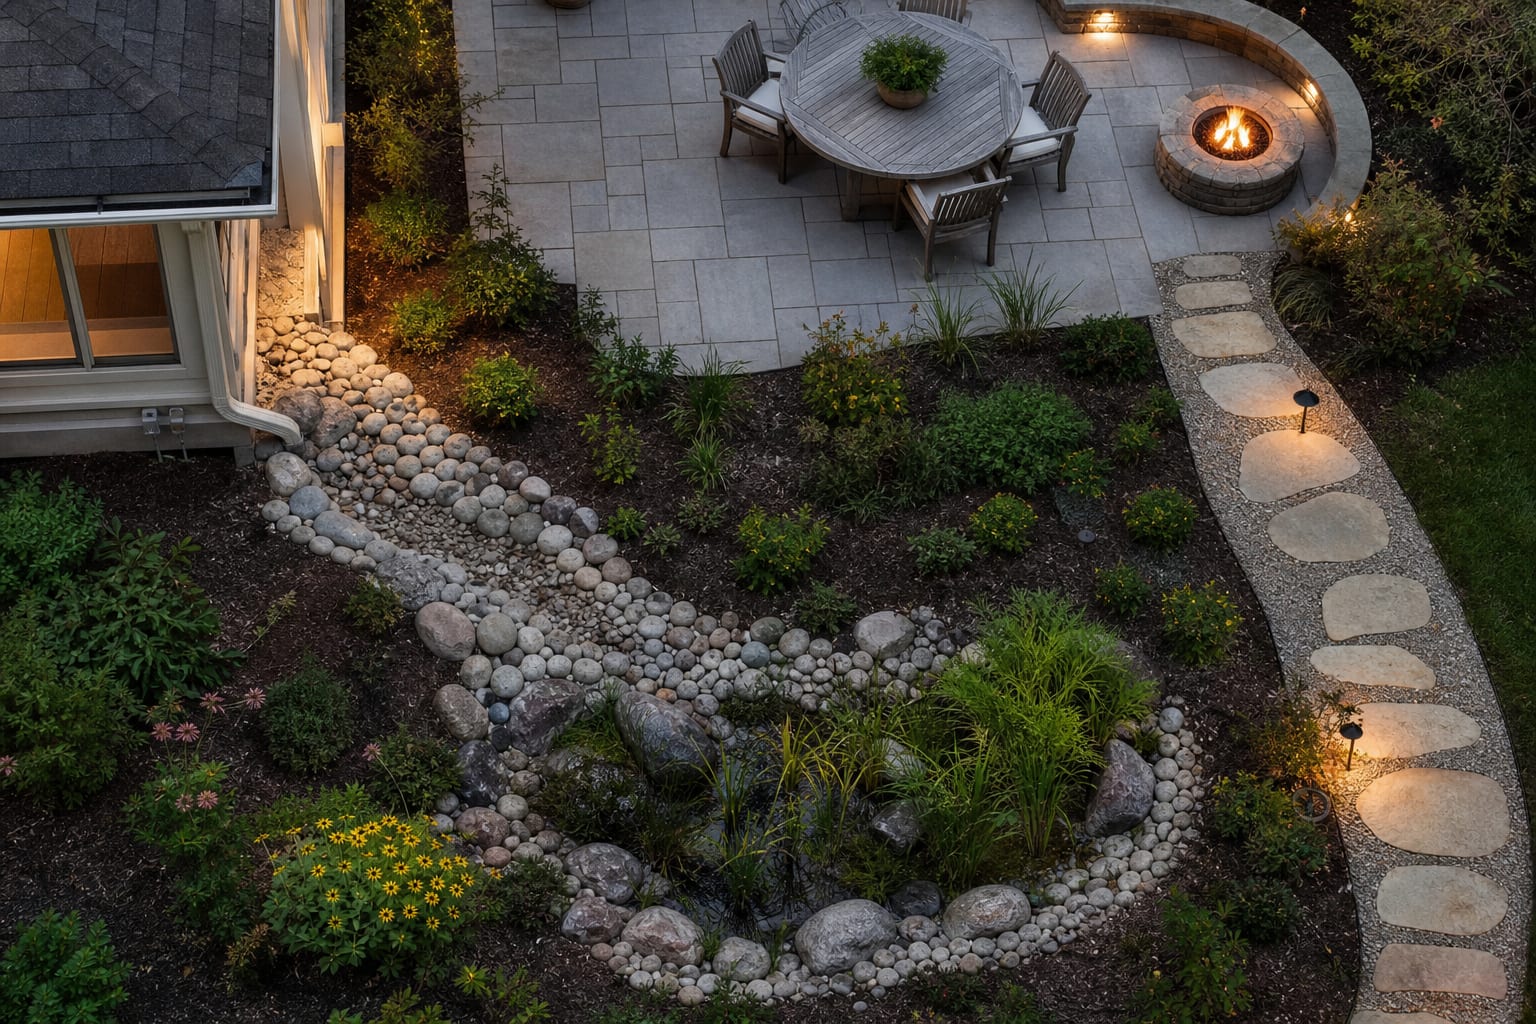
- Run the creek from a downspout into a planted basin when roof water is the obvious source. Use a solid downspout extension or buried solid pipe to reach the creek head, then set the first visible stones 2 to 3 inches below the surrounding soil so the water enters cleanly instead of splashing mulch everywhere.
- Add boulder clusters at bends because bends are where a creek bed earns its natural shape. Use one larger stone, roughly 14 to 18 inches across, with two smaller companions nearby; the uneven grouping looks more convincing than evenly spaced rocks on both sides.
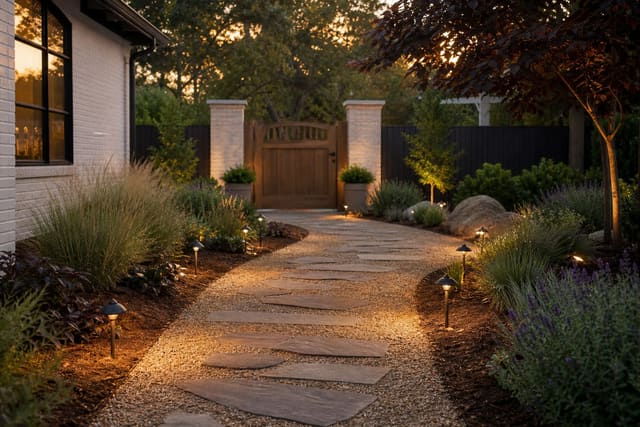
- Build a narrow front-yard creek parallel to the walkway when the lawn slopes toward the entry. Keep at least 30 inches of clear walking width on the path, hold the creek 12 inches away from the paving edge, and use low plants so guests can see the door without stepping through wet planting.
- Turn a side-yard gutter into a dry creek instead of fighting a strip of failed grass. A 24 inch wide channel with stepping stones set 24 to 28 inches on center can carry occasional runoff while giving kids, pets, and trash bins a durable route.
- Use grasses and sedges to soften the bank because rock alone can feel hot and hard. Plant in groups of 3, 5, or 7, spacing small grasses 18 to 24 inches apart, and keep woody shrubs high enough that leaves do not clog the lowest part of the channel.
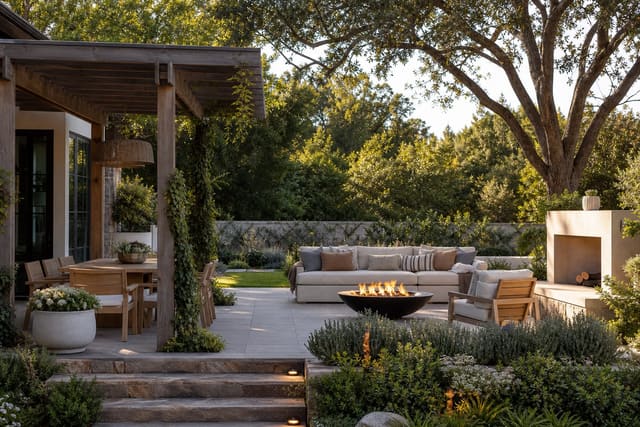
- Light only the edge if the creek passes near a patio. A few shielded fixtures from a landscape uplighting plan can graze boulders and grasses, while tiny fixtures inside the wash path are likely to tilt, silt over, or look theatrical after one storm.
Design-check shorthand: - Depth before decoration. - Repetition before variety. - Maintenance before novelty.
Common dry creek bed mistakes to avoid
Using only polished pebble is the fastest way to make a creek look store-bought. Polished stone can work as a small accent, but a whole bed of glossy, uniform rock has no visual weight and can shift under fast runoff. Mix matte river rock with angular gravel underneath, then reserve smooth stones for a small visible section near the entry or patio.
Digging the bed too deep creates a ditch, not a creek. Most decorative beds look better when the center is only 2 to 4 inches below the shoulders, with deeper pockets at catch points. If you need serious volume, hide capacity with wider curves and planted banks rather than a harsh trench through the garden.
Stopping the creek at a fence line is a drainage failure dressed up with stone. Water needs an approved place to go, and some lots require a contractor or civil plan before discharge is changed. If the only exit sends water toward a neighbor, pause the design and solve the legal outlet before you order materials.
Planting directly in the channel creates maintenance you will resent. Mulch, soil, and loose roots migrate into the rock after storms. Keep planting on the shoulders, use gravel mulch near the edge, and leave the center open enough that a leaf blower or gloved hand can clear debris.
Forgetting night movement is another common miss. If the creek crosses a route from patio to gate, add stable stepping stones or a small bridge rather than asking people to step on loose cobble. When grade changes near the creek, borrow ideas from outdoor step lighting that marks edges so the drainage feature does not become a trip hazard after dinner.
Use AI design to preview the creek before you dig
AI design is helpful for a dry creek bed because the hardest choices are visual: curve, width, stone color, boulder placement, and planting density. Upload a straight-on photo of the runoff area, then preview a few versions before the first shovel cut. Try one narrow creek with grasses, one wider river-stone bed with boulders, and one scheme that ends in a rain garden.
The preview will not calculate stormwater capacity, pipe sizing, or local discharge rules. It can, however, show whether gray river rock fights your brick house, whether tan gravel looks better with your pavers, or whether the curve steals too much lawn from a play area. That is the point: use the image to judge the design character, then use grading, fabric, stone depth, and outlet planning to make it work in real weather.
A finished dry creek bed should look inevitable from the kitchen window and practical during a downpour. If it feels like a decorative stripe, simplify the curve, vary the stone, and give the water a more honest route.
Frequently Asked Questions
How wide and deep should a dry creek bed be?
Plan for a bed twice as wide as deep — a 24in wide bed runs 12in deep at center — sized for the storm volume it must move, not the look you want. Use the outdoor photo to compare the visible layout and fixed constraints before committing, because slope, shade, drainage, doors, utilities, and traffic paths decide whether the idea survives daily use.
Do dry creek beds actually drain water?
Yes when sized to volume and lined with a permeable fabric over a graded base; cosmetic-only versions over solid clay puddle in heavy rain. Keep the preview honest by leaving the problem area visible in the frame, then compare one conservative version against one bolder version before you buy plants, materials, or furniture.
What stones work best in a dry creek bed?
Fist-sized rounded river cobble for the bulk, 1-2in river stone fines for the base layer, and two or three softball-to-soccer-ball boulders placed at curves to anchor the design. Check the result against ordinary movement first: chair pullout, walkway width, gate swing, glare, storage reach, and evening light matter more than a perfect catalog angle.
How long should a dry creek bed be?
Long enough to deliver water from the source — downspout or low spot — to a daylight outlet or basin; aim for at least 15ft of run with a 1-2 percent slope and a meandering centerline. Use the image to narrow priorities and measurements before ordering anything custom; final purchases still need real dimensions, code checks, utility locations, and product clearances.
What plants line a dry creek bed?
Ornamental grasses for movement, low sedges for the wet edge, and one or two flowering perennials like black-eyed susan for color; cluster in odd-numbered groups along the banks. If the preview invents architecture or hides the awkward feature you need solved, rerun it with stricter instructions so the result remains tied to your actual outdoor space.
Three transformations to try