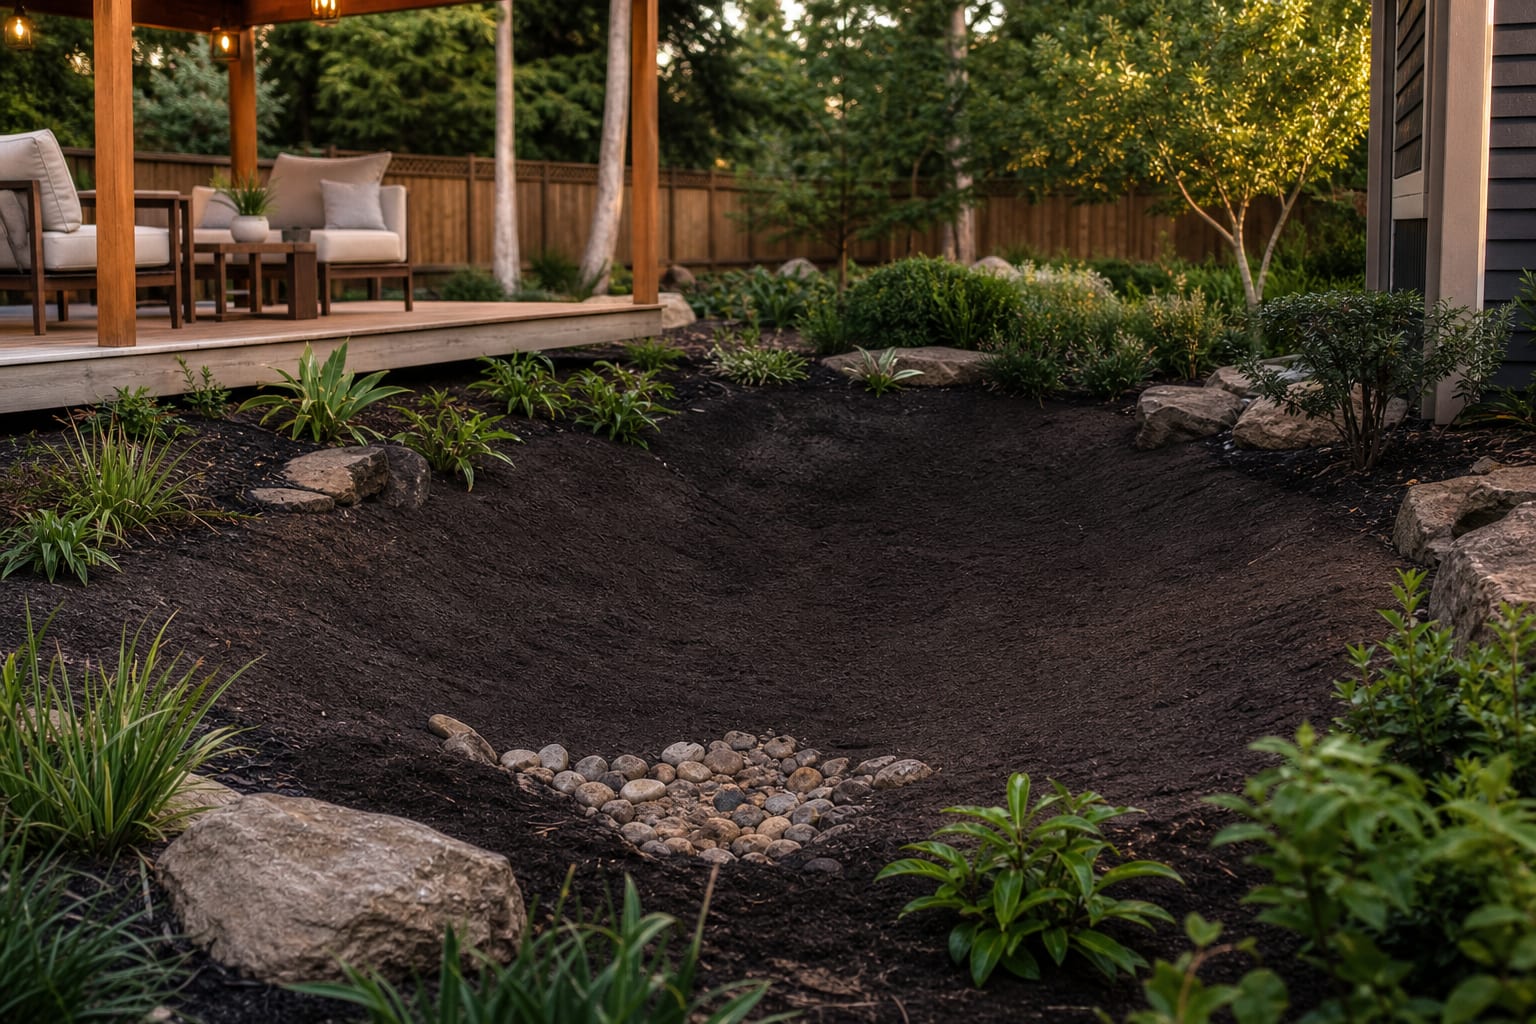
A rain garden installs in a shallow 4-8in basin sited at least 10ft from the foundation along the natural drainage path, filled with native deep-rooted plants in three moisture zones, and sized at roughly 20-30 percent of the impervious area draining into it. A rain garden is not a random bed of thirsty plants dropped into the wettest corner of the yard. My firm take: the prettiest rain gardens are designed like small pieces of stormwater infrastructure first, then planted like gardens second. If yours is too deep, too close to the house, or planted with one flat mix of perennials, it will fail in a way that looks expensive and muddy. This rain garden installation guide walks through the shape, soil, planting zones, and overflow details that make the basin work after a real storm.
How do you build and plant a rain garden that works?
You build and plant a rain garden by choosing a low area at least 10 feet from the house, shaping a shallow basin about 6 to 8 inches deep, improving the soil so it drains within 24 to 48 hours, and planting moisture-tolerant species in zones from wet center to drier rim. The basin should collect runoff from a roof, patio, driveway edge, or compacted lawn, but it should never trap water against a foundation, septic field, or neighbor's property.
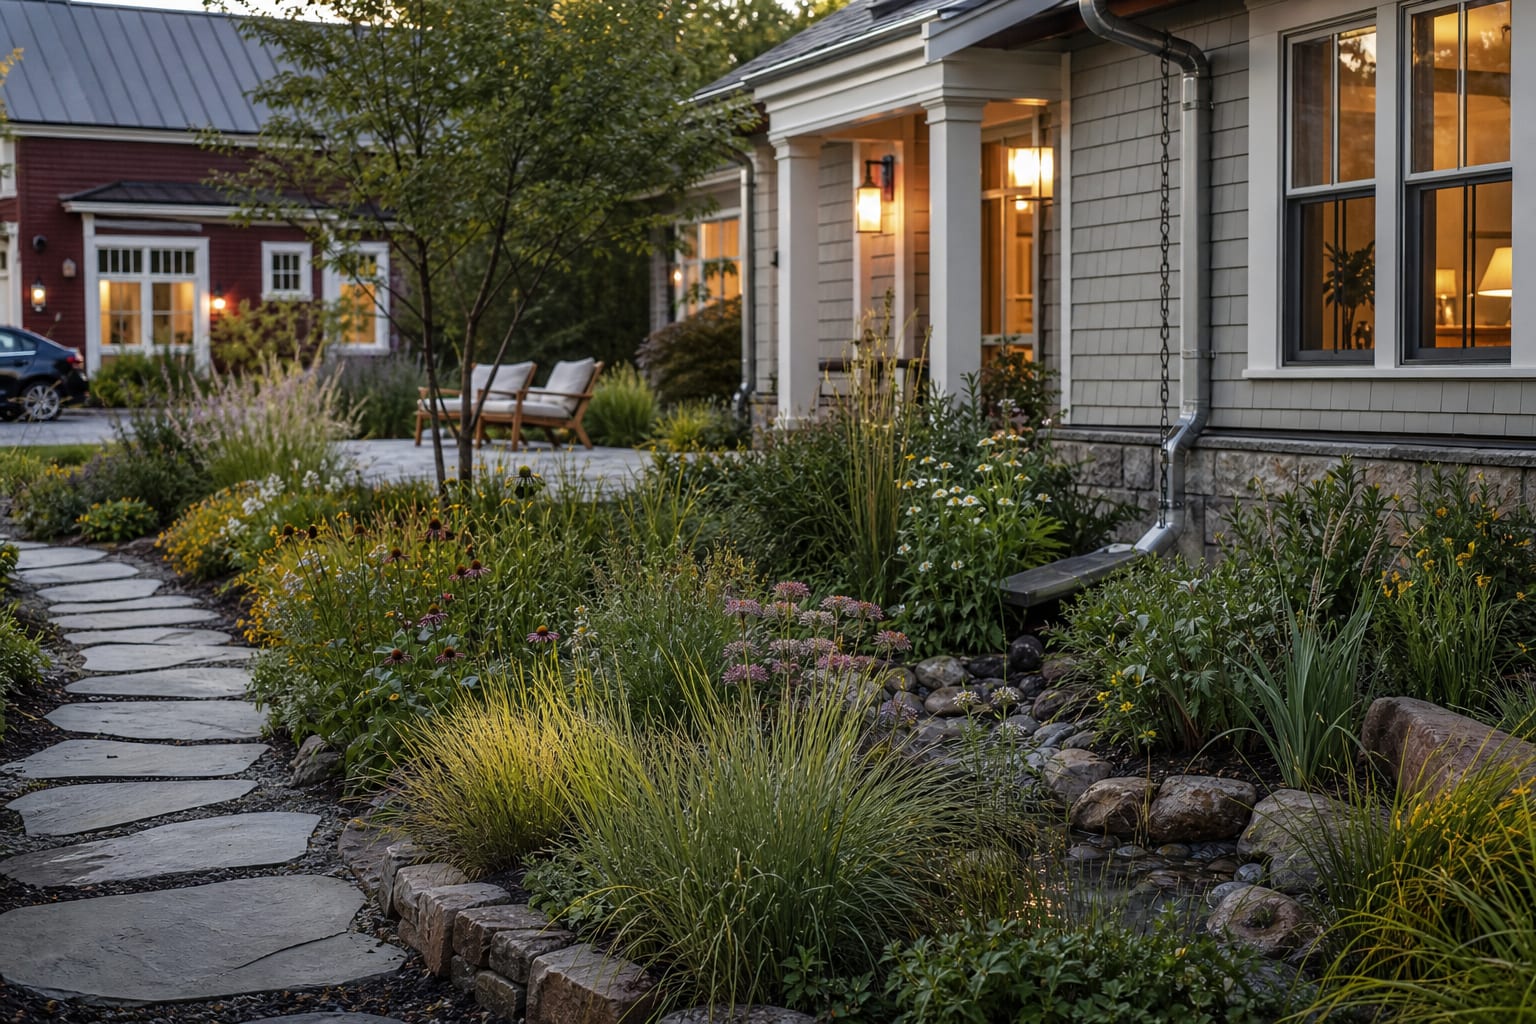
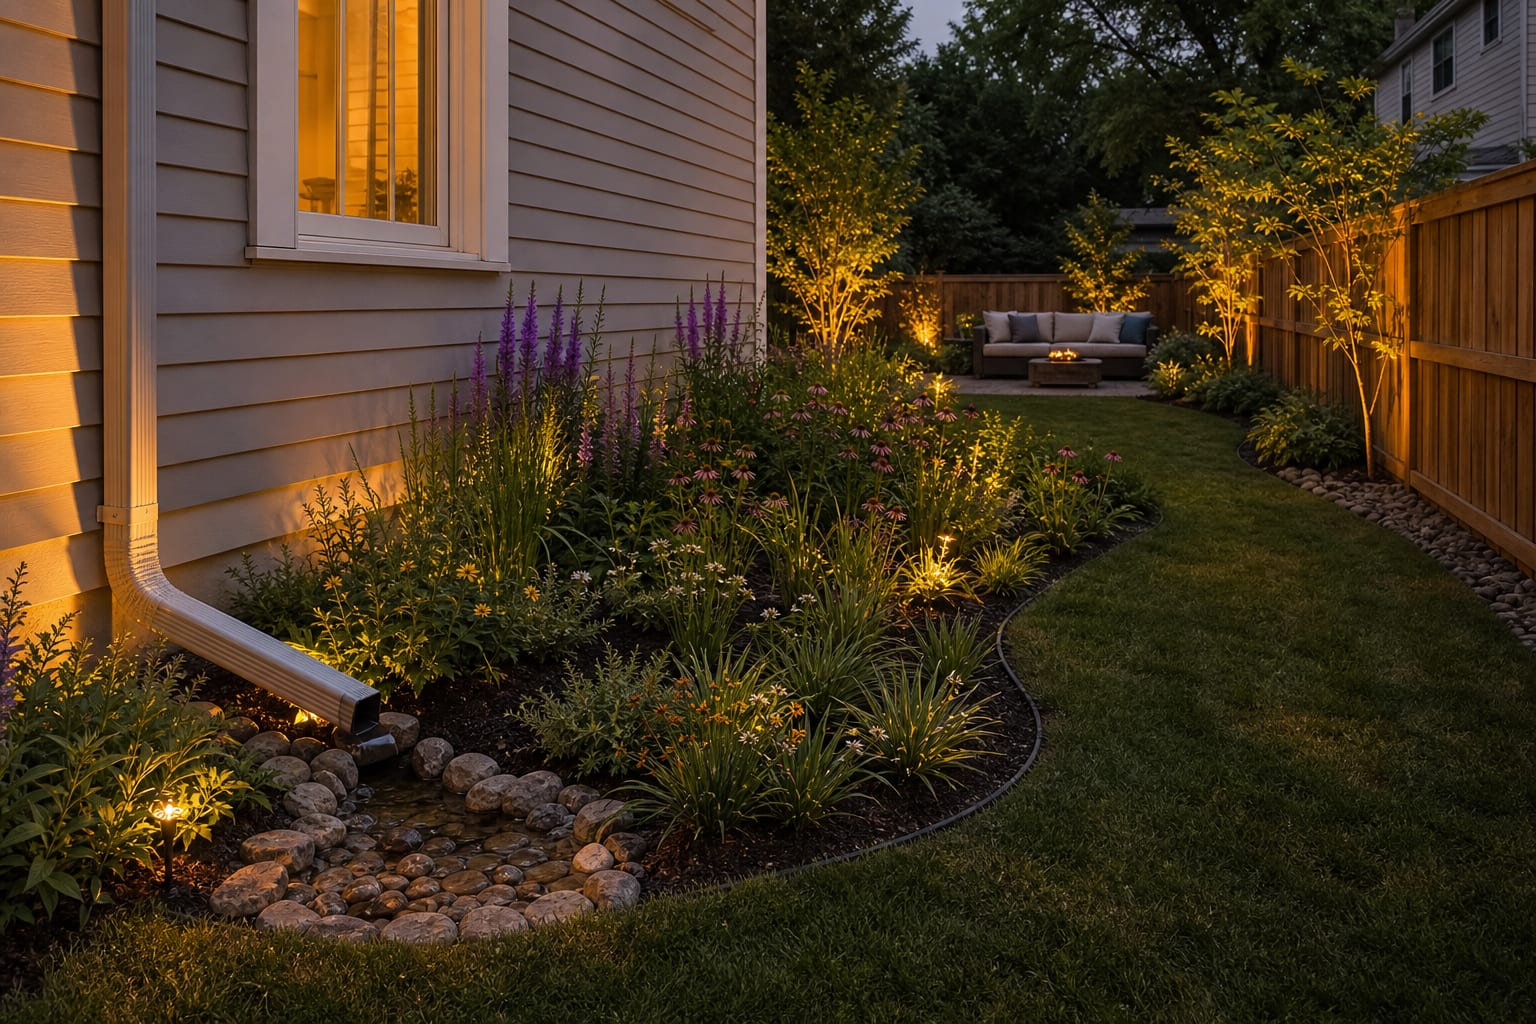
Start by watching the yard during a steady rain, not by shopping for plants. Mark where water enters, where it slows, and where it would overflow if the basin filled. A rain garden without an overflow route is just a nicer-looking puddle. If roof water is the main source, extend the downspout with a solid pipe or surface runnel so water enters the garden cleanly instead of eroding the first 12 inches of mulch.
Use the native soil test to decide how aggressive the build needs to be. Dig a hole 8 to 12 inches deep, fill it with water, let it drain once, then refill and watch the second drain-down. If water is still sitting after two days, plan for more soil replacement, a shallower basin, or professional drainage advice. A bioretention garden can be beautiful, but only when water has a predictable way in, a temporary place to spread, and a safe way out.

Where should the rain garden sit in the yard?
The best rain garden location is close enough to intercept runoff, low enough to collect it naturally, and far enough from structures that temporary ponding cannot cause damage. In a front yard, that might mean a basin between the downspout and sidewalk. In a backyard, it might sit below a patio, at the end of a dry creek detail, or along the lower side of a lawn that already receives sheet flow.
Avoid the lowest point if it has no exit. That sounds backward, but a dead-low bowl often stays saturated too long for healthy stormwater garden planting. A better site catches water on the way through, slows it, lets some soak in, and releases overflow across a protected edge. Keep the bottom nearly level so water spreads through the planting rather than racing to one corner.
For shape, think broad and calm. A small residential rain garden often reads best at 6 to 10 feet across, with side slopes gentle enough to step into for weeding. If the basin edge drops suddenly like a soup bowl, mulch slides, plants lean, and the feature looks engineered in the worst way. On steeper sites, use a series of smaller terraces instead of one heroic pit.
Coordinate the rain garden with the rest of the landscape. If the same property needs screening, place taller shrubs outside the basin rather than inside the wet center; a living fence hedge plan can define the boundary without blocking stormwater movement. If noise is part of the yard problem, avoid berms that dam runoff, and study garden sound barrier planting with drainage gaps in mind.
| Rain garden decision | Better choice | Working spec | |---|---|---| | Distance from house | Place basin away from foundation walls | Keep the ponding area at least 10 feet out | | Basin depth | Use a shallow, planted depression | Aim for about 6 to 8 inches of temporary water | | Soil blend | Loosen or amend compacted soil | Work the top 12 to 18 inches where roots will grow | | Inlet | Slow water before it hits mulch | Use stone, cobble, or a splash pad at the entry | | Overflow | Create one controlled low edge | Direct excess water to lawn, swale, or an approved outlet |
Test this on your own photo with ReDesign before you choose the final outdoor direction; keep the house edge, horizon line, hardscape, planting beds, and main path visible so the preview solves the space you actually have.
Which plants belong in each rain garden zone?
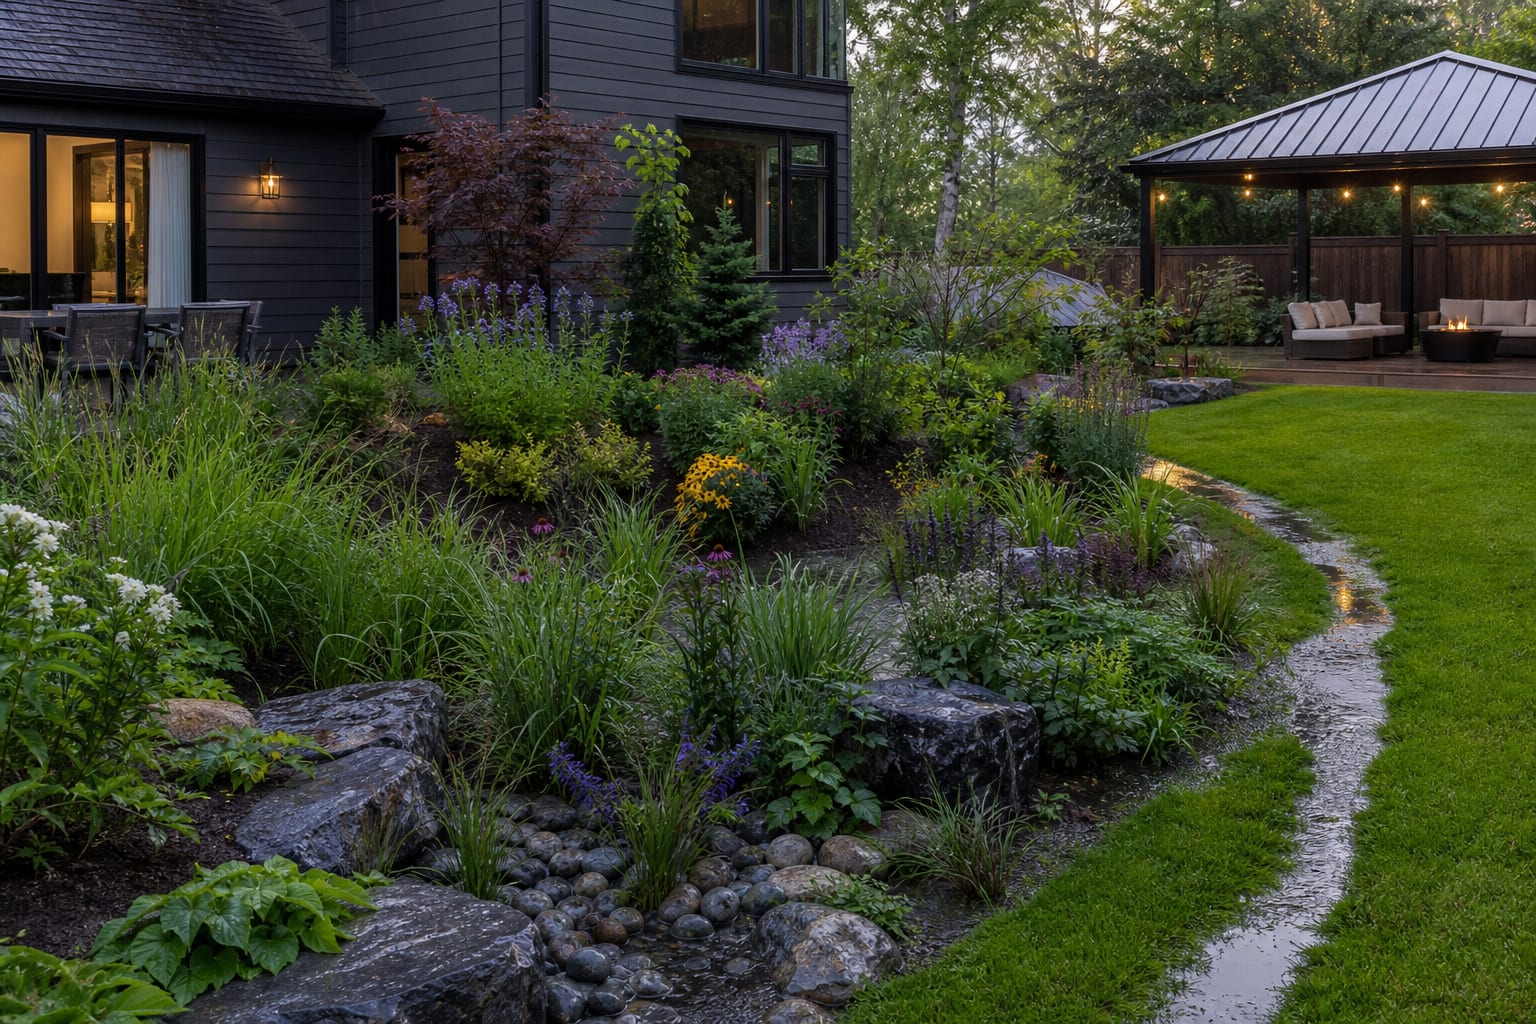
Rain garden plants should be arranged by water tolerance, height, root habit, and how the bed looks from the house during dry weeks. The center is not a pond; it is a place that gets wet, drains, and then asks plants to handle ordinary garden stress. That is why a one-note mix of moisture lovers often disappoints by midsummer.
Use three planting zones rather than one shopping cart of perennials:
- Place the toughest wet-footed plants in the basin floor because this area receives the longest ponding after rain; sedges, rushes, swamp milkweed, blue flag iris, and similar species can be spaced 12 to 18 inches apart for quick soil coverage.
- Use flexible perennials on the side slopes because they see brief wetness and longer dry periods; plant in staggered groups of 3, 5, or 7 so the slope looks intentional from 20 feet away.
- Reserve the upper rim for plants that tolerate ordinary garden dryness because the edge sheds water faster; low shrubs, grasses, and durable ground covers can hold the shape without making the basin look bare between storms.
Do not plant the deepest center with shrubs that dislike wet crowns. Woody plants can work on the rim, but the low middle should stay easy to cut back, divide, and clean after leaf drop. If you want a softer planted edge that hides soil without clogging the basin, borrow from low-maintenance ground cover ideas and choose species that can handle periodic splash.
Mulch choice matters more here than in a standard border. Fine bark floats and gathers at the overflow notch. Shredded hardwood can work on upper slopes, but the water path needs stone, cobble, or dense planting that will not migrate after the first thunderstorm. Keep mulch roughly 2 inches deep around plants and pull it back from crowns.
Design-check shorthand: - Depth before decoration. - Repetition before variety. - Maintenance before novelty.
Common rain garden mistakes to avoid
- Digging the basin too deep fails because plants spend too long in standing water and the feature starts reading as a ditch. Keep the ponding depth modest, shape gentle side slopes, and make the bottom wide enough for water to spread evenly.
- Placing the rain garden beside the foundation risks sending water exactly where the house does not want it. Move the basin outward, route downspouts with solid pipe or a lined swale, and keep the temporary water zone at least 10 feet away from the building.
- Forgetting the overflow route turns a good rain garden into a storm surprise. Cut a stone-lined notch or reinforced low edge so excess water leaves predictably instead of jumping the rim into a path, neighbor's yard, or basement stair.
- Planting only for bloom makes the bed look thin for half the year. Mix sedges, grasses, flowering perennials, and a few rim shrubs so the garden has winter structure, summer coverage, and enough root density to protect soil.
- Using compost-heavy soil in the basin can hold too much water and wash nutrients into runoff. Improve compacted soil, but keep the mix mineral enough to drain; many rain garden builds use sandier, looser soil in the root zone rather than rich potting-style material.
Use AI design to preview your rain garden before you dig
AI design helps with a rain garden because the hard visual decisions happen before the shovel work: basin shape, stone color, planting height, downspout route, and how much lawn the garden should take. Upload a straight-on photo of the wet area, then preview versions with a curved basin, a stone inlet, a planted overflow swale, or a more formal stormwater garden planting scheme.
The preview will not calculate infiltration rate, local stormwater rules, or pipe capacity. It can show whether the rain garden looks too tiny against the yard, whether taller grasses block a window view, or whether a stone edge clashes with the patio. That is a useful check before you commit to excavation, because changing the curve on a screen is easy and reshaping a planted basin is not.
A rain garden succeeds when it looks calm on dry days and behaves predictably during storms. Keep the engineering honest, let the planting follow the water zones, and the finished garden will feel like part of the landscape rather than a drainage apology.
Frequently Asked Questions
Where should a rain garden be located?
Along the natural low line of the yard, at least 10ft from the foundation and 25ft from any septic field, where downspouts or a swale can reach it without a pump. Use the outdoor photo to compare the visible layout and fixed constraints before committing, because slope, shade, drainage, doors, utilities, and traffic paths decide whether the idea survives daily use.
How big should a rain garden be?
Plan for 20-30 percent of the impervious area draining into it; a 1,000 sqft roof feeding one downspout calls for a 200-300 sqft basin at a 4-8in depth. Keep the preview honest by leaving the problem area visible in the frame, then compare one conservative version against one bolder version before you buy plants, materials, or furniture.
What plants belong in a rain garden?
Deep-rooted native sedges and grasses in the center wet zone, perennials like blue flag iris and joe-pye weed in the transition, and drier-tolerant species like little bluestem at the edge. Check the result against ordinary movement first: chair pullout, walkway width, gate swing, glare, storage reach, and evening light matter more than a perfect catalog angle.
Do rain gardens breed mosquitoes?
No — a properly sized rain garden drains within 24-48 hours, well under the 4-7 days mosquito larvae need to mature. Use the image to narrow priorities and measurements before ordering anything custom; final purchases still need real dimensions, code checks, utility locations, and product clearances.
How long does a rain garden take to install?
A weekend for a 200 sqft DIY basin if the soil drains; clay soils need amendment plus a French-drain underdrain that adds 1-2 days and roughly doubles the budget. If the preview invents architecture or hides the awkward feature you need solved, rerun it with stricter instructions so the result remains tied to your actual outdoor space.
Three transformations to try